Data Binding
Learn how you can use the data binding feature to easily integrate dynamic data with Locofy-generated code. This guide will walk you through the steps to add state variables to the code and bind data to them.
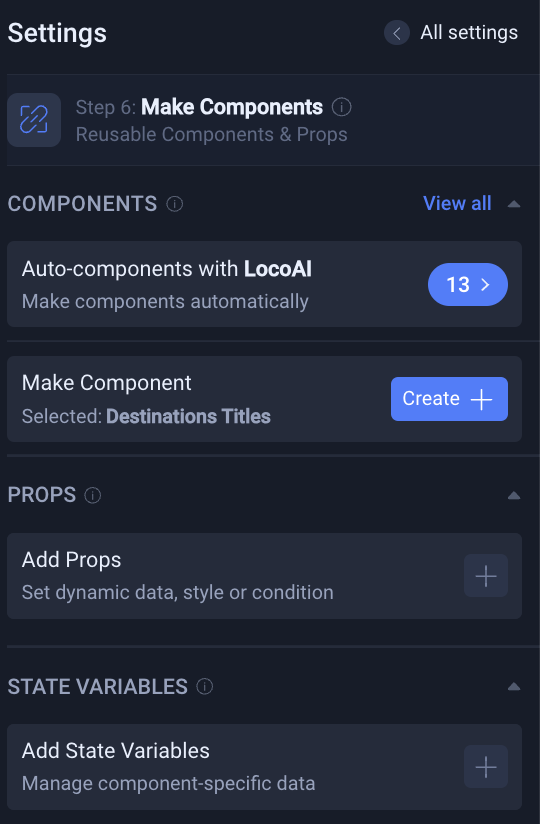
Make Components
State variables can only be added after you have created a component.
-
To turn a part of your design into a component, select the item by clicking it on your canvas or in the layers panel.
-
Go to Step 6: Make Components on the right panel and click the ‘Create' button.
-
Enter a name for the component. An automatically generated name is suggested based on your layer name.
-
Click 'Create'.
Your component is now created. You can view the code for your new component in the code tab.
Add State Variables
The first step to binding data is adding state variables that can be connected to dynamic data.
- Click on the plus icon on "Add State Variable" option within the selected component.
- Choose the type of state variable that suits your needs. It can be a string, an array, or any other data type required for your project.

Configuring State Variables:
- Enter the value for the state variable.
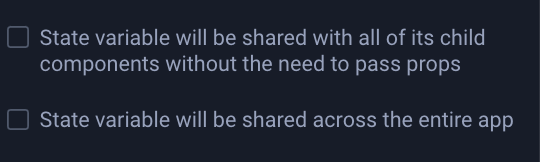
- You can also define the scope of the state variable, indicating whether it should be shared across child components or applied globally throughout your entire app.
Binding Data to a Prop
Once you have created the state variables, you can use it to bind data.
-
Select the component which has the state variable.
-
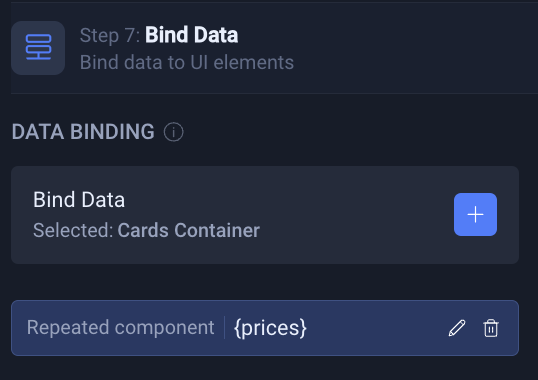
Go to Step 7: Bind data.
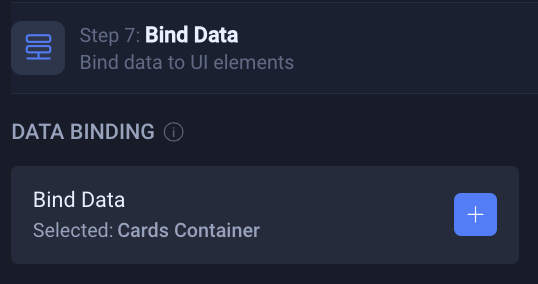
-
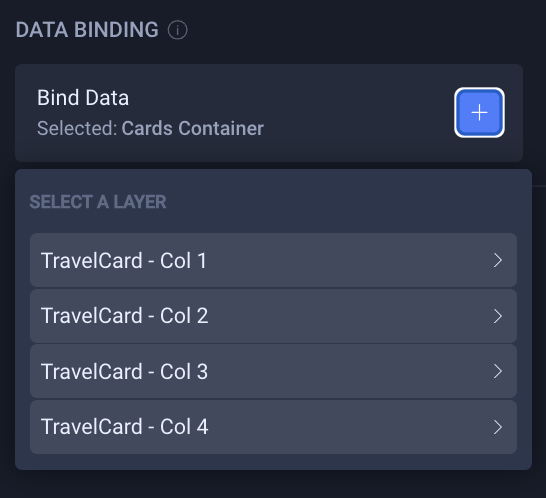
Click on the plus icon and select the layer you want to bind data to.
-
Once layer is selected, click the plus icon again to choose a data source. You can also conditonally render the value
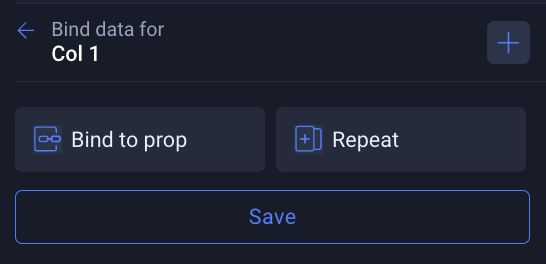
- Once happy with the data binding, you can hit the save button. You can edit the binding again by clicking the pencil icon or remove the binding by hitting the bin icon.
Repeated Components and Array-Based State Variables
For repeated components, such as lists or grids, you can leverage array-based state variables to bind data efficiently.
-
Select the parent component, which contains child components.
-
Click on the plus icon on "Add State Variable" option within the selected component.
-
Add a state variable, by following the instructions discussed above. Make sure the type of the variable is
Arrayand pass the value separated by commas. You can also pass an array of objects. -
Click on the 'Bind data' button or you can also exit the current step and go to Step 7: Bind data.
-
Click on the plus icon and select one of the child components.
- You can now either bind data to a prop, or you can map the components to the state variable's items by clicking the 'Repeat' option. For repeated components and array-based values, choose the 'Repeat' option.
- Next, select the data source. Locofy automates the process by matching data fields with the relevant props, resulting in optimized code for your repeated components. You can also replace adjacent components.
- Once happy with the data binding, you can hit the save button. You can edit the binding again by clicking the pencil icon or remove the binding by hitting the bin icon.