Design Optimiser: Applying Auto layout
Use our Design Optimiser to apply Auto layout to well-structured frames
Applying Auto layout with the Design Optimiser
This is the first fix of the second section of the Design Optimiser which assists you to apply Auto layout to your design.
This is important, because auto layout allows our designs to fill or shrink as needed for the content to reflow for different screen sizes.
Applying the fix
Typically in Figma, when you apply Autolayout, you might see movement in your design. With the Design Optimiser, as long as you have followed the instructions in the previous step to better structure your frames, it will help you to apply autolayout without causing any movement in your design.
When applying Figma auto layout, it can result in some movement in your design and may not preserve some properties. This fix helps you to apply auto layout to well-structured frames while preserving properties so that it looks the same as your original design.
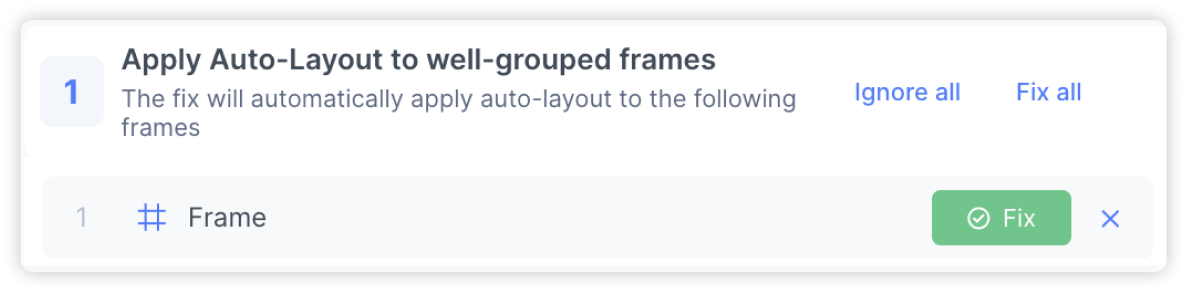
You will receive a list of frames which contain images/rectangles that should be removed. You can review the suggestions and take the following actions:
Applying the fix: Select ‘Fix’ to apply the fix for the targeted element.

You can also hover over the items to locate them in your Figma file, apply bulk actions, as well as ignore the suggestion.
The design optimiser identifies all the well-structured frames and lists them for you. You can then apply the fixes using the design optimiser
Once you’ve resolved all the items in this step, you will be taken to the next step (opens in a new tab), which helps you to apply responsive constraints.