Tagging your React Native Status Bars
Learn how to tag your Status Bars and adjust its styling globally or for individual screens.
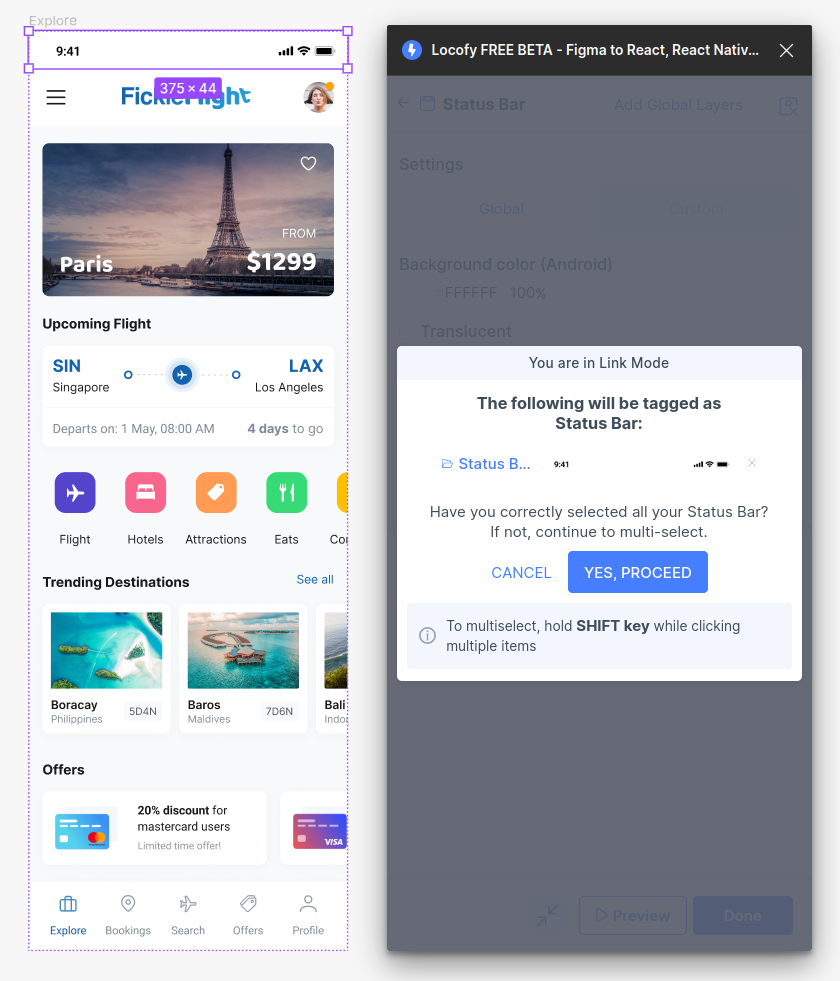
- Select the status bar in your design and tag it as a “Status bar”. The option can be found in the Global Tags section of the Locofy plugin.
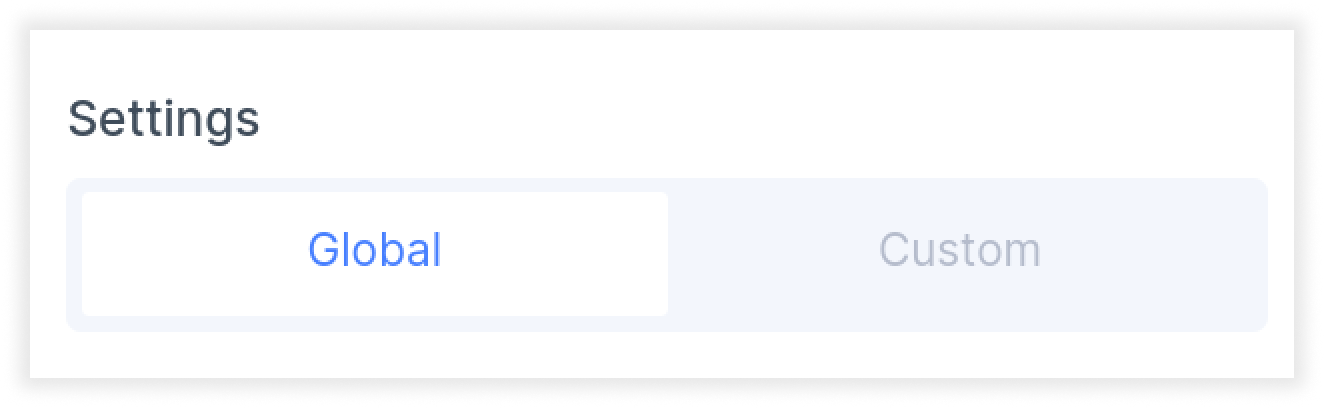
- You will then be taken to the properties tab. Here you can indicate if this status bar should use your global settings or use custom settings for this specific status bar.
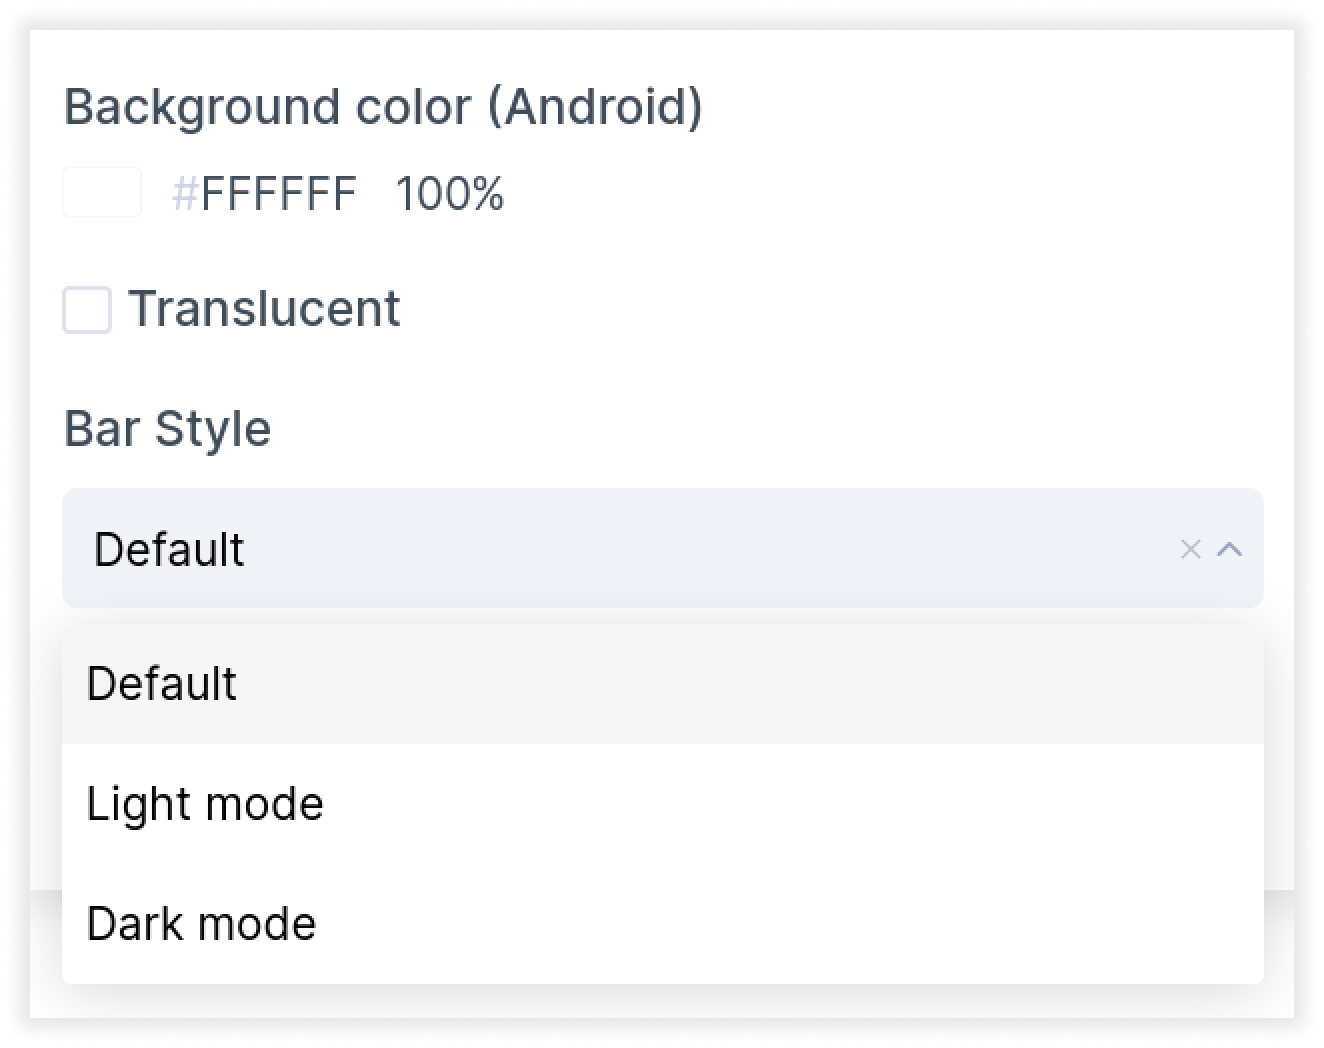
- You can then customize the background colour and toggle translucency for your status bar. Settings applied on the Global level will apply for all status bars. While settings applied on the Custom level only applies for the selected status bar.
- Click done. You have now successfully tagged your status bar.

Note: After tagging your status bars, they will not be visible in the Plugin Preview and on the Locofy Builder Prototype. You will see the status bars when you run the app in your development simulator or on your physical device.