Tagging your React Native button
Learn how to tag your buttons for your React Native app, then apply pressed effects and actions.
Tag, add pressed effects and actions
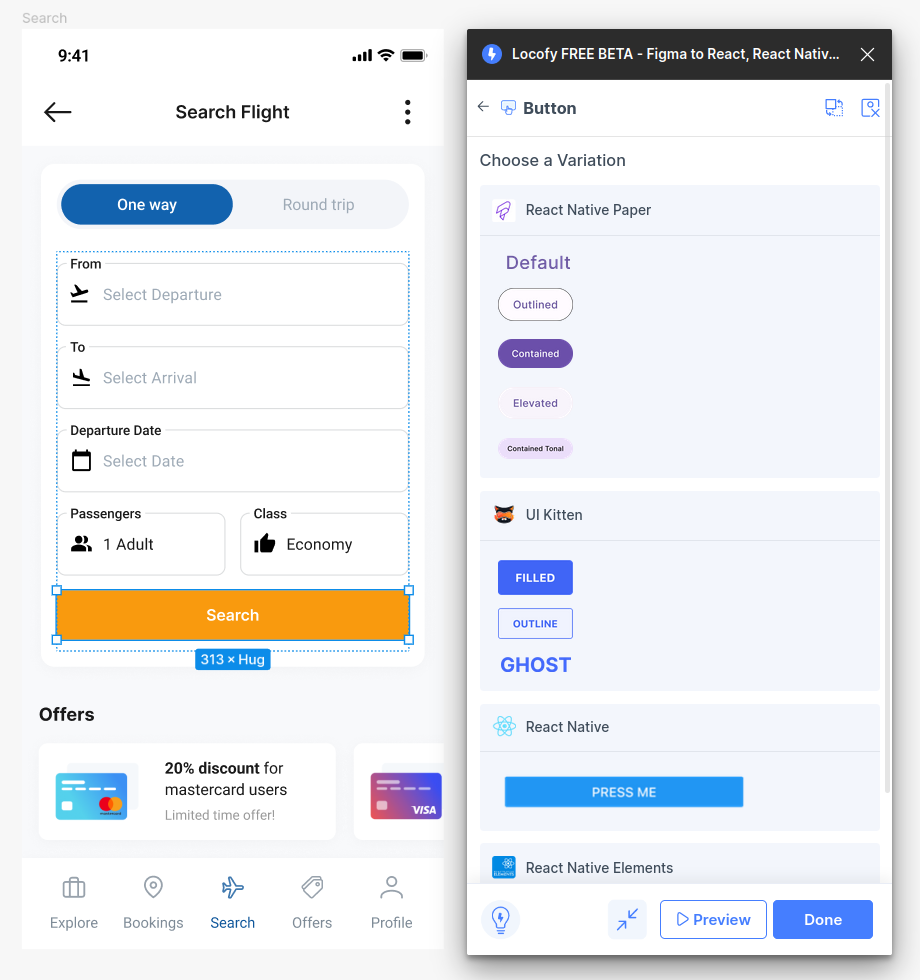
- Select the button on your design and tag it as a “Button.” Afterward, click on the library and variation you used in your design.
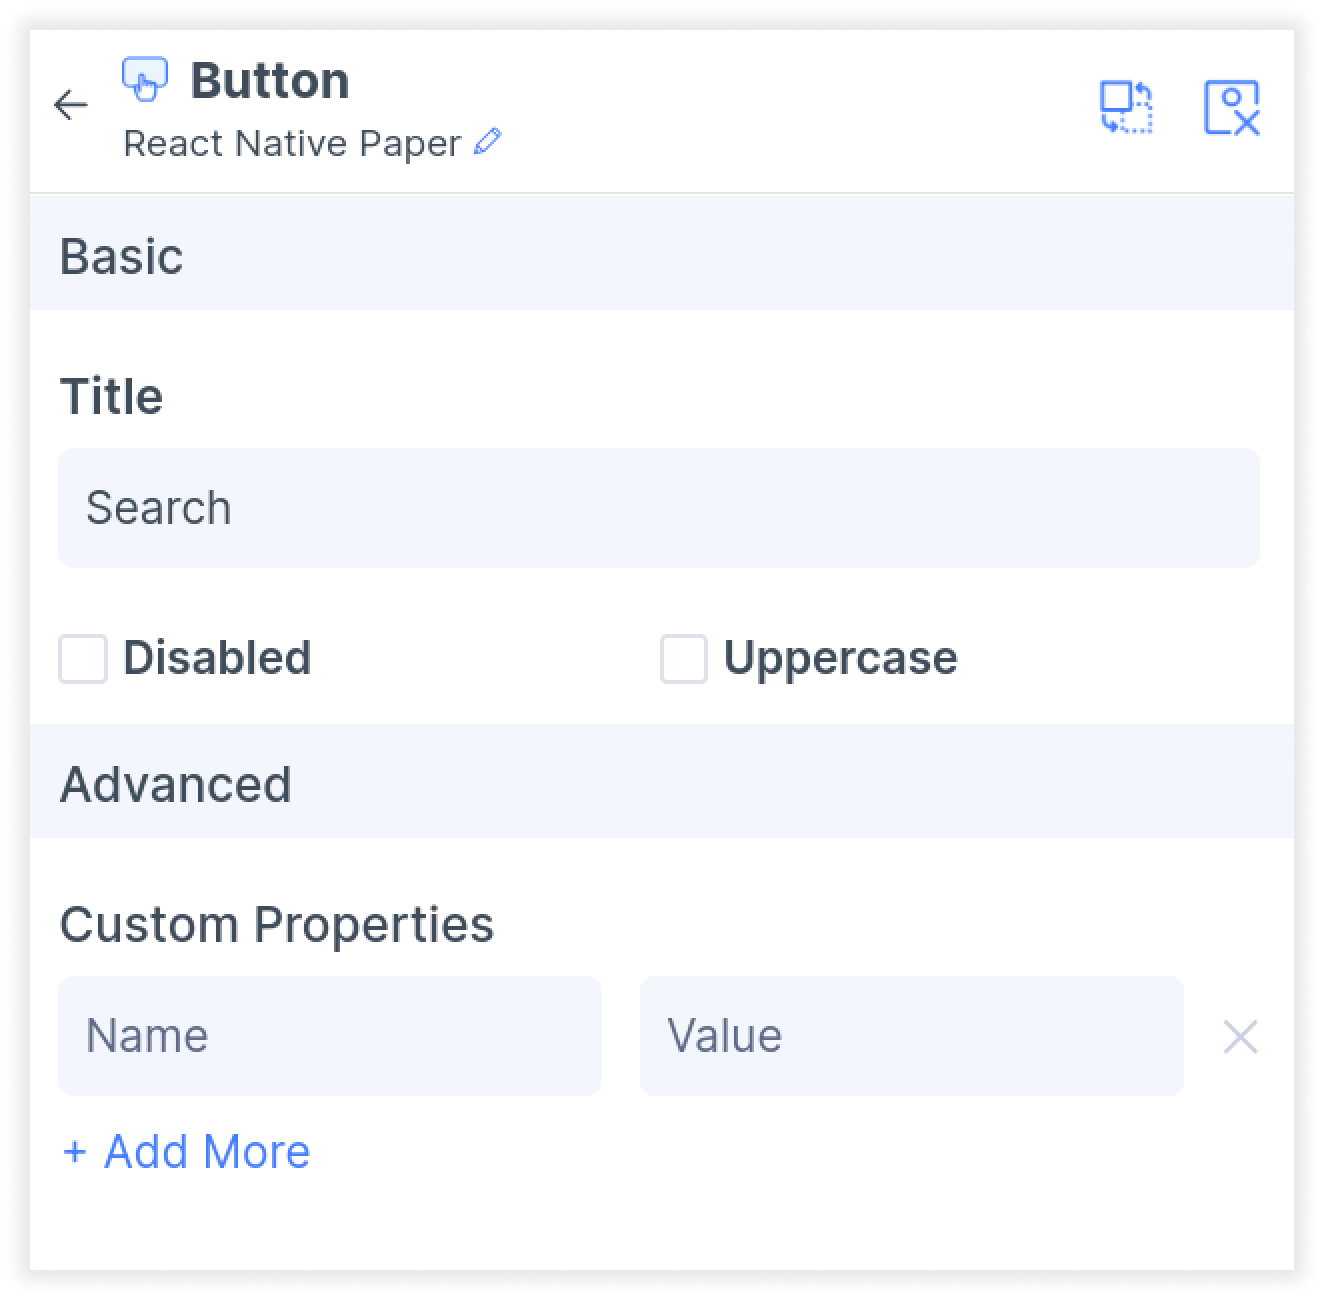
- In the Properties tab, you can further customize the attributes for your button.
- Next, in the Layout settings under Step 3: Styling and Layout (opens in a new tab) of the plugin, you can customize alignment and size, including settings such as percentage widths, as well as minimum and maximum width.
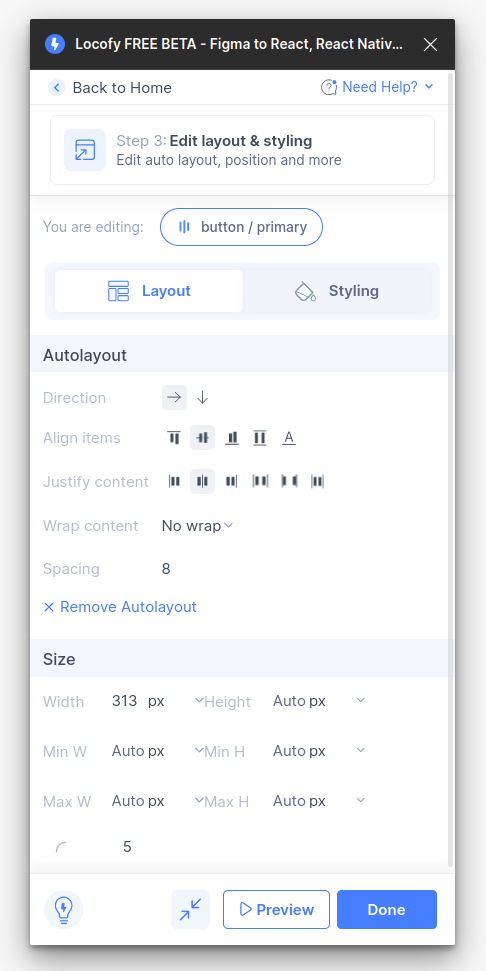
- Then, in the styling tab, you can further customize your button’s color, border and shadow.

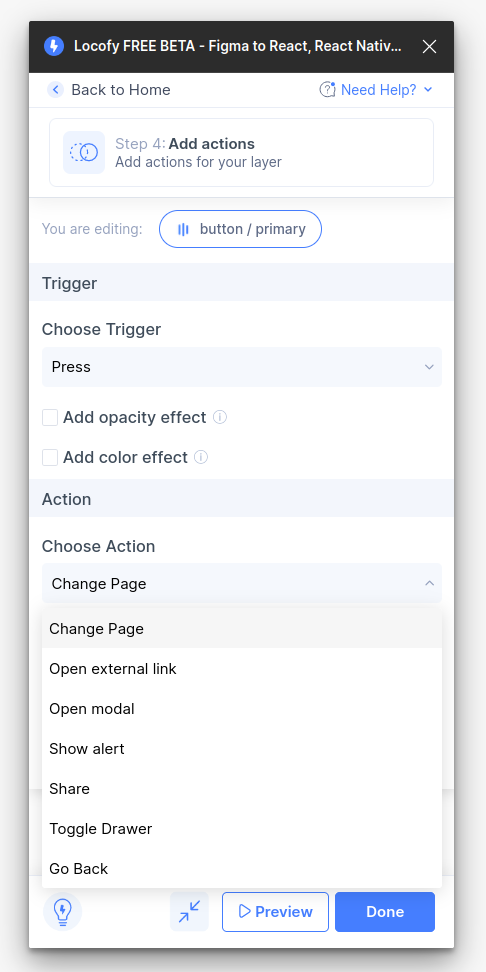
- Finally, in the actions tab Step 4: Add Actions (opens in a new tab) of the plugin, you can define what happens when a user presses the button. Select from triggers such as “Press” and “Long Press,” and choose an action.
- Click done. You have successfully tagged your React Native button.