Structure Your Frames Better
Use our Design Optimiser to structure your frames into autolayout-ready layouts
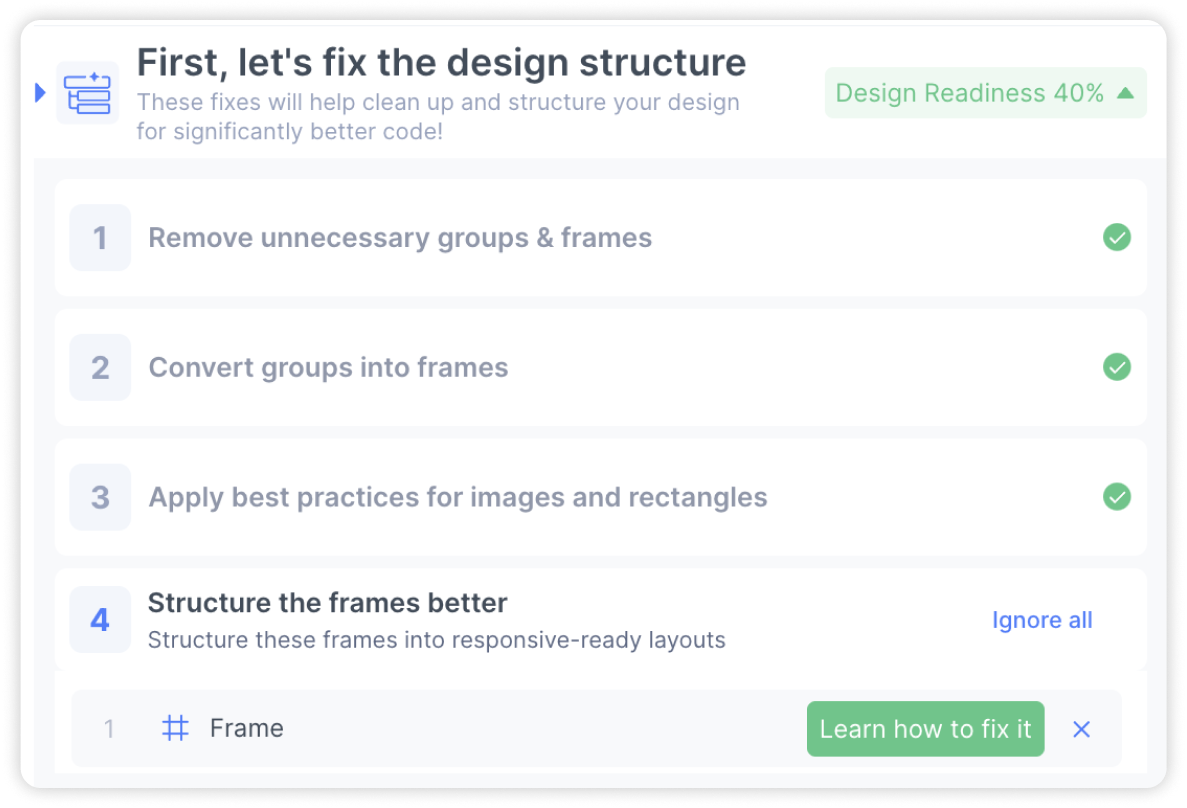
Introduction to Structuring your Frames
This is the fourth step of the Design Optimiser to Structure your frames better into Autolayout-ready layouts.
This is important, because auto layout allows our designs to fill or shrink as needed for the content to reflow for different screen sizes.
However, if auto layout is applied to unstructured frames, the design may be affected. As such, in this step, the Design Optimizer will guide you to structure your frames to ensure that your original design is maintained while making it responsive.
Objective for Structuring of Frames
In order to prepare our frames for auto layout, we want to make sure that 3 criteria are met.
1. Single row or column
Figma autolayout only supports one direction at a time so if we have multiple rows and columns we have to split our frames into single rows or columns.

2. Equal spacing between items
Figma autolayout applies equal spacing between items so we need to make sure that all the spacing between items are the same

3. Consistent alignment
Figma’s autolayout does not allow the alignment of objects to be controlled individually so me need to make sure there is consistent alignment of all children objects within the parent frame

Applying the fix
The design optimiser will detect and list badly structured frames which can fall into 4 different diagnoses. To view the diagnosis for a badly structured frame, select the ‘Learn how to fix it’ button to open up the panel.
There are 4 possible diagnosis for badly structured frames and a different error screen for each diagnosis
Inconsistent alignment
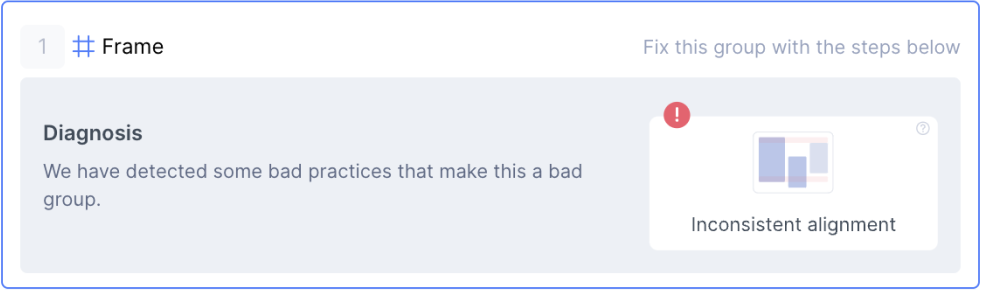
The first diagnosis is inconsistent alignment. It means that the elements within the frame do not share a common top, centre or bottom alignment. The design optimiser will guide you to fix these issues by grouping up elements together to ensure that there is a common alignment
- In this example, there is a slight misalignment on the right panel.
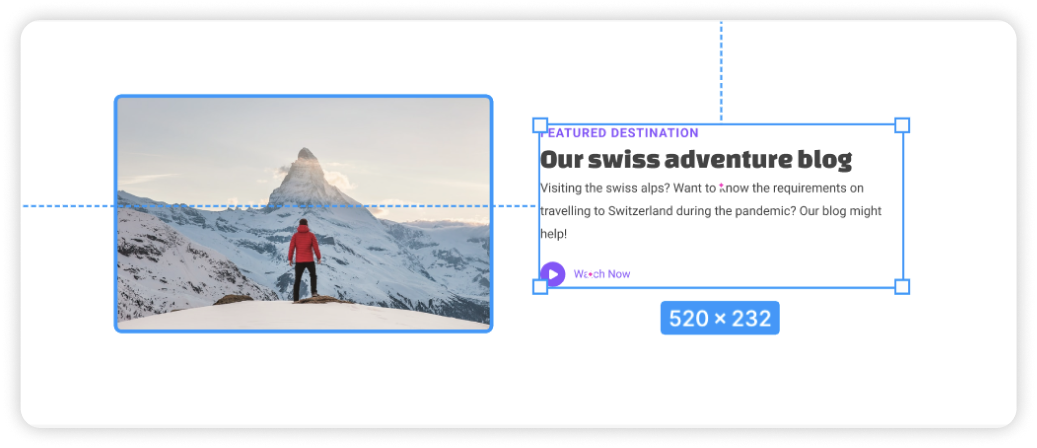
- Hold on command and extend the frame on the right panel such that both elements will be top aligned
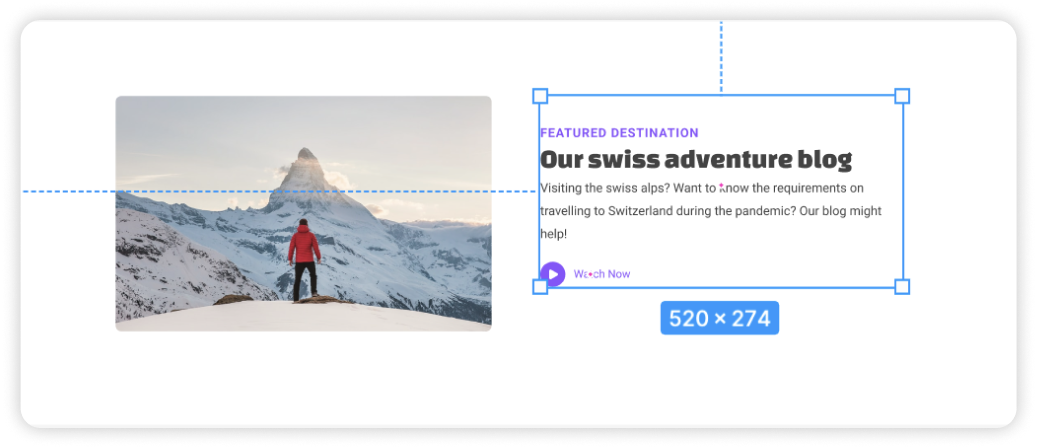
Auto-Fixes for Inconsistent Alignment
The Design Optimiser will go beyond guiding you to fix inconsistent alignment, but rather even suggest options to achieve a consistent alignment. Simply choose the one that works best for you.
Inconsistent Gap

The second diagnosis is for inconsistent gaps. It means that the spacing between elements in the frame are not constant. The design optimiser will guide you to fix these issues by grouping up elements together to ensure that there is a common spacing
- In this example, there are 2 gaps of different sizes between the 3 frames. To resolve this, frame up the 2 cards on the right together.

- Now, for each frame there is a consistent spacing (as each frame only has one gap)

Auto-Fixes for Inconsistent Gaps
The Design Optimiser will go beyond guiding you to fix inconsistent gaps, but rather even suggest potential better groupings. Simply choose the one that works best for you.
Multiple Rows and Columns

This occurs when there are more than one row and columns of elements in a single frame
- In this example, we want to group up the elements such that it either has a single row or column

- Group up the top row for the header

- Group up the bottom row for the cards on the bottom

Now, there is a clear column direction for the outermost frame.
Auto-Fixes for Multiple Rows and Columns
The Design Optimiser will go beyond guiding you to fix multiple rows and columns, but rather even suggest potential better groupings. Simply choose the one that works best for you.
3 possible issues
There can be 3 possible issues: Inconsistent Gap and Alignment, Multiple rows or columns, Floating elements.
The fourth diagnosis shows all three issues. You will first need to assess which of the two issues apply to the frame. It is possible that all three apply, or just two of the three issues apply.
Inconsistent gap and alignment
This occurs when there is unequal spacing and different alignments for elements in a single row or column
- In this example, there there are 2 gaps of different sizes between the 3 panels

- Group the 2 left panels with similar gap.

- Create a frame for the left panel, hold on command and extend the frame on the leftmost panel such that both elements will be top aligned.

Multiple Rows and Columns
As mentioned above, this occurs when there are more than one row and columns of elements in a single frame
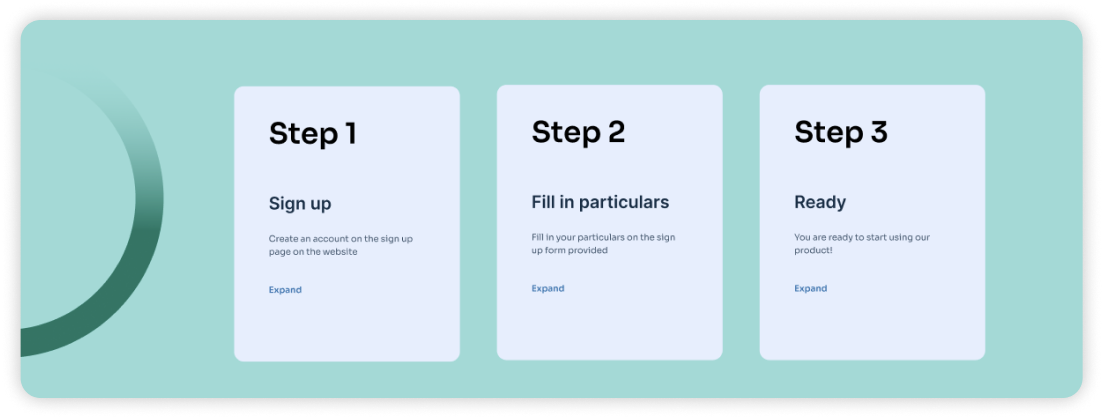
Floating elements
This occurs when there are elements that are meant for design purposes. Usually these might be overlapping on top of content, or partially outside of the frame.
- In this example, we want to first apply autolayout to the frame without the floating element.
- Remove the floating element from the frame. Then ensure that the frame is well structured. Click on ‘Recheck’ to verify this.
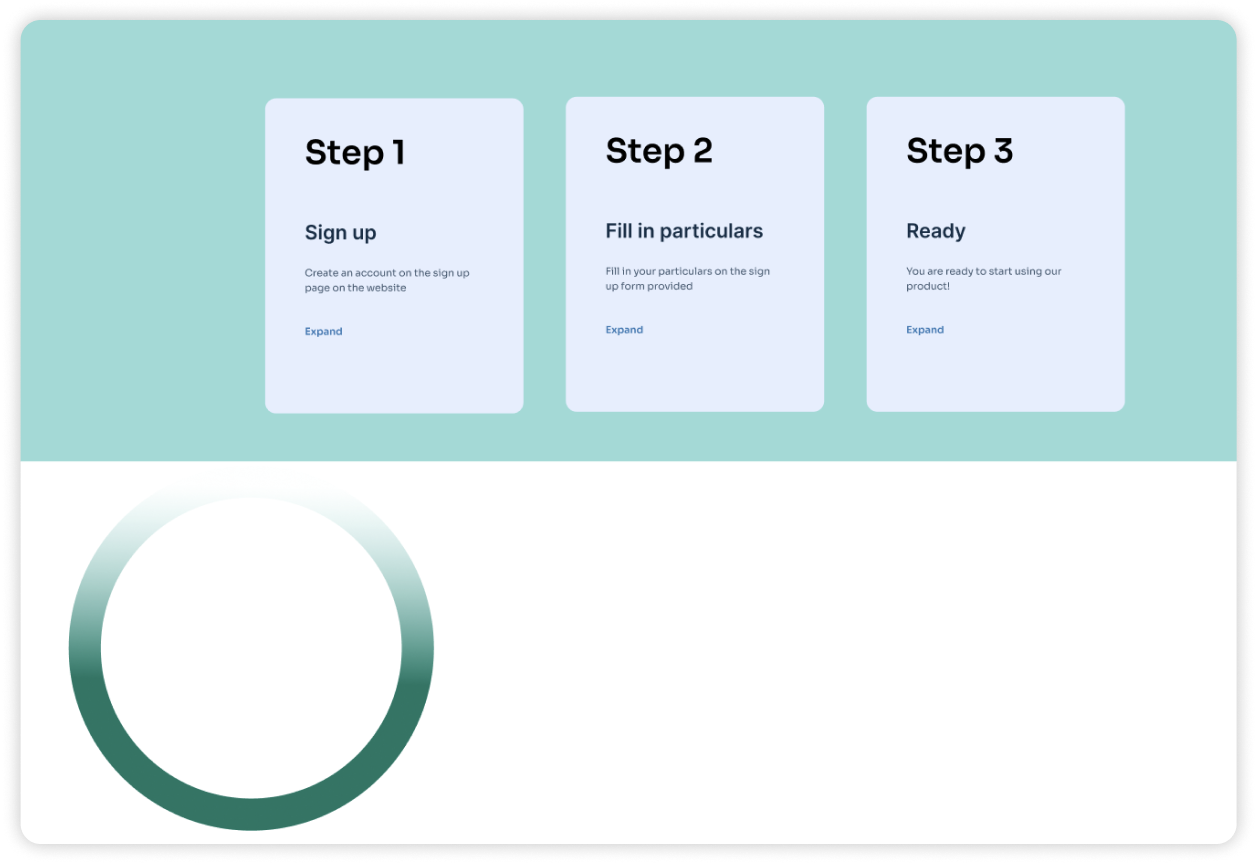
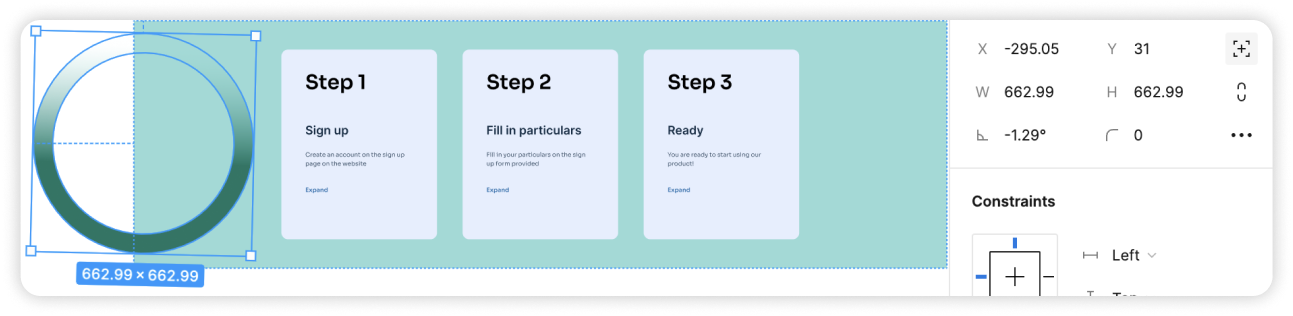
- Apply autolayout to the frame and drag the floating element back in. Then, use the absolute positioning setting to pull the floating element back into its original position
The design optimizer identifies all the badly structured frames and lists them for you. However, if you determine that the frame does not need to be responsive you can go ahead and click on the ‘ignore’ button to skip this step for that frame
It might take a bit of getting used to, however, once you have completed the steps a few times, you will find this easy to fix.
Once you’ve resolved all the items in this step, you will be taken to the next step. Which helps you to apply autolayout to your well-structured frames.
If you have any feedback or suggestions, please share it with us at support@locofy.ai