Legacy: Classic flow
The Classic flow is Locofy’s original, step-by-step design-to-code path. It is only offered to a limited set of accounts today; new users should use Lightning unless your workspace still has Classic enabled.
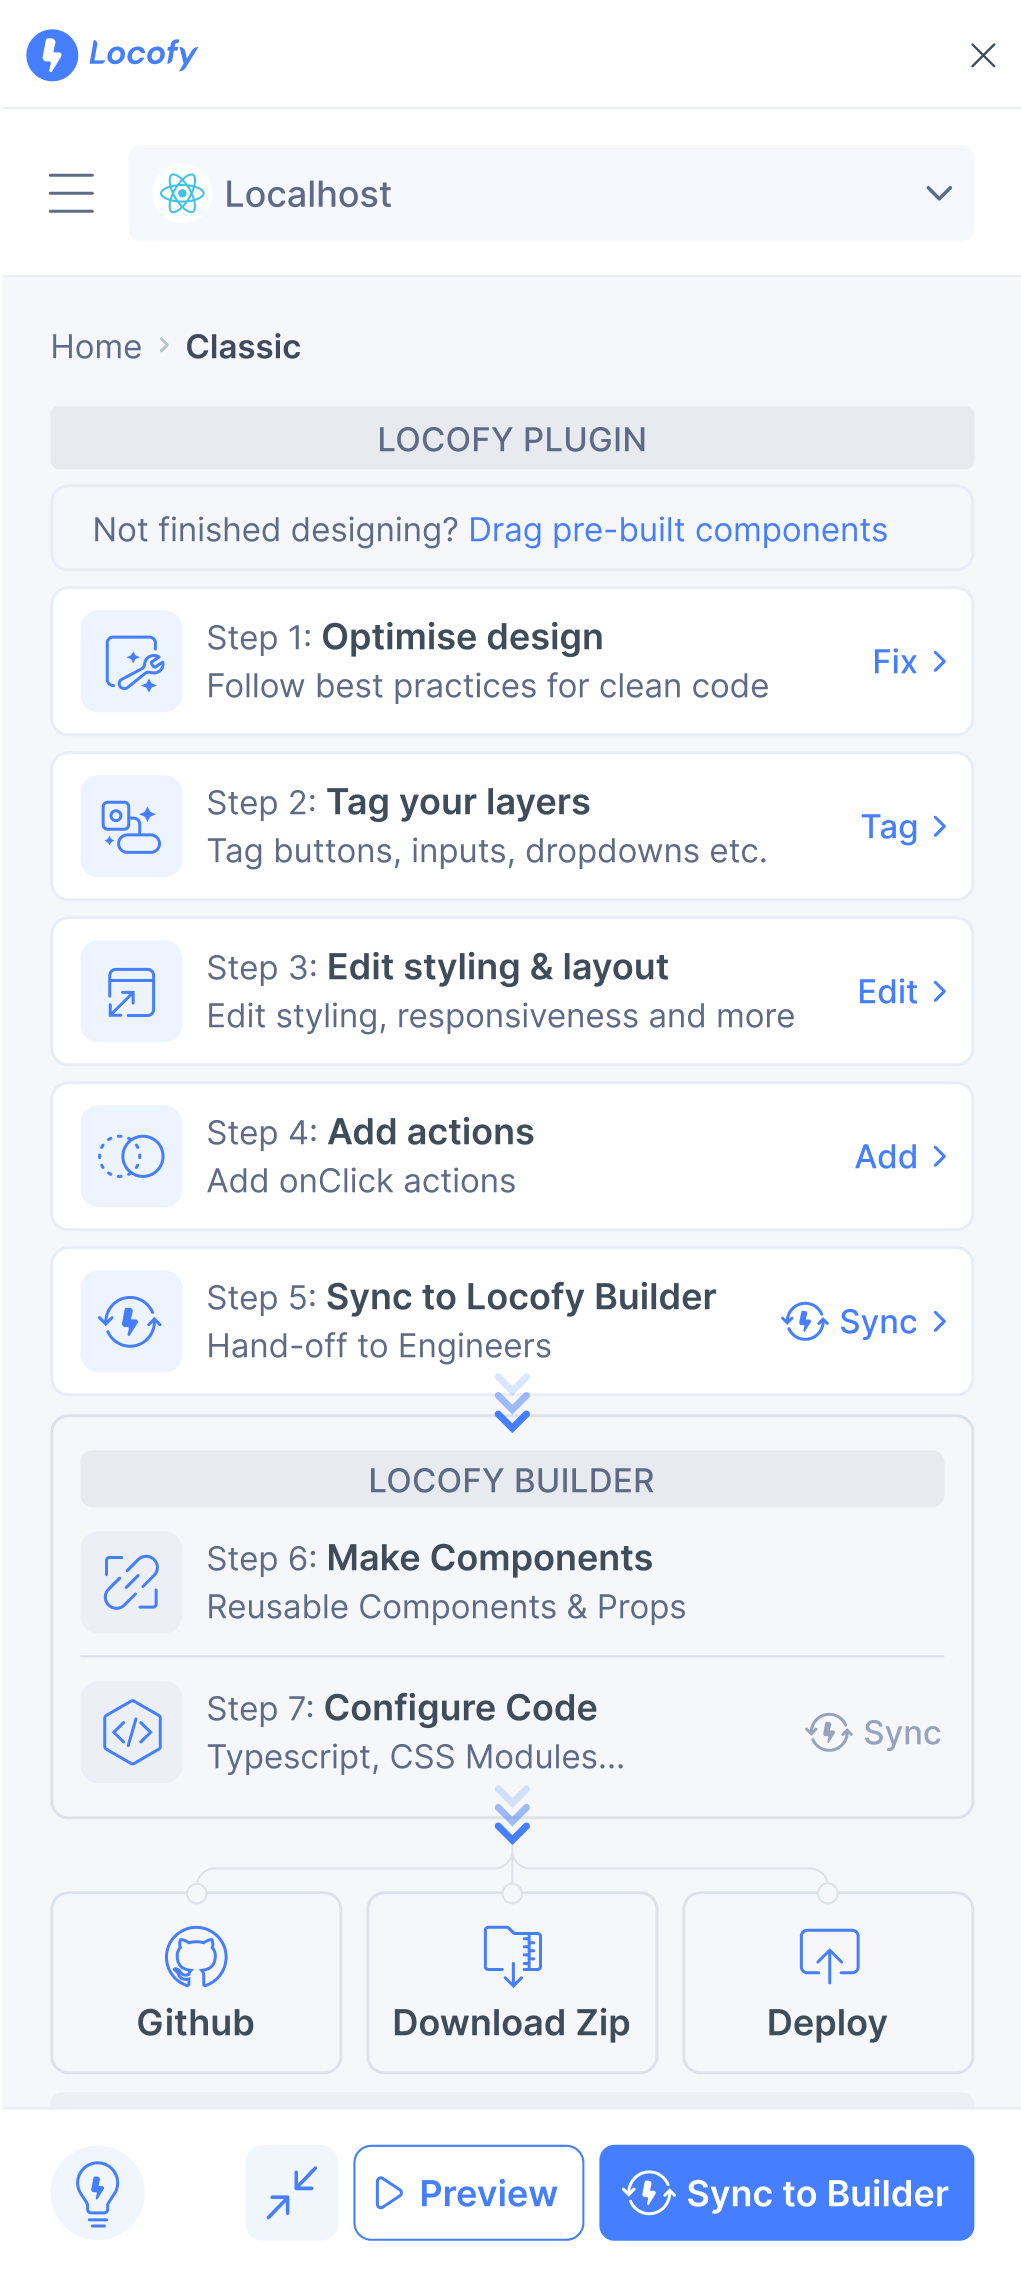
In the Classic flow, Locofy.ai presents you with 9 steps to go from design to developer-friendly, extensible front-end code.
With the Classic flow, you have control over which steps you want to run to make your designs responsive & interactive as well as the level of modularity of your code.

Optimising and Making Your Designs Interactive
Pre-Built Components & Storybook
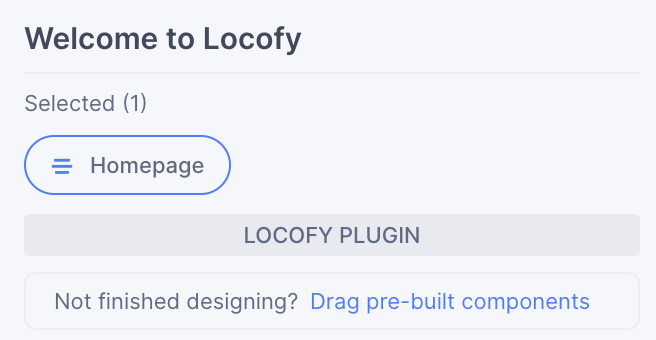
Classic flow allows you to convert your completed design into code. If you're not done designing and prefer to use pre-built components from libraries or your storybook, you can include them at the top under "Drag pre-built components".
The steps from 1 - 5 are present in the plugin and they enable you to rapidly optimise your designs and make it responsive & interactive.
Step 1: Design Optimiser
In this step, Design optimiser will help you apply the best practises to your Figma design that will lead to high-quality code from Locofy. These best practices include fixing your design structure, applying Figma's auto-layout and making sure your app works across different screen sizes.
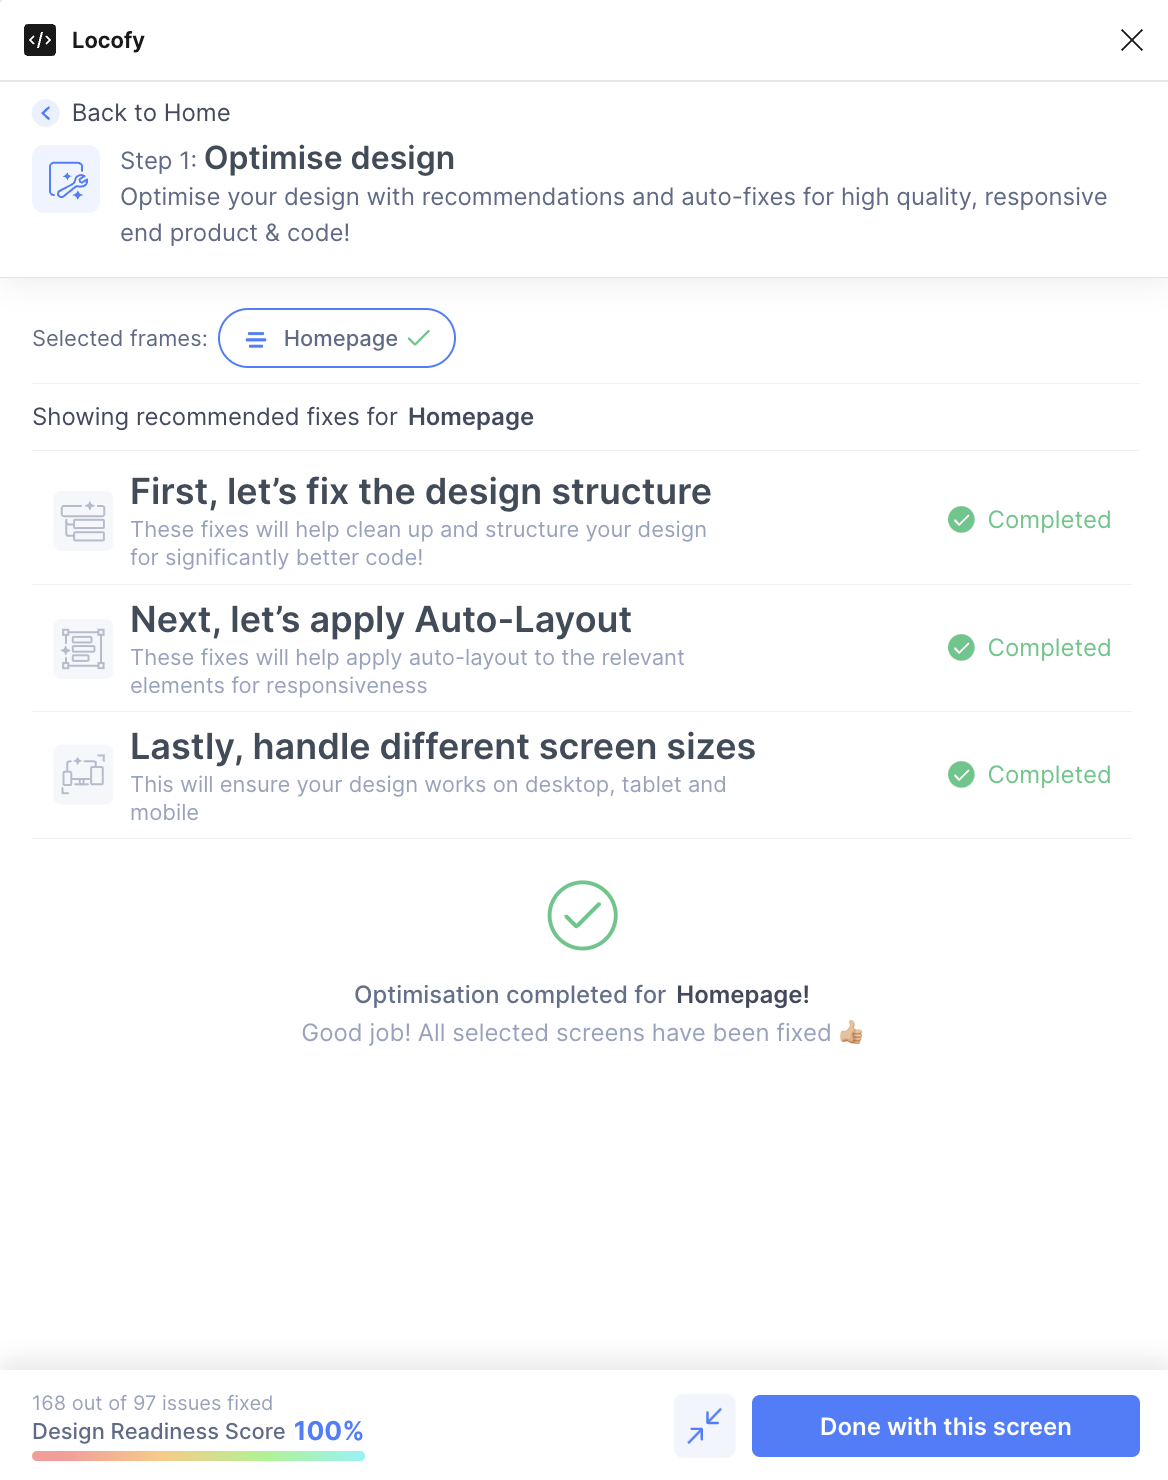
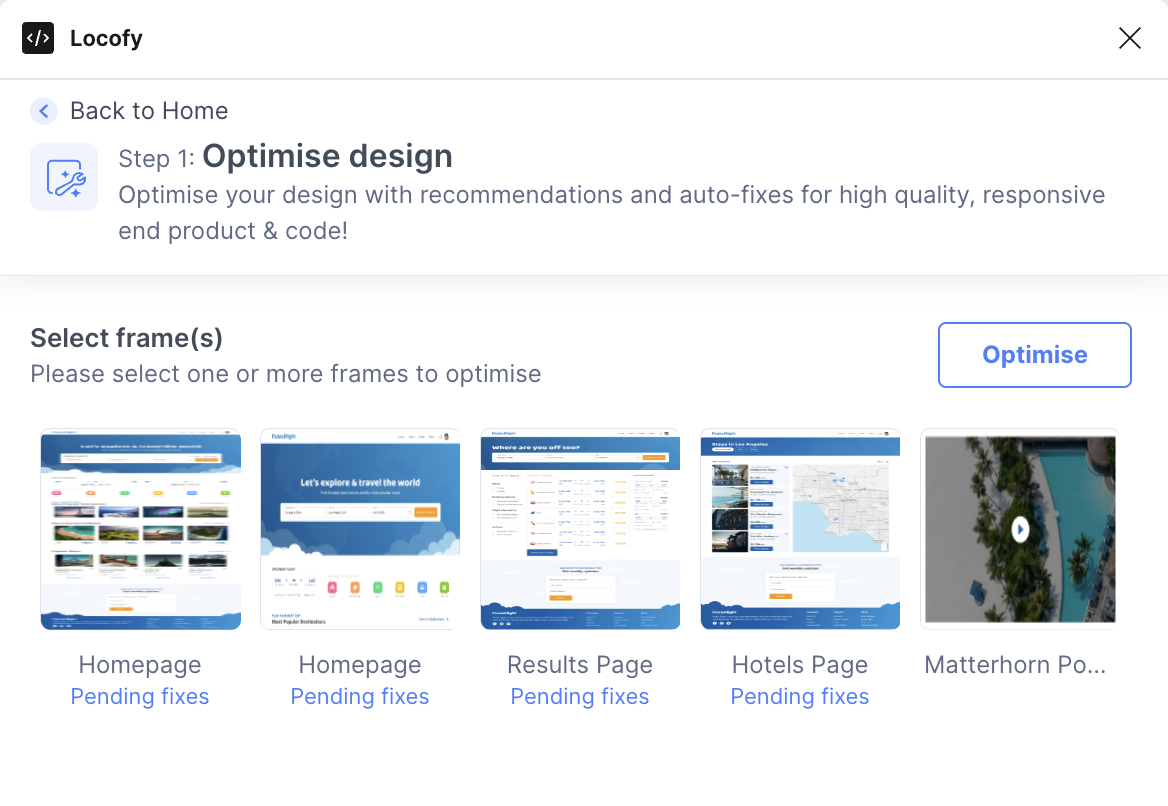
Note: Step 1 is unchanged from the previous Locofy plugin version.
Step 2: Tagging
This step is about tagging your interactive elements. This allows you to not just make static designs with Locofy, but rather build fully functional, interactive apps. Simply select your Figma element and choose the appropriate tag.
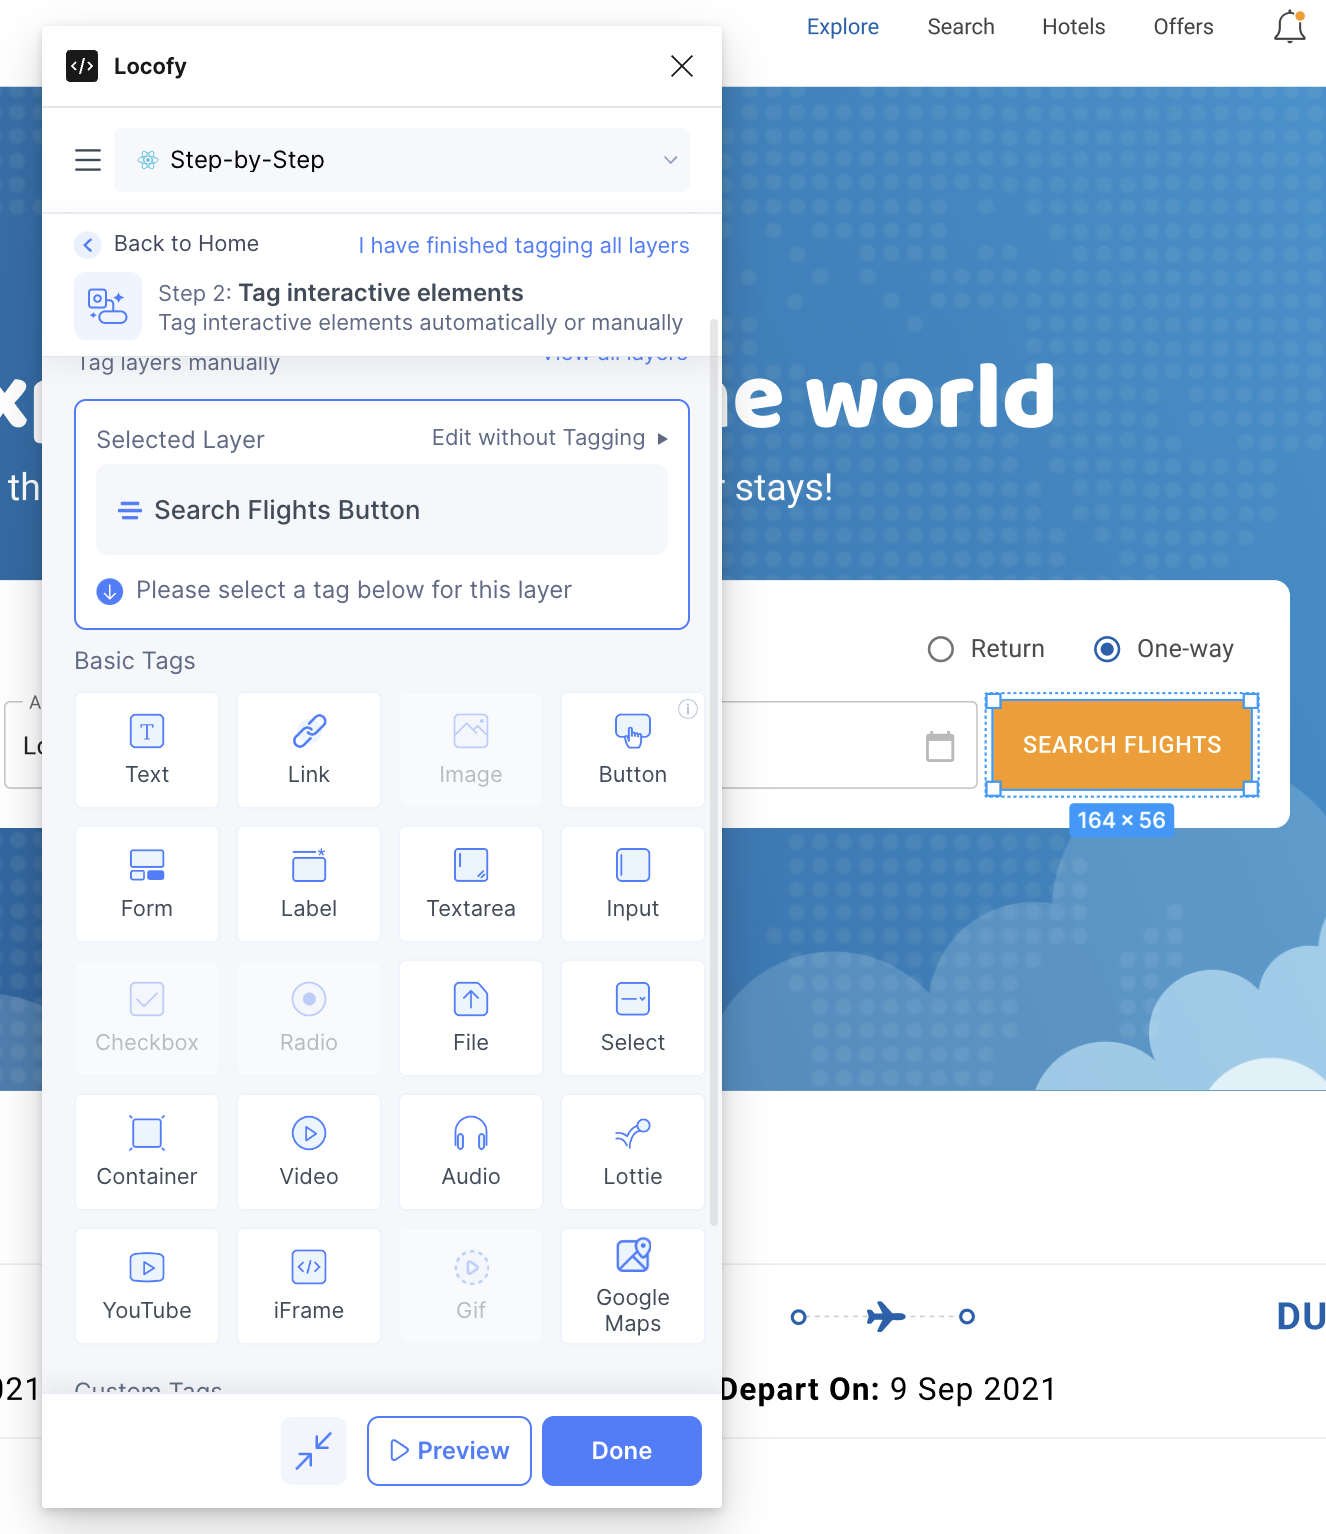
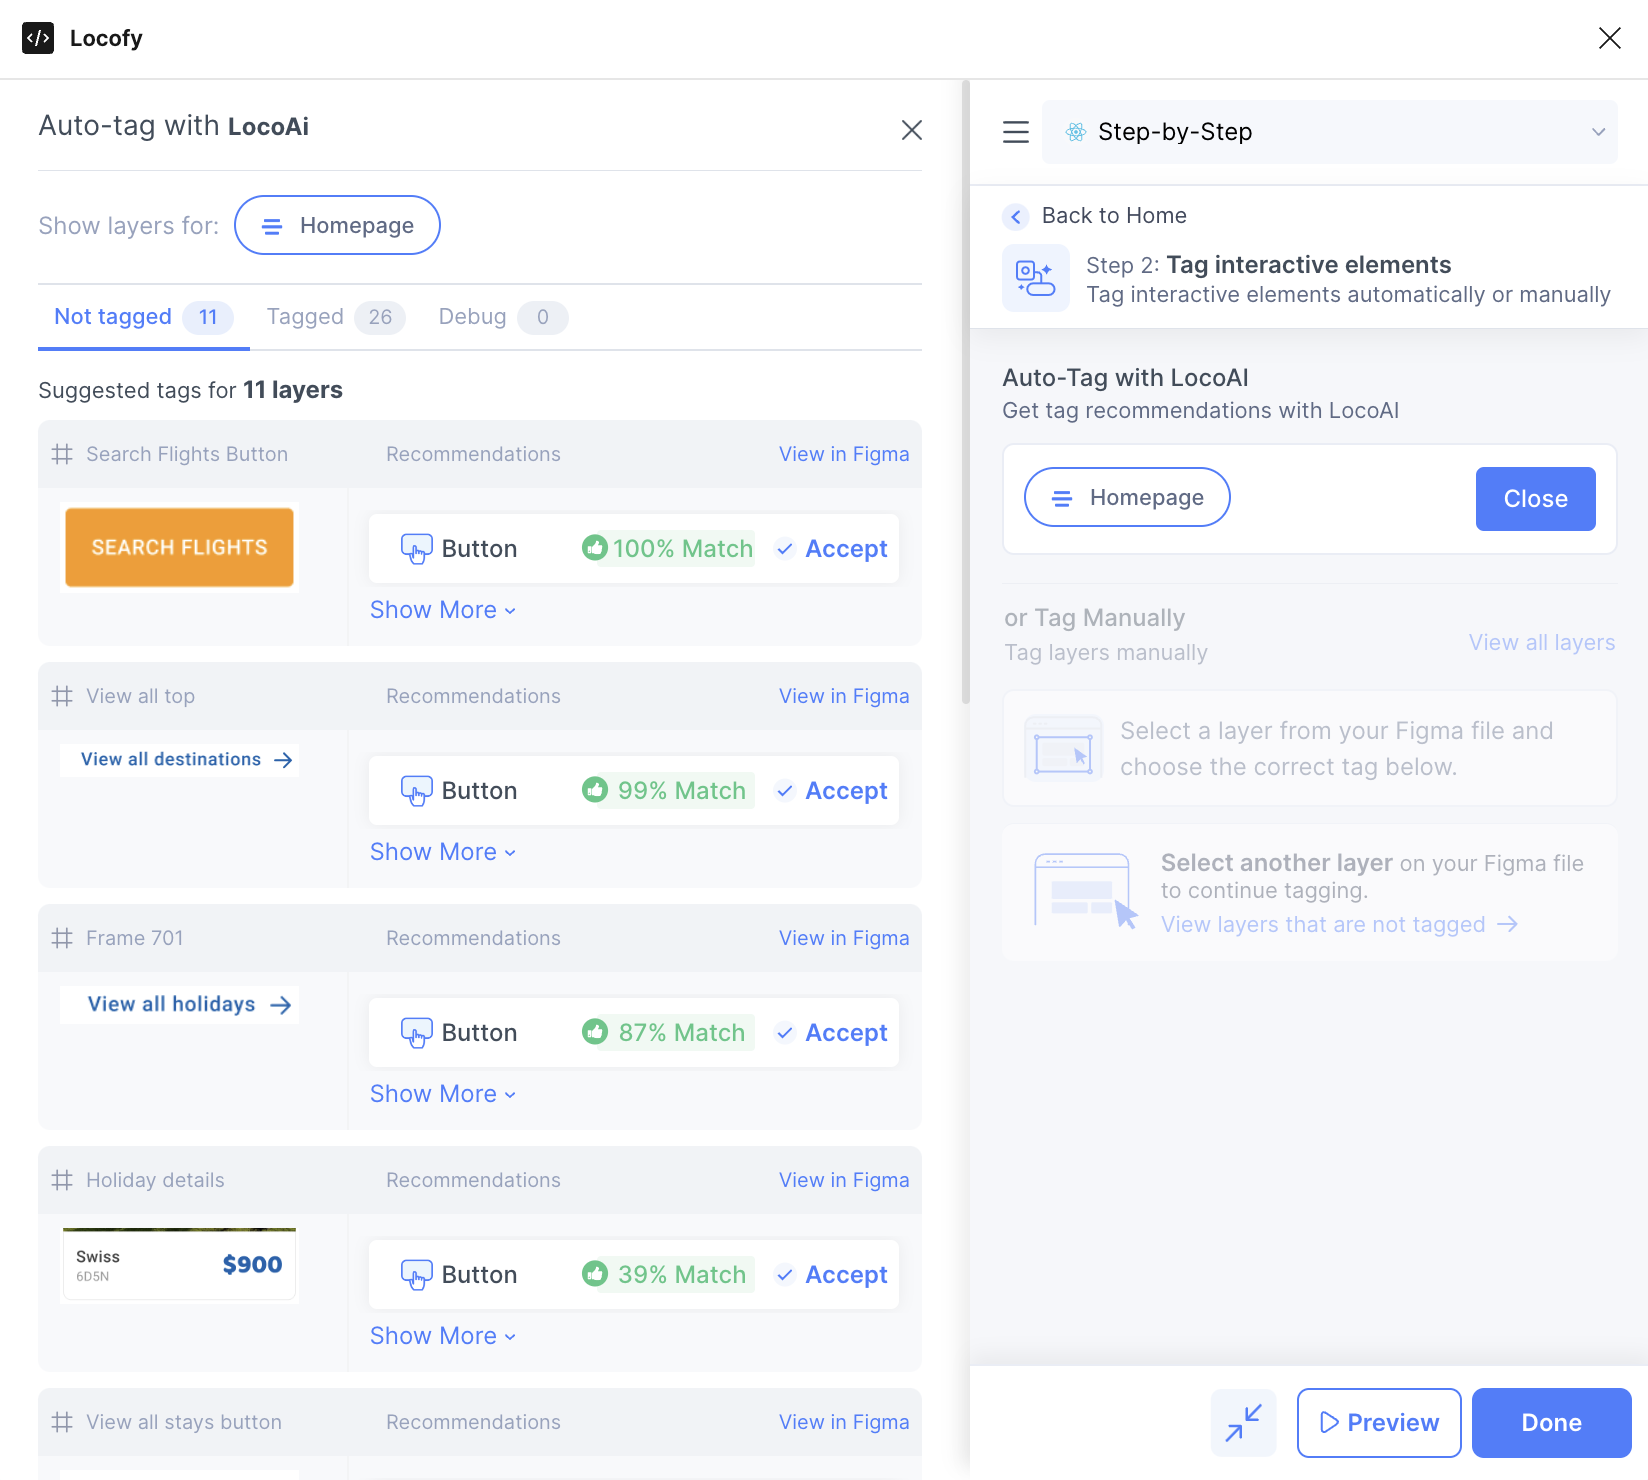
Alternatively, select the frame and let our Auto-Tagging feature automatically recommend suitable tags. With the new and improved Auto-Tagging 2.0 feature, you will have up to three times improved accuracy and confidence. Simply click "Accept" on the correctly recommended tag.
Read more about Auto-Tagging here.
Note: Step 2 is unchanged from the previous Locofy plugin version.
Step 3: Styling and Layout
In this step, you set up styling and layout options for different screen sizes and states, such as hover effects and media queries.
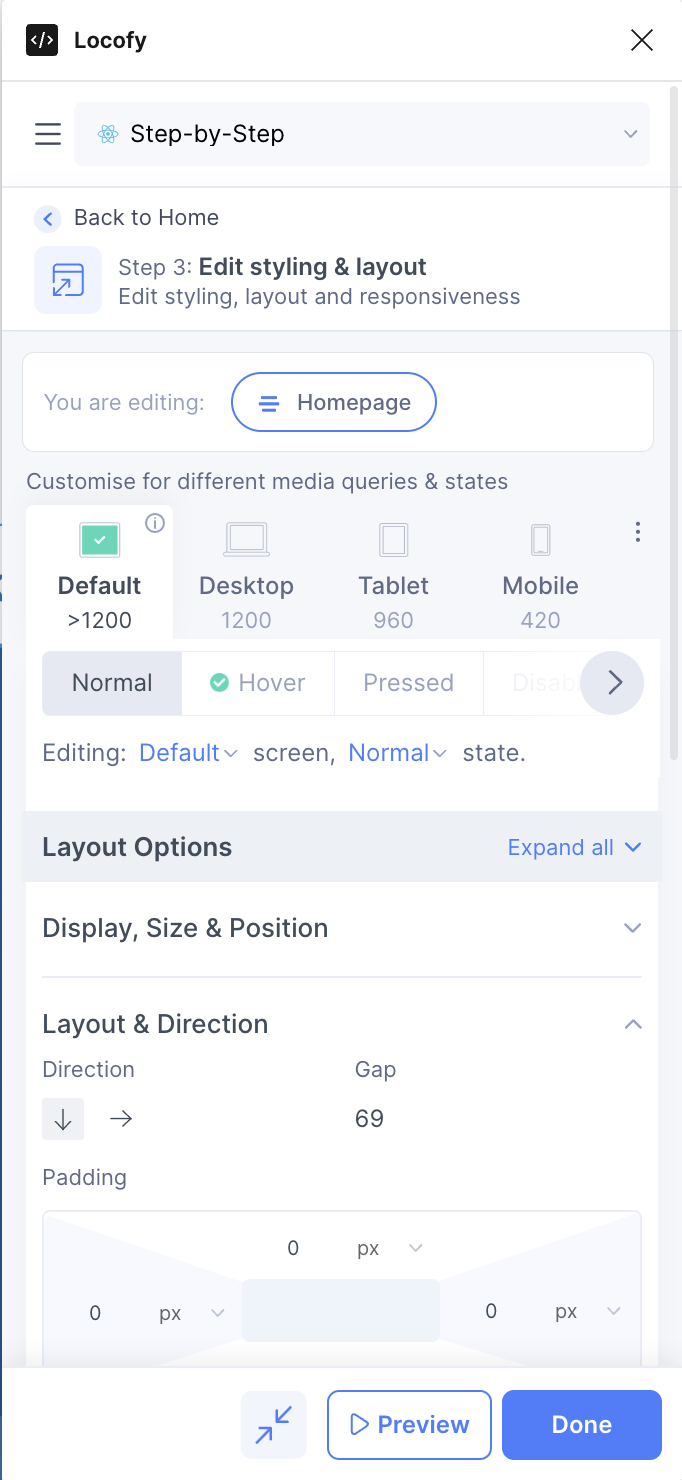
Note: Step 3 used to be part of the "Tagging" step (see above), but has been moved into its own step to make customisations for layouts, styling and responsiveness more accessible, even when you haven't tagged your elements yet. This empowers you to build any application even faster.
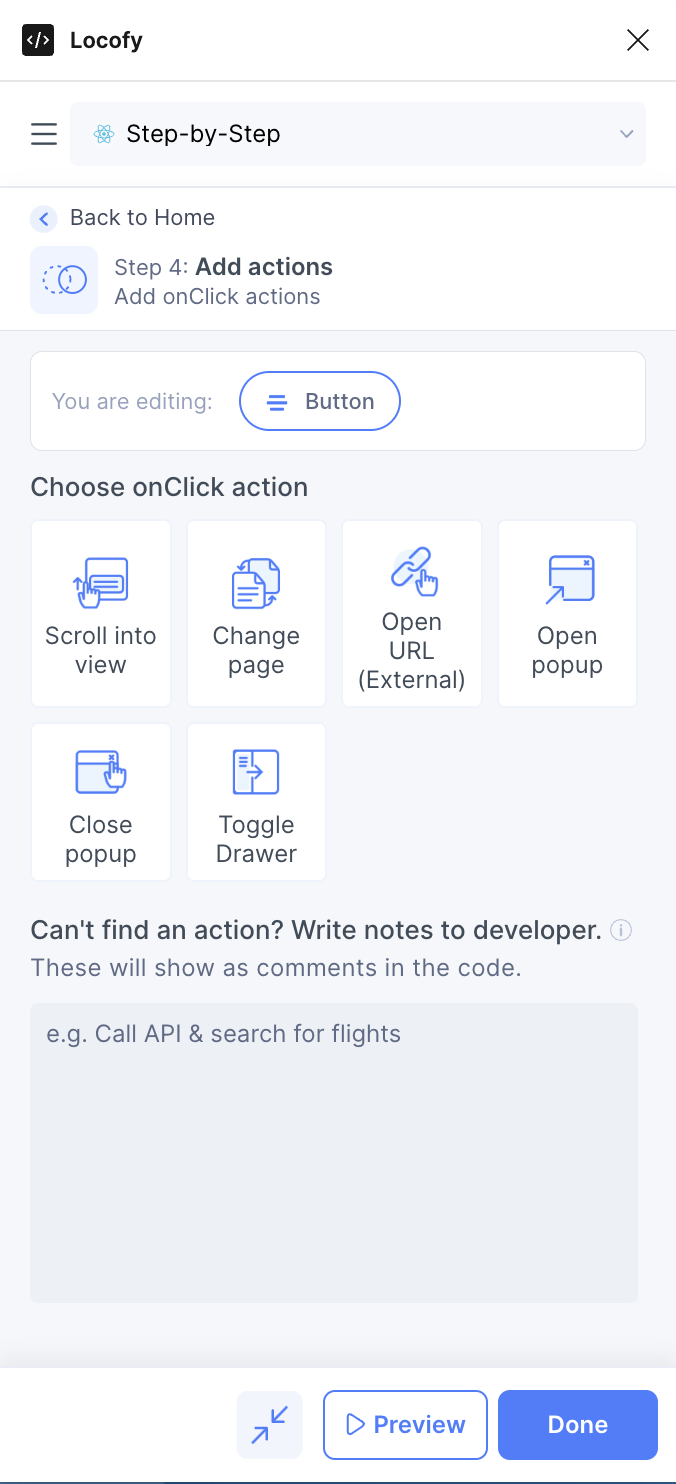
Step 4: Add Actions
This step allows you to add onClick actions to your elements, such as changing the page or opening a popup. You can even add a comment that allows the developer to easily integrate a custom functionality such as API calls once you have exported the code. Simply click "Add", select your element, and set up the desired actions.
Note: Step 4 used to be part of the "Tagging" step (see above), but has been moved into its own step to make setting up actions more accessible, even when you haven't tagged your elements yet. This empowers you to build any application even faster.
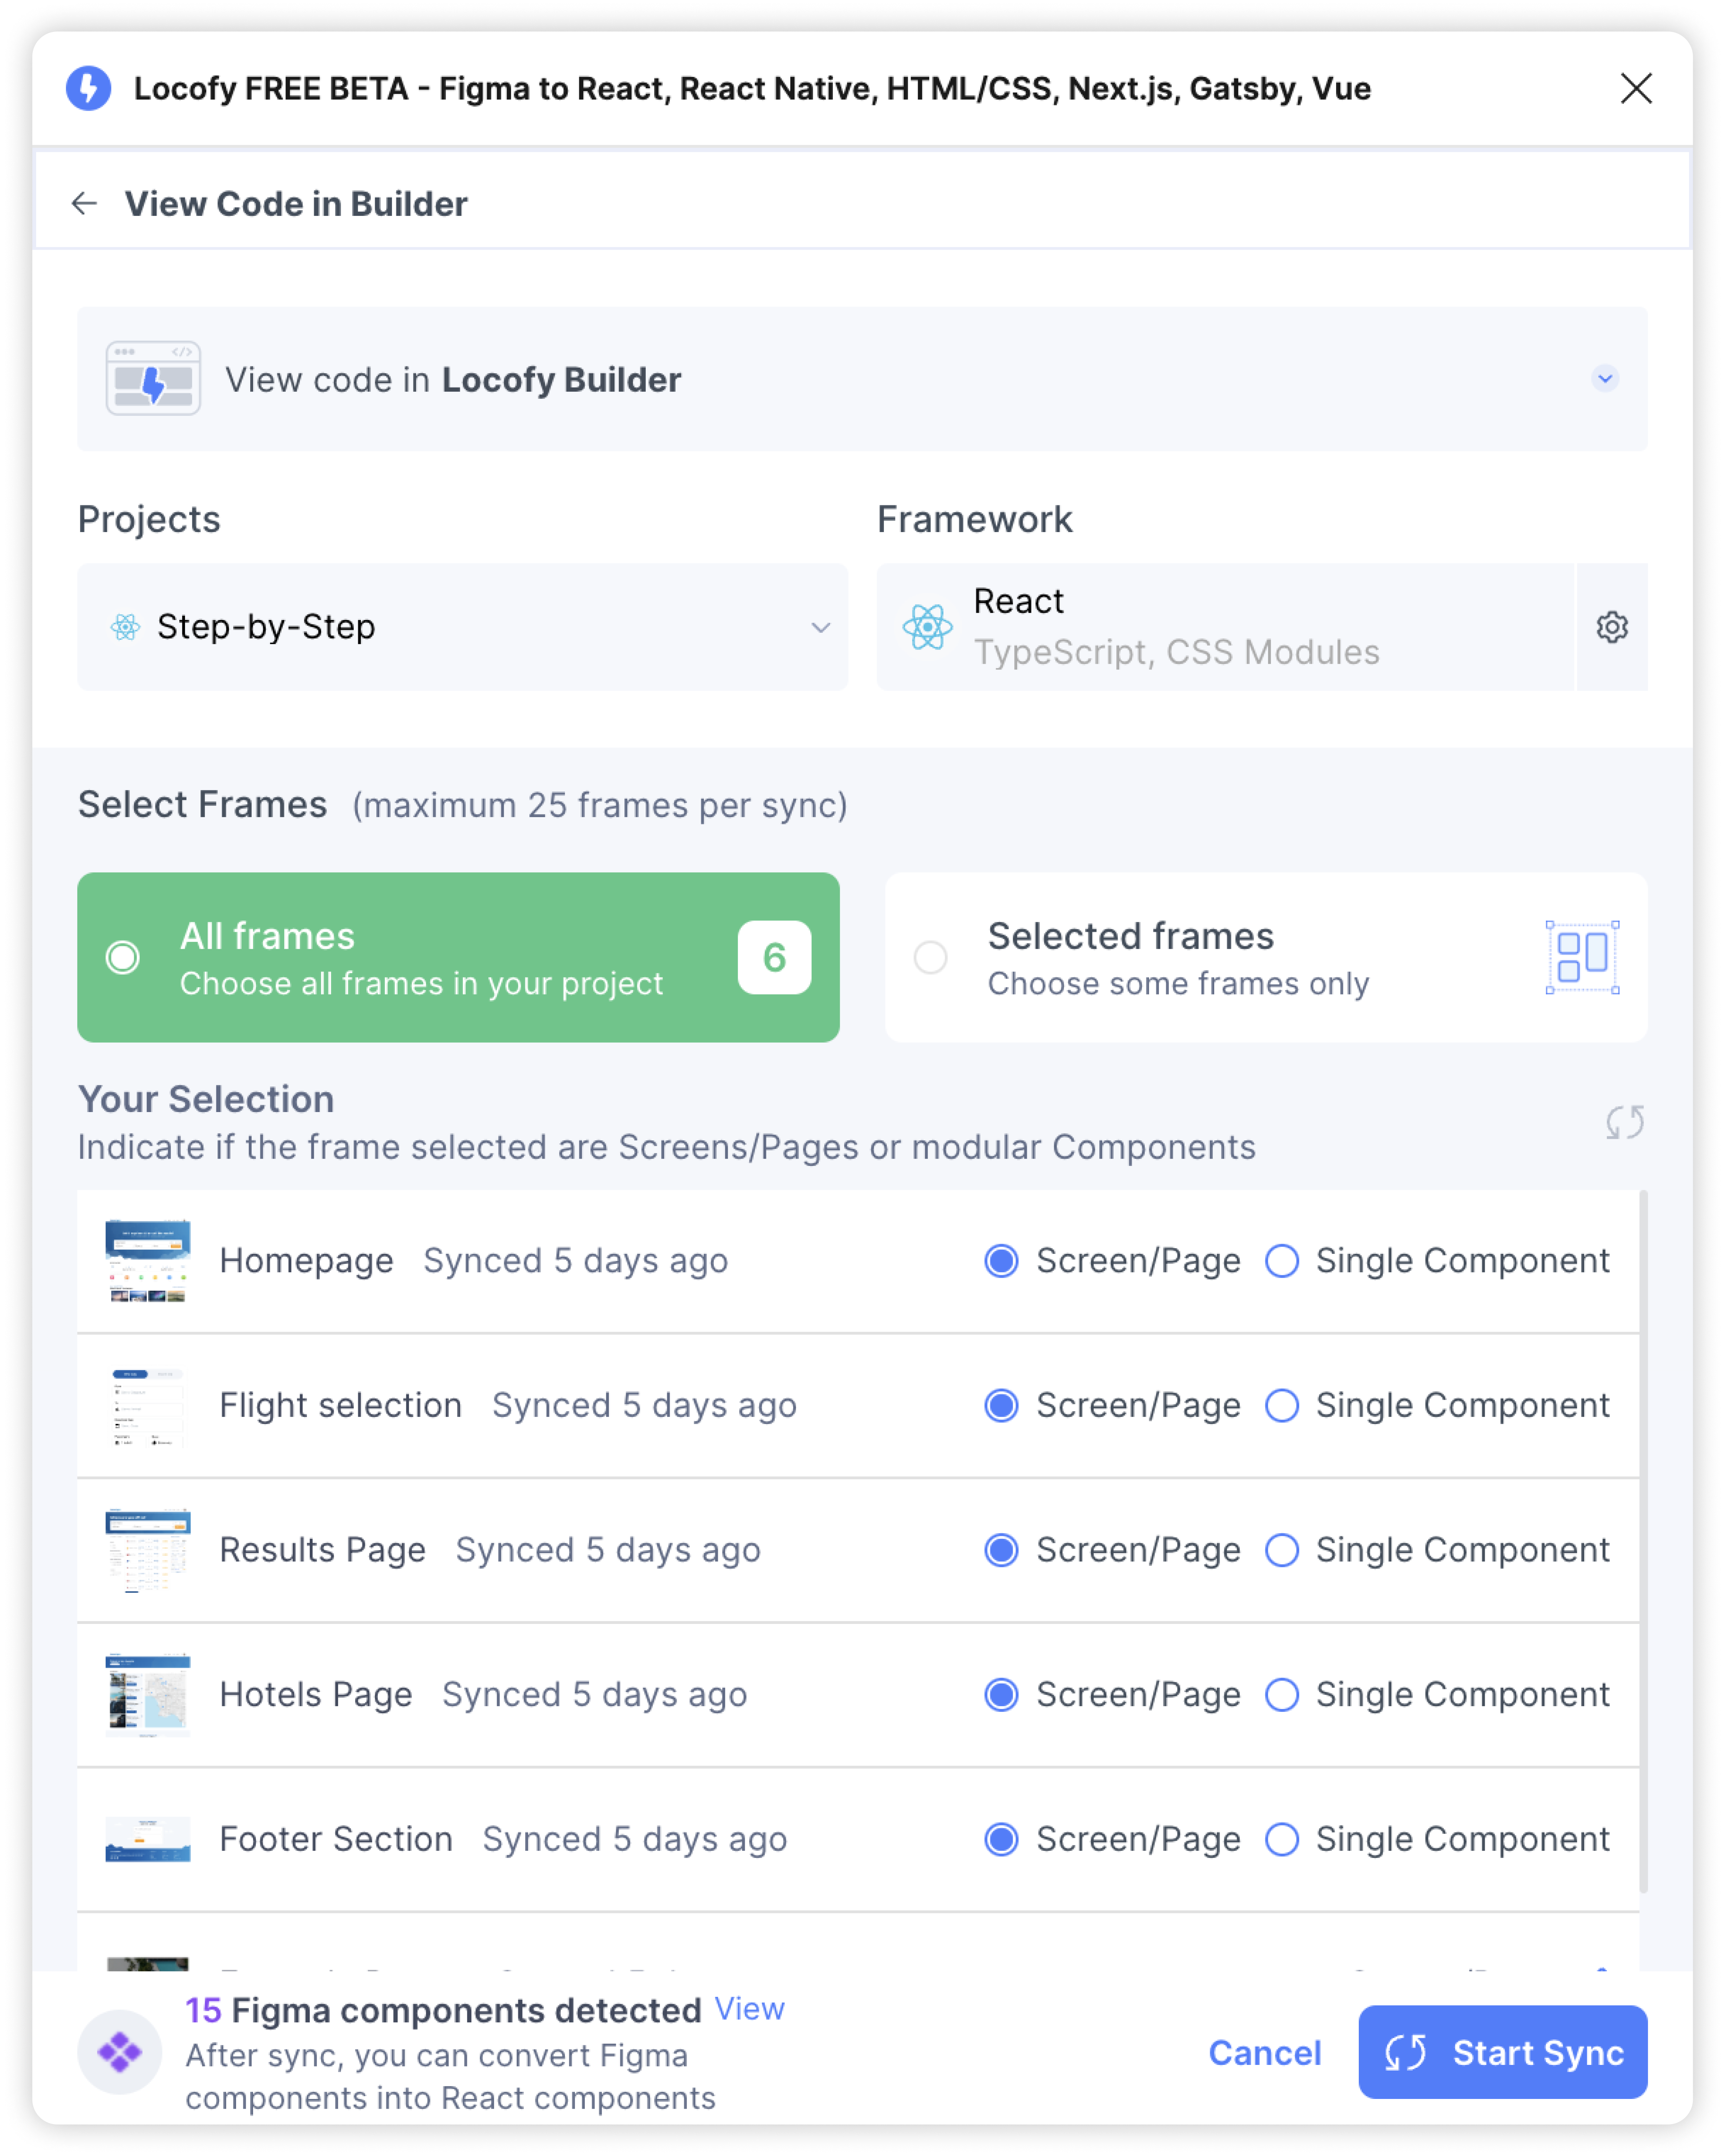
Step 5: Sync to Locofy Builder
Step 5 allows you to sync your design to the Locofy Builder to view code, set up reusable components and props, adjust code config, and export or sync to GitHub or directly deploy your project.
Note: Step 5 has been updated to allow components to be set up within the plugin. This improves our components workflow and empowers you to build any application even faster.
Getting Your Code Ready For Export
The steps 6 – 9 are present in the Locofy Builder and they deal with making adjustments to your code and getting it ready for export, deployment or sync with GitHub.
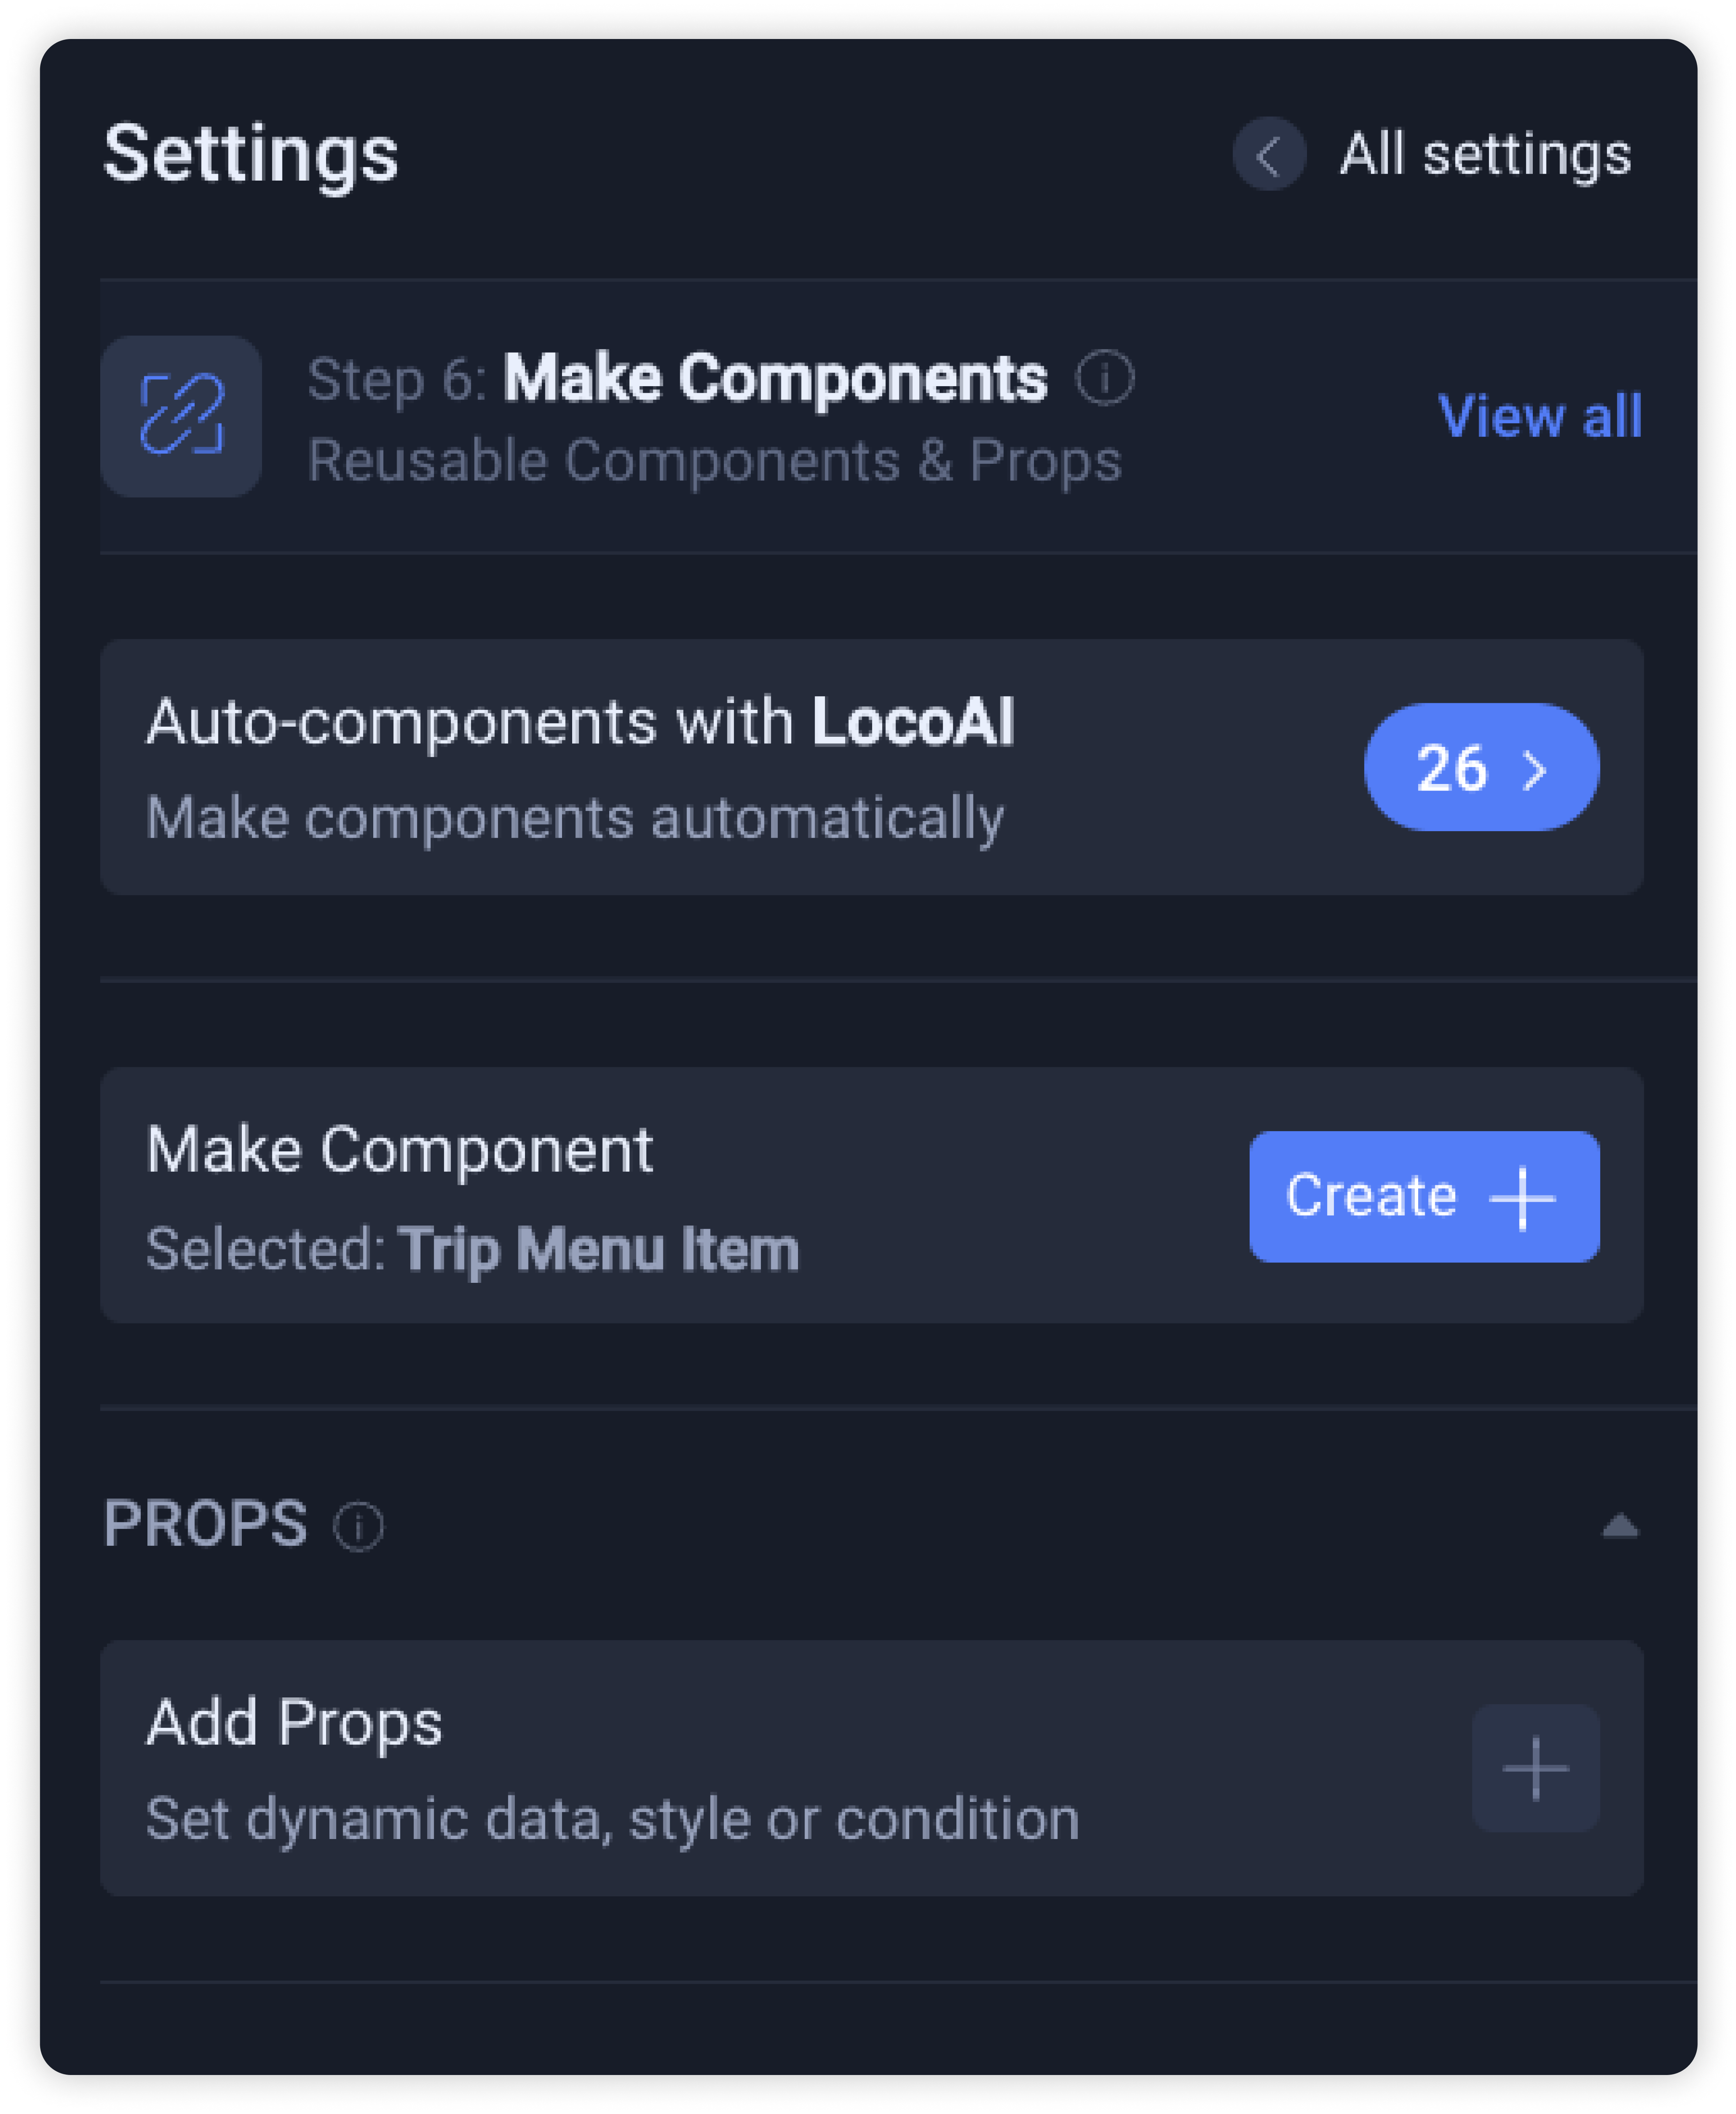
Step 6: Make Components
This allows you to setup reusable components and props for the engineers to use.
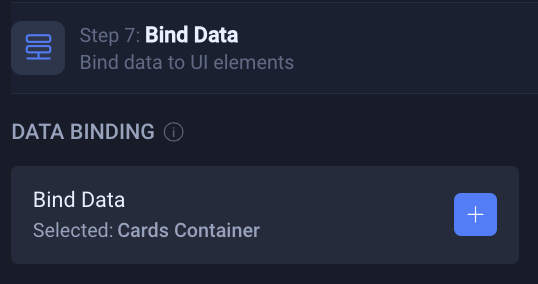
Step 7: Bind Data
In this step, you can setup data binding using state variables.
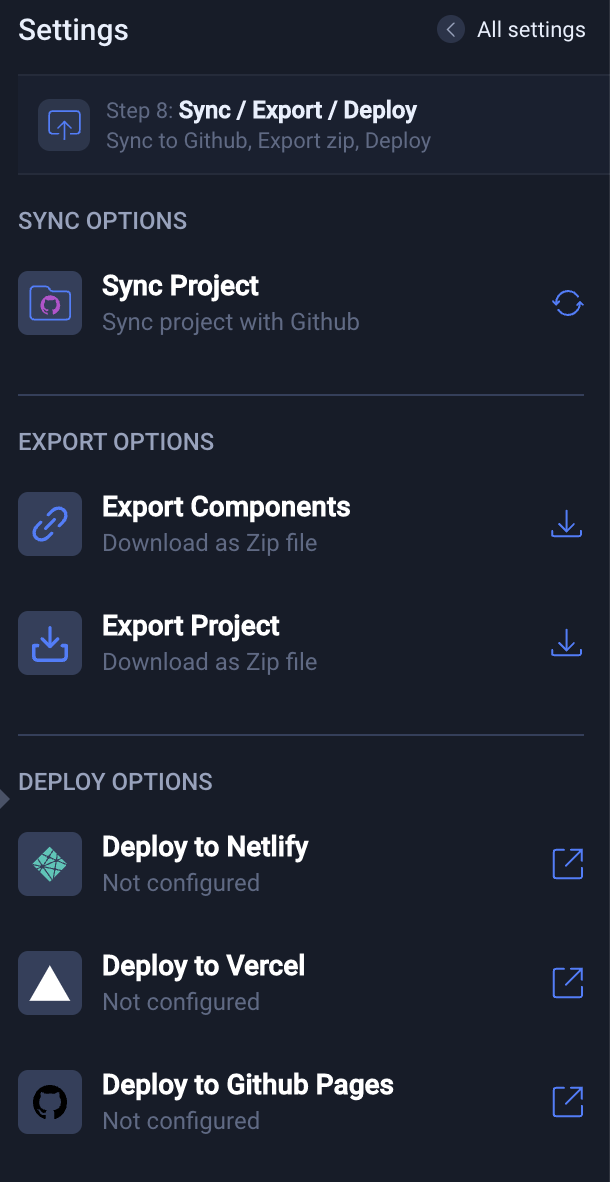
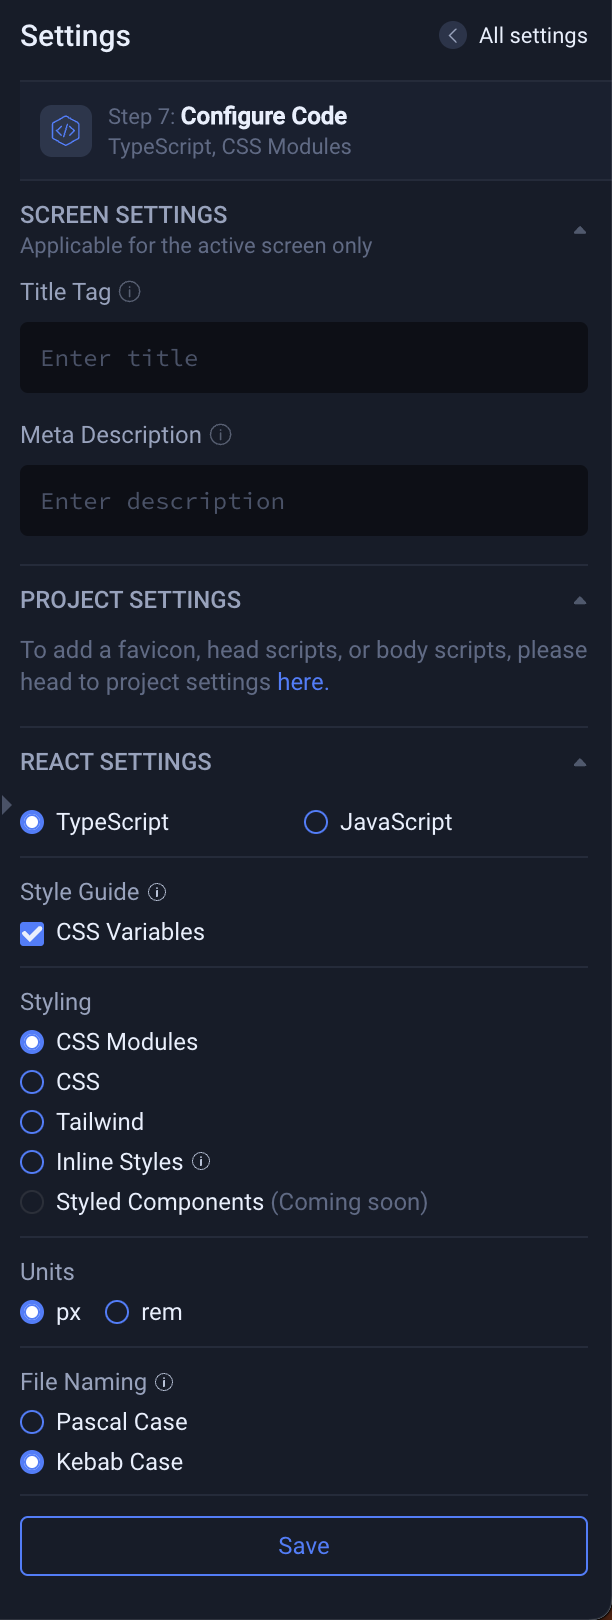
Step 8: Configure Code
In this step, you can change your code configuration, such as changing your settings for React, styling or file naming.
Step 9: Exporting Code
The last step is to export your project, choosing from 6 options such as syncing to GitHub or even directly deploying with Netlify or Vercel.