Form Validation
Form validation ensures that users provide correctly formatted data before submitting. In Agent Mode, you can add client-side validation to any form in your generated UI using a single prompt or the built-in shortcut — without writing the logic manually.
What Agent Mode Does
When you apply the validation prompt, Agent Mode will:
- Identify all form fields in the selected component or screen (inputs, textareas, selects, checkboxes)
- Add appropriate validation rules for each field based on its type and label (e.g. required, email format, minimum length, phone number pattern)
- Display inline error messages below each field when validation fails
- Prevent form submission until all fields pass validation
- Apply the changes using your framework's standard validation approach — inline state management, a library like React Hook Form or Formik, or native HTML constraint validation
The result is a fully wired validation layer that works immediately in the preview without any additional configuration.
How to Apply
Using the Shortcut
- Switch to Agent Mode in the plugin or in Locofy Builder.
- In the new chat, you will see a list of prebuilt prompts. You can also click on the light bulb icon to open the shortcuts panel.
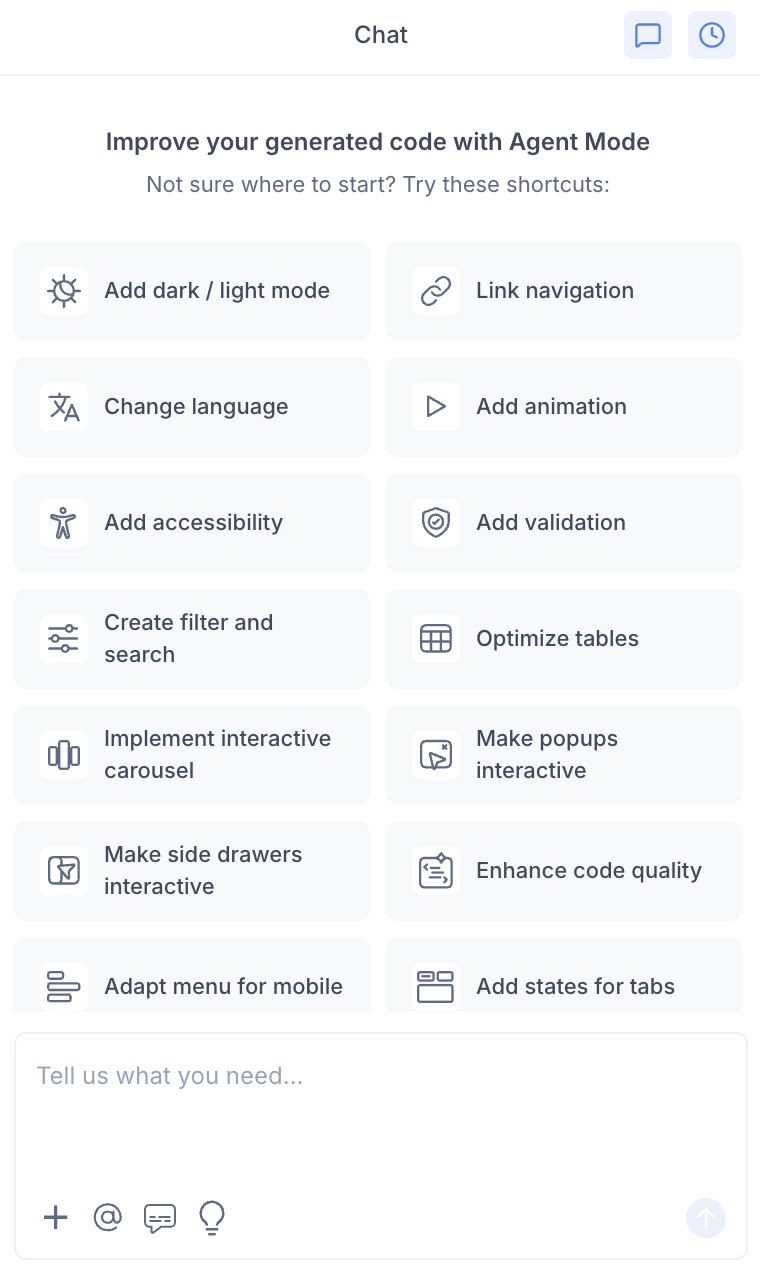
- Select "Add validation" from the list.
- Agent Mode will add validation to the forms on the current screen.

Using a Custom Prompt
You can type a prompt directly into the chat box to specify validation rules in detail. For example:
"Add form validation to the sign-up form. Make email and password required, validate email format, and require the password to be at least 8 characters."
"Add validation using React Hook Form. Show error messages in red below each field."
"Make the phone number field required and validate that it follows a 10-digit format."
"Add validation to the checkout form. Credit card number should be 16 digits and the expiry date should be in MM/YY format."
Targeting a Specific Form
To add validation to one form without affecting the rest of the screen:
- Use the selection tool in Agent Mode to highlight the form or the specific fields.
- Type your prompt or select the shortcut.
Agent Mode will scope the validation logic to just the selected section, leaving other forms or components untouched.
Example Output
For a sign-in form with an email and password field, Agent Mode transforms a static form into a validated one:
const [errors, setErrors] = useState({});

const validate = (values) => {
  const errs = {};
  if (!values.email) {
    errs.email = 'Email is required.';
  } else if (!/^[^\s@]+@[^\s@]+\.[^\s@]+$/.test(values.email)) {
    errs.email = 'Please enter a valid email address.';
  }
  if (!values.password) {
    errs.password = 'Password is required.';
  } else if (values.password.length < 8) {
    errs.password = 'Password must be at least 8 characters.';
  }
  return errs;
};

const handleSubmit = (e) => {
  e.preventDefault();
  const errs = validate(formValues);
  if (Object.keys(errs).length > 0) {
    setErrors(errs);
    return;
  }
  // proceed with submission
};
Each field displays its error inline:
<input type="email" name="email" />
{errors.email && <span className="error-message">{errors.email}</span>}
Customising Validation Rules
Once the base validation is in place, you can use Agent Mode to refine the rules:
"Add a confirm password field and validate that it matches the password."
"Make the phone number field optional but validate the format if a value is entered."
"Show all validation errors on submit rather than as the user types."
"Use Zod for schema validation instead of inline logic."
Agent Mode will update only the relevant validation logic without rebuilding the form structure.
Common Validation Rules Applied by Agent Mode
| Field type | Typical rules applied |
|---|---|
| Required, valid email format | |
| Password | Required, minimum length |
| Phone number | Required, numeric pattern, length |
| Name | Required, no special characters |
| Date | Required, valid date format |
| URL | Required, valid URL format |
| Number / quantity | Required, numeric, min/max range |
| Checkbox (terms) | Must be checked |
Tips
- Apply validation after finalising the form layout in Visual Mode so the field structure is stable before the logic is added.
- If your form fields have clear, descriptive labels (e.g. "Email address", "Date of birth"), Agent Mode can infer the correct validation rules more accurately.
- Use the selection tool to add or update validation on a single field if the rest of the form is already correctly validated.
- After applying validation, test the form in the preview by submitting with empty or invalid values to confirm all error states display correctly before syncing to Builder.