Internationalisation
Internationalisation (i18n) is the process of structuring your frontend code so it can support multiple languages and locales without requiring design or code changes per language. In Agent Mode, you can add full internationalisation support to your generated UI using a single prompt or the built-in shortcut.
What Agent Mode Does
When you apply the internationalisation prompt, Agent Mode will:
- Extract all hardcoded text strings from your components into a structured translation file
- Wrap text content with translation function calls (e.g.
t('key')) using a standard i18n library - Set up a locale configuration with a default language
- Generate a sample translation file so you can immediately add new language entries
- Apply the changes consistently across all affected components in the selected scope
The result is production-ready i18n scaffolding that integrates with your chosen framework's standard localisation approach (e.g. react-i18next for React, vue-i18n for Vue).
How to Apply
Using the Shortcut
- Switch to Agent Mode in the plugin or in Locofy Builder.
- In the new chat, you will see a list of prebuilt prompts. You can also click on the light bulb icon to open the shortcuts panel.
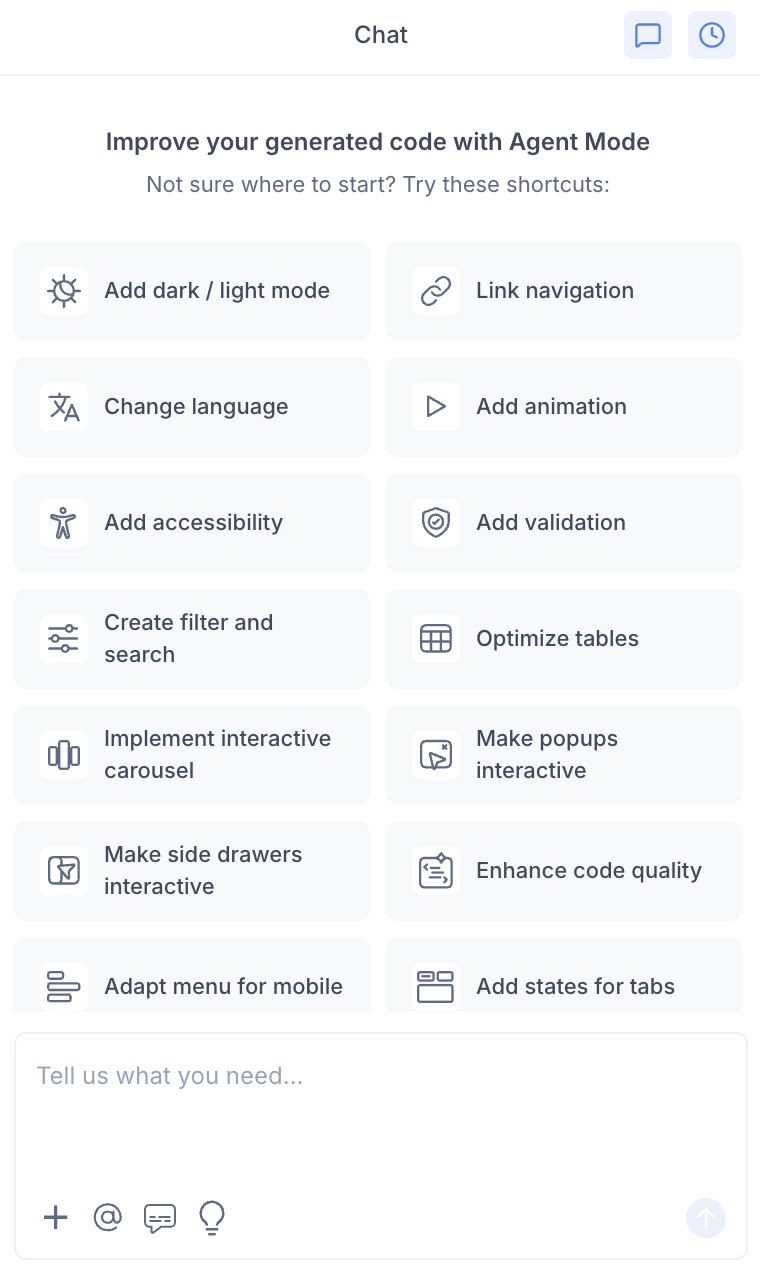
- Select "Change language" from the list.
- Agent Mode will apply internationalisation across the current screen or component.

Using a Custom Prompt
You can also type a prompt directly into the chat box for more specific control. For example:
"Add i18n support using react-i18next. Extract all text into an en.json translation file and wrap strings with the
t()function."
"Set up internationalisation with support for English and French. Use a translations folder with one JSON file per language."
"Extract all button labels and heading text into a translations file and replace them with
t()calls."
Targeting a Specific Section
To apply i18n to only one part of your UI:
- Use the selection tool in Agent Mode to highlight the component or section.
- Type your prompt or select the shortcut.
Agent Mode will scope the changes to just the selected area instead of applying them globally.
Example Output
For a component with a hardcoded heading and button, Agent Mode transforms:
<h1>Welcome back</h1>
<button>Sign in</button>
into:
import { useTranslation } from 'react-i18next';

const { t } = useTranslation();

<h1>{t('welcome_back')}</h1>
<button>{t('sign_in')}</button>
with an accompanying en.json:
{
  "welcome_back": "Welcome back",
  "sign_in": "Sign in"
}
You can then duplicate the JSON file for each target language (e.g. fr.json, de.json) and fill in the translated values.
Adding More Languages
Once the scaffolding is in place, you can prompt Agent Mode to generate additional language files:
"Generate a French translation file based on the existing en.json."
"Add Spanish support and create an es.json with translated strings."
Agent Mode will create the new locale file with the same keys and translated values, ready for review.
Tips
- Apply internationalisation before you add other logic like validation or animations, so the extracted strings reflect the final copy.
- If your design uses placeholder text that will change in production, update those strings in the translation file rather than in the component code.
- You can re-run the shortcut after making design changes to pick up any newly added text strings.
- Use the selection tool if you only want to internationalise a specific form, modal, or section without touching the rest of the screen.