Pull Code into Your IDE using Locofy CLI
Locofy CLI lets you pull generated code directly into your local codebase, and is especially powerful because it has full context of your local project. This means the CLI can intelligently reuse your existing components, and is smart enough to merge new code with the current state of your codebase—minimizing manual conflict resolution.
After pulling, the CLI enters into Interactive mode where you can continue improving and customisin the code by using natural language prompts. This helps you fix any issues, ensures consistency with your requirements and coding patterns, and allows you to iteratively enhance your code.
The CLI pull workflow works across all frameworks supported by Locofy, including React, Next.js, Vue, Angular, React Native, Flutter, Swift, HTML/CSS, and Jetpack Compose.
Benefits of pulling code using Locofy CLI
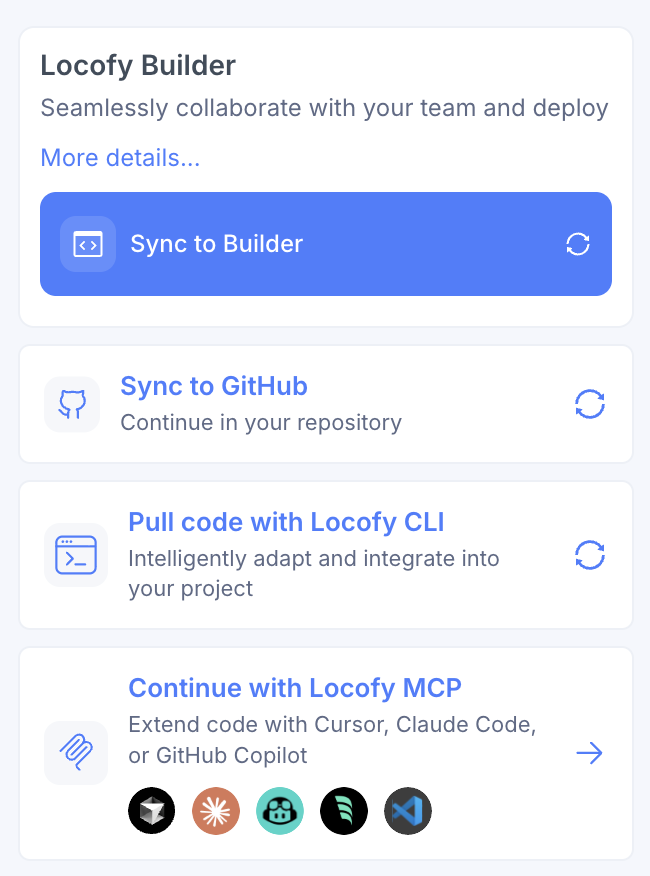
- Pull code directly into your IDE without downloading ZIP files
- Locofy CLI reuses your existing components and merges generated code intelligently into your project, minimizing manual work
- Continue refining your code with natural language prompts to fix issues and ensure your project's requirements and patterns are met

How to pull code using Locofy CLI
Step 1: Install CLI & Logging in to Locofy
Install the Locofy CLI using the following command:
npm install -g @locofy/cliOnce installed, you can login to your Locofy account using the following command.
locofy loginStep 2: Initialize Project
Open your codebase in your IDE and run the following command to your project.
locofy initThis will create a locofy.config.json file in your project root directory & show you a list of projects you have created in Locofy. Select the project you want to pull code for and press enter.
Step 3: Generate Code in Locofy Plugin & Select Locofy CLI as the export option
Now, head over to the Locofy plugin in Figma and generate your code. You can follow the Lightning Flow guide to generate code.
Once code is generated, select the Locofy CLI as the export option from the dropdown menu.
Step 4: Pull Code into Your IDE
Run the following command inside your local project:
locofy pullThe CLI will automatically:
- Fetch the latest generated code from Locofy
- Merge generated code into your existing project
- Preserve your current project structure
- Add new files where required
- Update changed files intelligently
Step 5: Continue Iterating using in interactive mode
Once the merge process completes, the CLI will automatically enter interactive mode.
You can continue modifying the codebase using natural language prompts directly from the terminal.
For example:
Refactor CreateNewPage.tsx to use TailwindAdd accessibility improvements to CreateNewPage.tsxConvert the layout component of Homepage.tsx into a reusable componentStep 6: Repeat the Process for Continuous Development
Once the merge and interactive mode process is complete and you are happy with your changes, you can keep developing with Locofy seamlessly.
Whenever you make updates or generate new code in the Locofy plugin, simply return to Step 3 and follow the same flow: generate and export code in the plugin, then run locofy pull in your IDE to merge and continue iterating on your project. This allows for an efficient, continuous design-to-code workflow.
Notes
locofy initmust be run before usinglocofy pull- The CLI Pull option is available directly inside the Locofy plugin export flow
- Interactive AI mode starts automatically after pulling code
- The CLI workflow works alongside existing export options