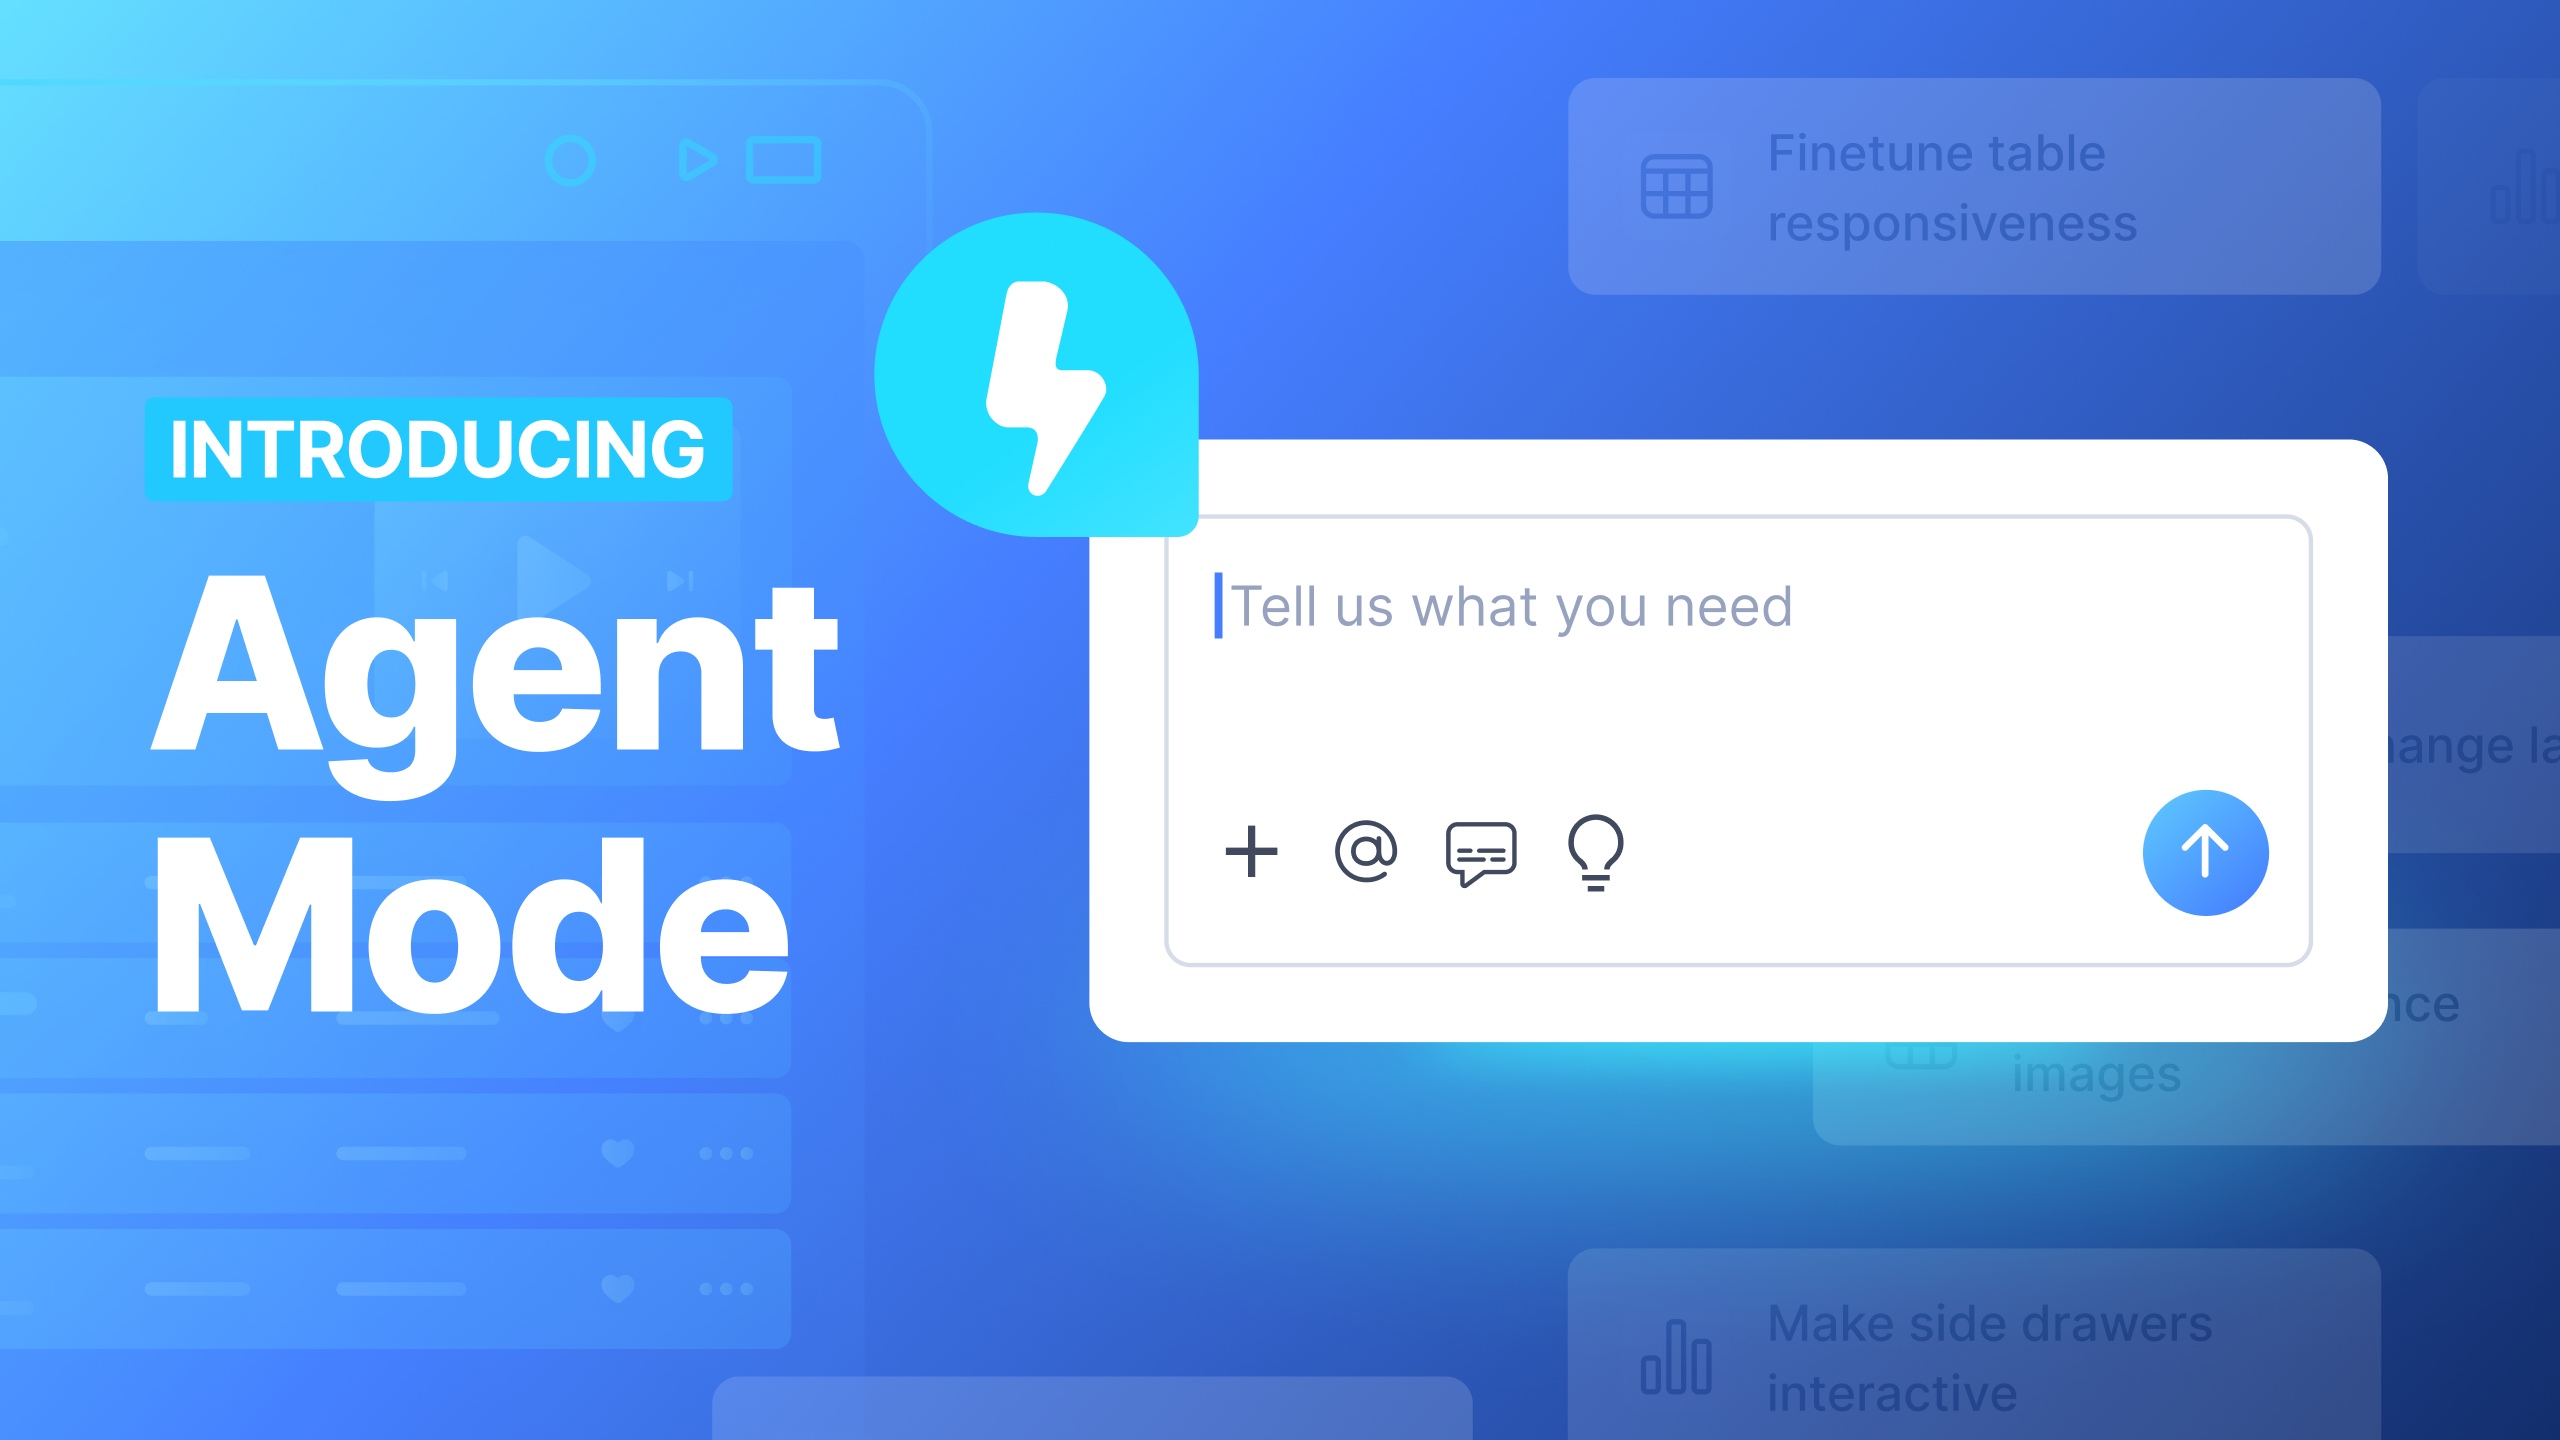
Agent Mode
Refine and improve your generated code using natural language prompts in Locofy Builder.
After importing a design from URL and generating code, use Agent Mode in Locofy Builder to continue modifying and improving your UI using natural language prompts—while seeing changes reflected in a live preview.
Instead of manually updating code, describe the changes you want and Locofy will update both the code and preview for you.
Agent Mode builds on Locofy's Large Design Models, which first turn your designs into pixel-accurate, responsive, interactive, and modular frontend code. On top of this foundation, Agent Mode uses AI agents to quickly add theming, localisation, accessibility, validation, animations, and other enhancements.
How to switch to Agent Mode
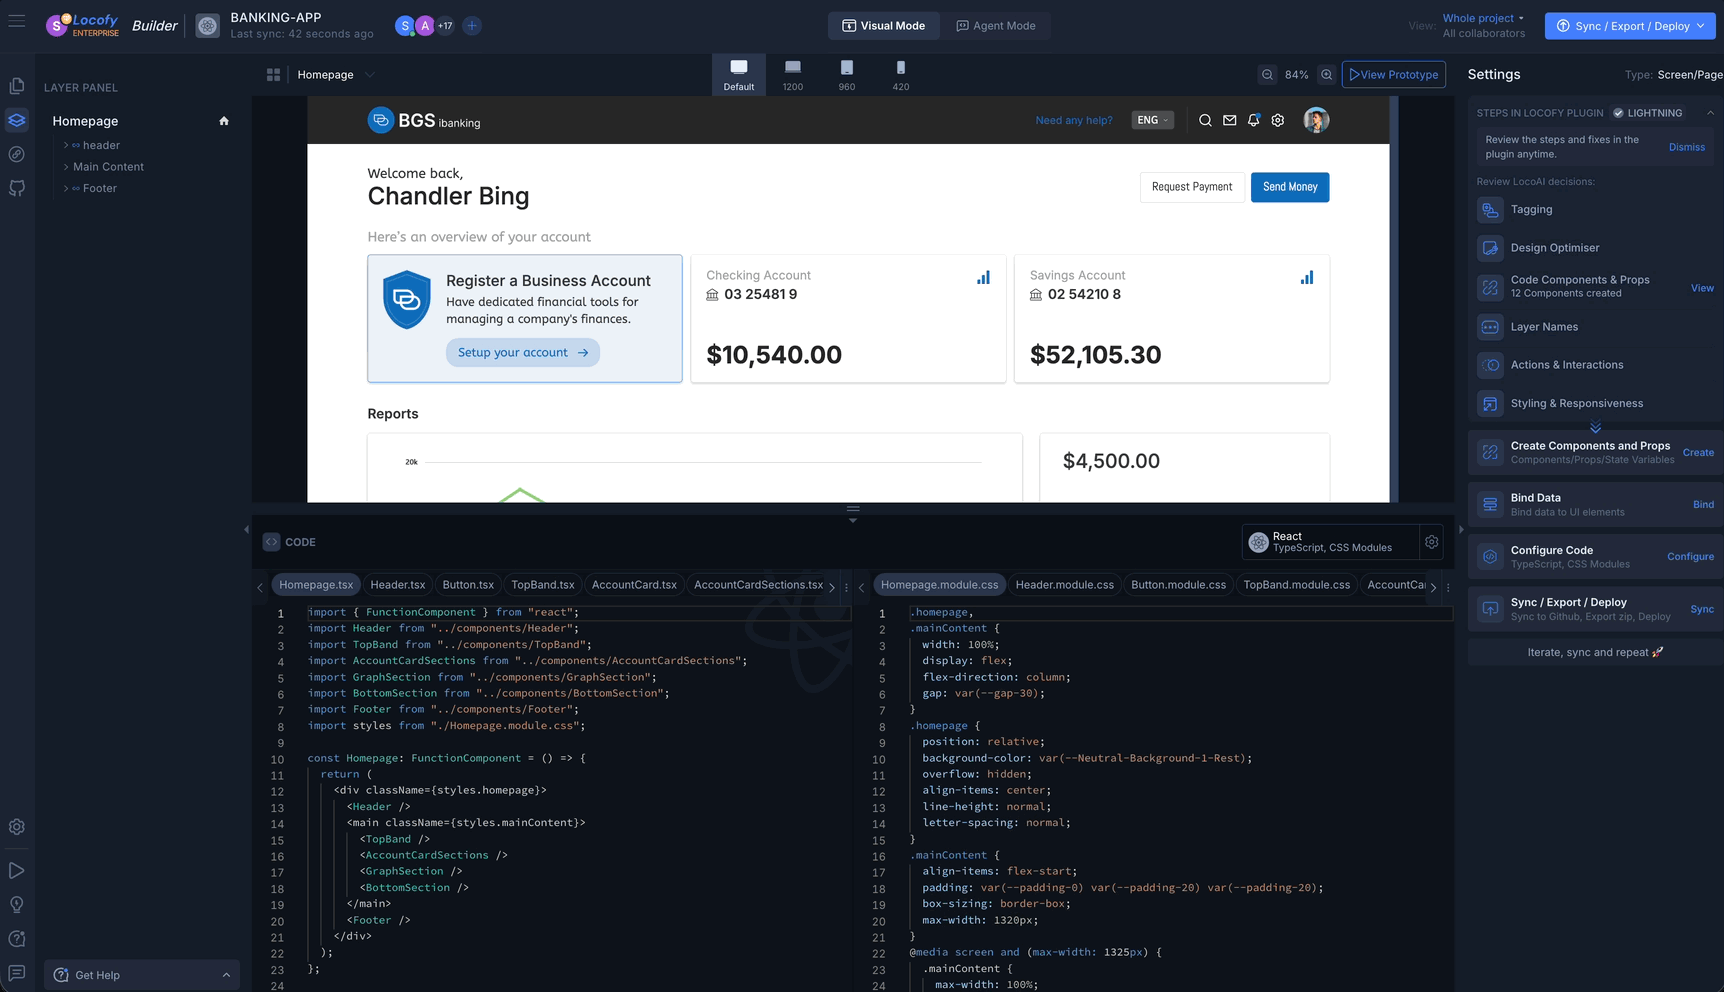
- Open your project in Locofy Builder (after generating code from your Figma URL).
- In the top toolbar, use the Visual Mode / Agent Mode switch in the center.
- Agent Mode opens with its prompt interface and shortcut actions.
What you can do with Agent Mode
For example, you can:
- Add dark mode support
- Improve accessibility
- Create reusable components
- Improve responsiveness
- Refactor layouts
- Update styling and theming
- Modify specific sections of the UI
- Align the code with your project's requirements
You can even select a specific part of the UI and apply changes only to that section.
For more advanced workflows, Agent Mode can also use additional context such as:
- Markdown specifications
- Existing code files
- Screenshots
- Design requirements
This allows Locofy to generate and modify code based on the standards and patterns used within your project.
Live preview
As changes are applied, both the code and preview update automatically in real time. This allows you to quickly iterate on your UI, validate changes, and experiment with different implementations without manually editing code.
Because the preview stays in sync with the generated code, you can immediately see the impact of every change before exporting it.
Chat, selection tools, and shortcuts
At the bottom of Agent Mode, you will find the chat box—the primary control center for making updates.

Select specific sections
Select an element or area on the preview screen, then type a prompt. Agent Mode understands exactly which part of the UI you want to modify instead of applying global changes.
This is useful for:
- Fixing layout issues on a single section
- Adding validation to one form
- Improving accessibility for a specific component
- Making targeted styling or behaviour updates
Upload reference files
Upload screenshots, mockups, or reference images. Agent Mode uses these as additional context when generating or refining UI changes.
Shortcut suggestions
The light bulb icon in the chat box opens predefined shortcuts and common use cases, including:
- Add accessibility
- Enable dark / light theme
- Change language
- Add validation
- Make carousels interactive
- Improve responsiveness
- Optimise layout
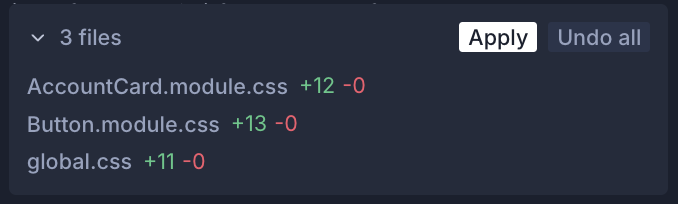
Undo and version history
Agent Mode includes built-in version control so you can experiment safely.
- Undo changes — step back from recent updates without affecting your original generated output.
- Working versions — all conversations operate on the same working folder until you click Apply Changes.
- Apply Changes — merges your Agent Mode work into the full project with an automated AI merge.
Improve code quality with Agent Mode
The quality of code Locofy generates depends on how your Figma design is structured—and how you refine the output afterward. Well-structured designs produce cleaner, more predictable code. If the initial output needs work, use Agent Mode to improve responsiveness, layout, and structure without leaving Locofy Builder.
If you have not prepared your design in Figma, you can still convert from URL first and improve the result with prompts. See Optimising your designs for design-level best practices and more Agent Mode guidance.
Spot issues and plan your fixes
- Open your project in Locofy Builder and switch to Agent Mode.
- Resize the preview to check how the layout behaves on tablet and mobile.
- Focus on sections that do not adapt well—overflowing text, fixed widths, overlapping elements, or navigation that does not collapse.
- Start with full-page responsiveness unless you are targeting a specific area.
Target specific sections
You do not need to fix an entire screen in one pass. Select an element or area on the preview, then describe the change in the chat box. Agent Mode applies updates only to that section, which gives you more predictable results.
This works well when you need to:
- Fix responsiveness on one hero, card grid, or footer
- Improve accessibility on a single form or modal
- Refine layout, spacing, or styling for one component
- Clean up structure in a crowded section without affecting the rest of the page
Responsiveness improvements
When prompting for responsiveness, be specific about what should change at each breakpoint:
- Layout — stack columns vertically on mobile, reflow grids, and prevent horizontal overflow
- Spacing — adjust padding and gaps so sections breathe on tablet and mobile
- Typography — scale font sizes and line heights for smaller screens
- Navigation — collapse menus into a hamburger or drawer on mobile
- Images and media — scale, crop, or switch aspect ratios so assets do not break the layout
- Visibility — hide or simplify non-essential elements on smaller breakpoints
- Touch targets — ensure buttons and links are large enough to tap on mobile
For example:
Make this hero section responsive — stack the text and image vertically on mobile, reduce padding, and scale down the headingFor the header navigation menu, stack all elements vertically on smaller desktop and tablet with no overlapping, and on mobile screens convert it into a hamburger menuMake this card grid responsive — 3 columns on desktop, 2 on tablet, and 1 on mobile with consistent gapsOverall frontend code quality
You can also prompt for broader structural improvements before exporting:
- Component structure — extract repeated markup, remove redundant wrappers, and split large components
- Layout fixes — replace fixed dimensions with flexible layouts, fix overlaps, and clean up spacing
- Accessibility — add labels, ARIA attributes, keyboard focus styles, and error states
- Code conventions — align naming, file structure, and patterns with your project standards
For example:
Clean up this component — extract repeated markup, use semantic HTML, and improve naming consistencyImprove accessibility in this form — add labels, error states, and keyboard focus stylesRefactor this layout to use CSS Grid with proper responsive breakpoints instead of fixed widthsYou can also open the light bulb icon shortcuts and choose Enhance code quality or Improve responsiveness to get started quickly.
Prompting best practices
- Start with high-level improvements — fix overall page responsiveness and layout before smaller details
- Be specific — describe the exact behaviour you want at each breakpoint instead of vague requests like "fix this"
- Narrow the scope — select one section at a time for more predictable results
- Add context when helpful — upload screenshots, mockups, or reference images so Agent Mode better matches your intent
- Refine your prompt — if the result is not right, adjust the instructions or scope rather than repeating the same request
Resize the preview after each change, compare the result against your design, and keep iterating until the screen meets your standards. When you are satisfied, click Apply Changes to merge your Agent Mode work into the full project.
Visual Mode vs Agent Mode
| Visual Mode | Agent Mode | |
|---|---|---|
| Best for | Reviewing structure, components, props, and settings | Refining behaviour, styling, and interactivity with prompts |
| Interface | Right panel with component and configuration controls | Prompt-based chat interface |
| Works on | Live running code | Live running code |
Both modes operate on the same project. Switch between them at any time from the top toolbar.