Locofy Tips and Tricks
These videos are shorter, typically less than 5 minutes. They are specific and will focus on a single topic. For the most up to date content, check out our Tips and Tricks Playlist and subscribe to our YouTube Channel
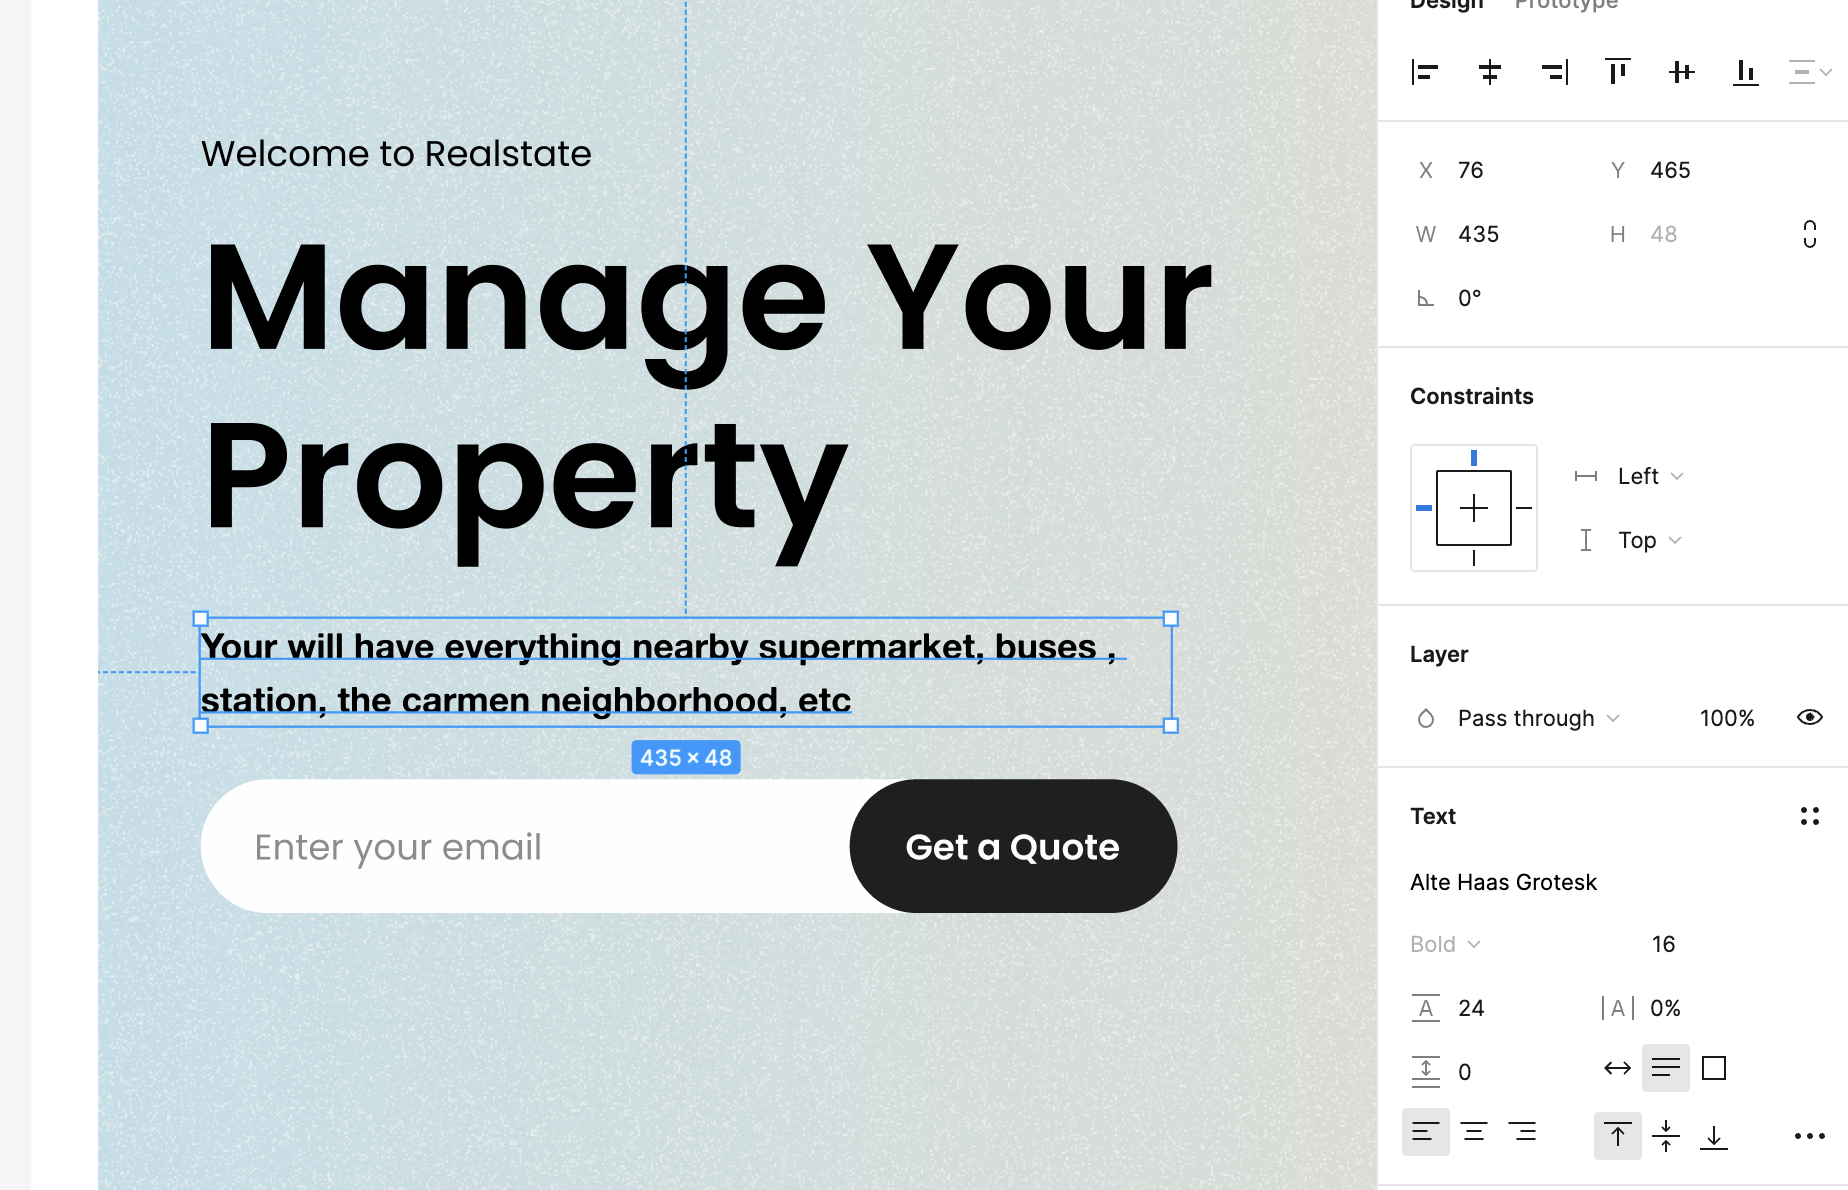
Managing custom fonts
In this tutorial you will learn to add custom fonts to the locofy plugin.
We will be adding custom fonts in hero section of the Real estate design for this tutorial.
Step 1: Check and download the custom fonts added in your figma design.
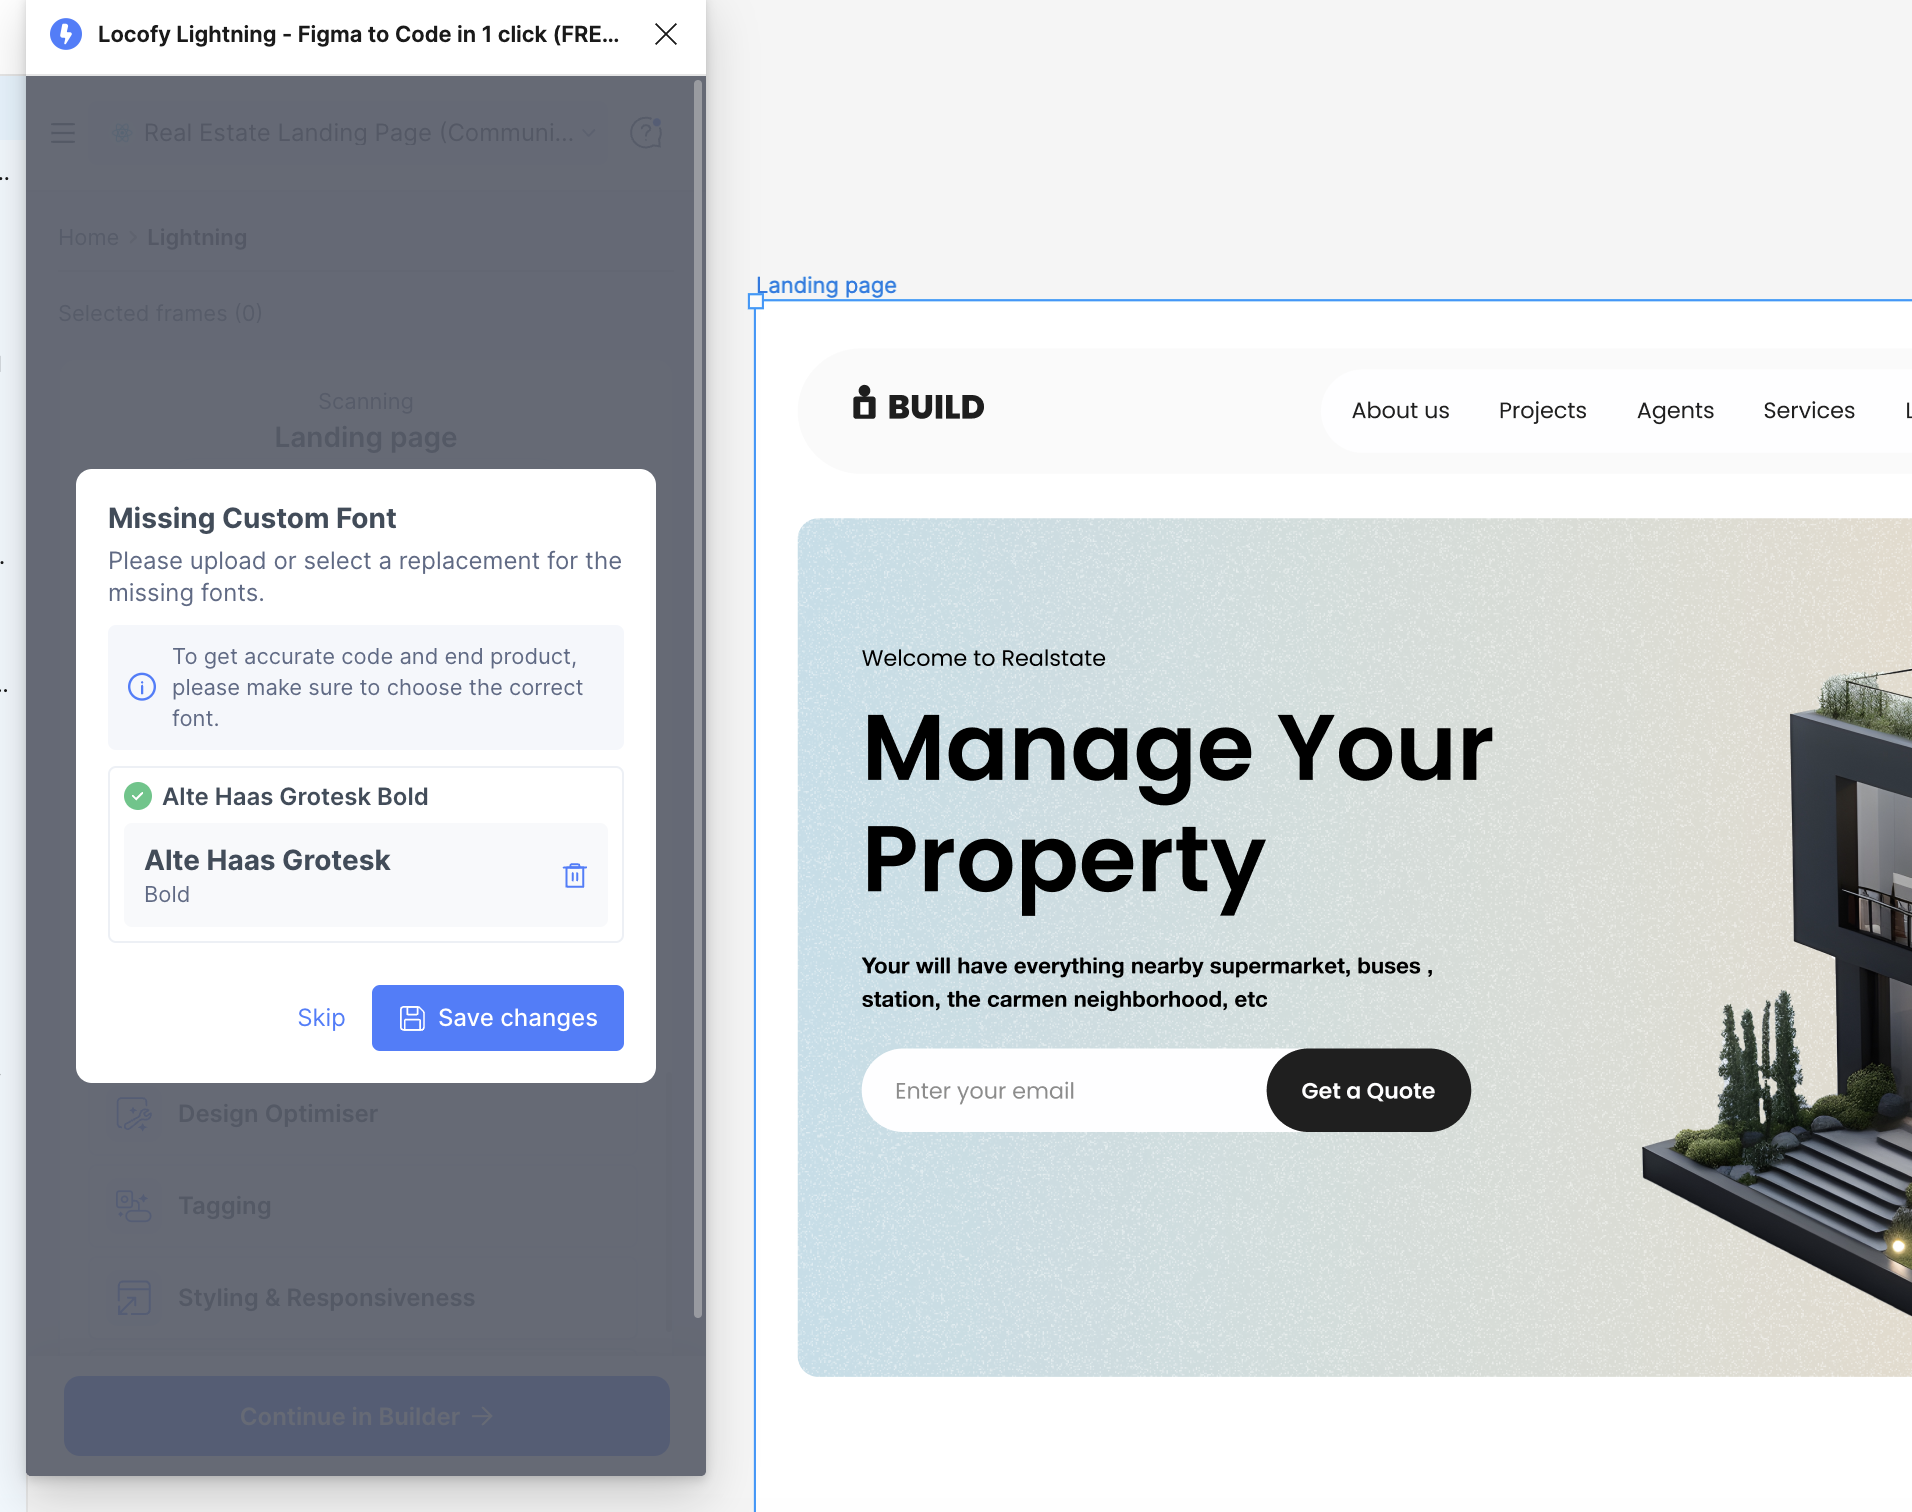
Step 2: Run locofy lightning on your design. You will see the following screen for the custom fonts.
Step 3: Upload the fonts from your system and click on save.
You can manage the custom fonts from the project settings. You can follow this path Dashboard > Project > Project Setting > Missing fonts
Adding a Scroll View
In this tutorial you will learn to add scroll sections to your code. It is good practice to add scroll or wraps in block elements so that when the website is viewed in mobile it looks aesthetic.
We will be using the following section of the localhost design
Step 1: Select the parent container layer
Step 2: Go to the prototype section and select the Overflow to Horizontal
Step 3: After updating this setting, now when you locofy the design again. You’ll see that as you reduce the screen size the section becomes scrollable.
Generate Responsive Wrapped Cards
In this tutorial you will learn to create responsive wrapped cards
We want to add flex wrap instead of fixed width wrap in the following design of the localhost design for this tutorial.
Step 1: Review Style and Responsiveness and click the card layer
Step 2: Edit the card and scroll down to the Advanced CSS properties section.
Step 3: Add the flex with the value one in the Advanced CSS property
Step 4: If you try changing the screen size you will be able to see that one card is having flex. We need to apply that to all cards now.
Step 5: Go to Code Components and props, select the card components and delete the flex prop.
Step 6: Now if you change the screen size you will see the flex wrap in all the cards.
Generate Common Components Across Screens
In this tutorial you will learn to generate common components across the screens
We will be using the card section of the OTT Design
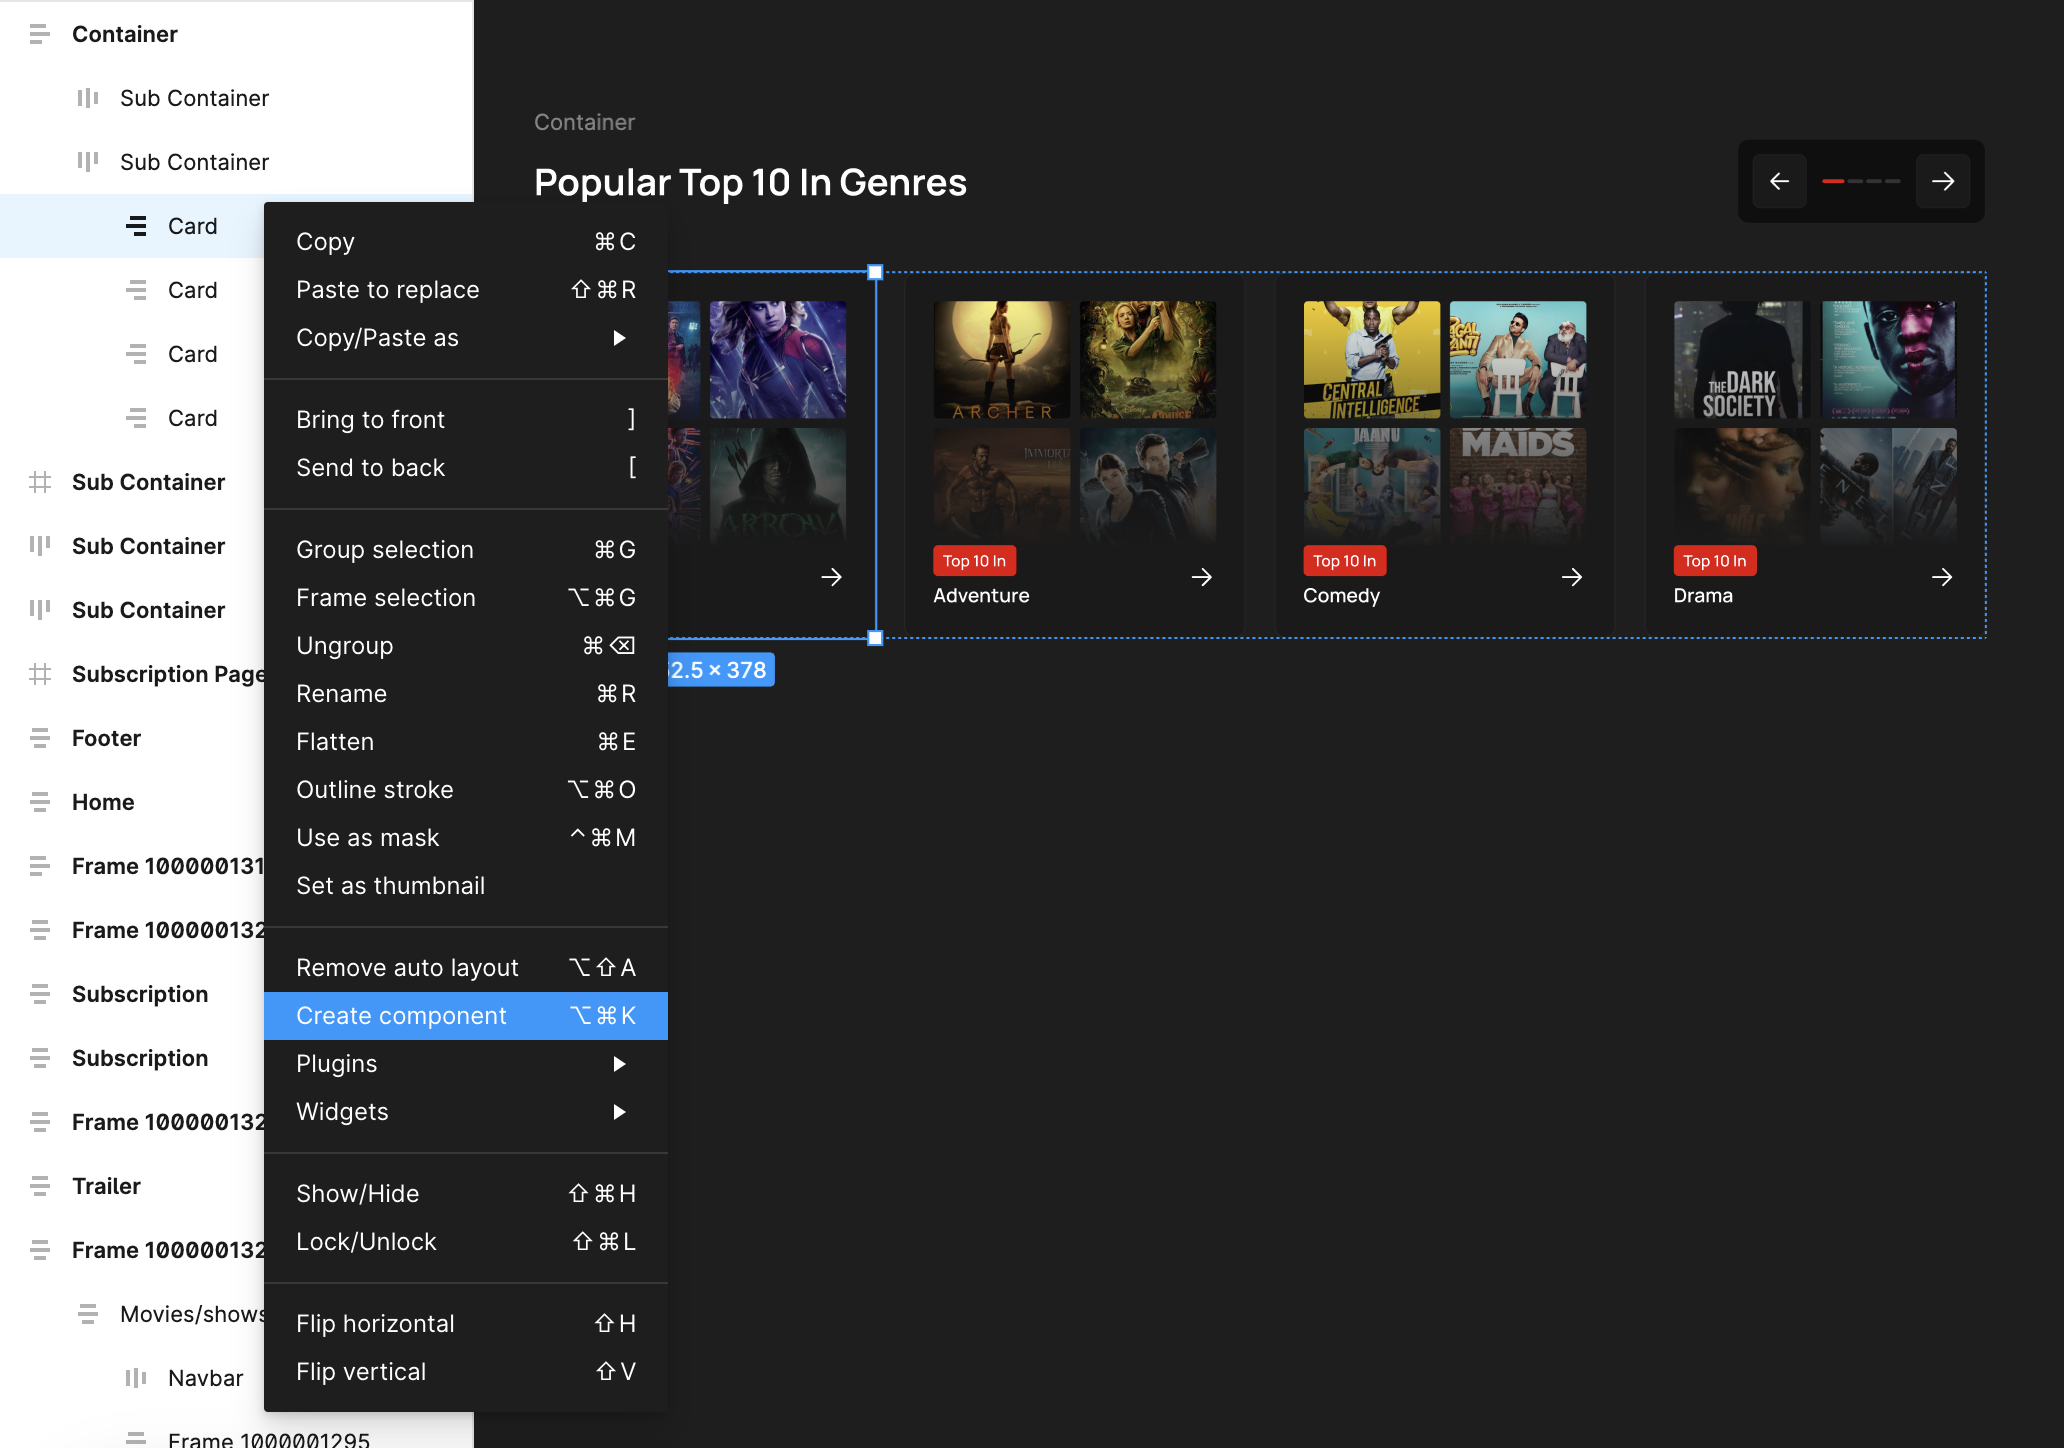
Step 1: Let's seprate out the section that we wanted to make it as resuable components.

Step 2: Convert all the cards to figma components. If there are differences between the cards, then you can copy one of the card component and replace the assets of other cards inside of the container. This way we can create identical card components.
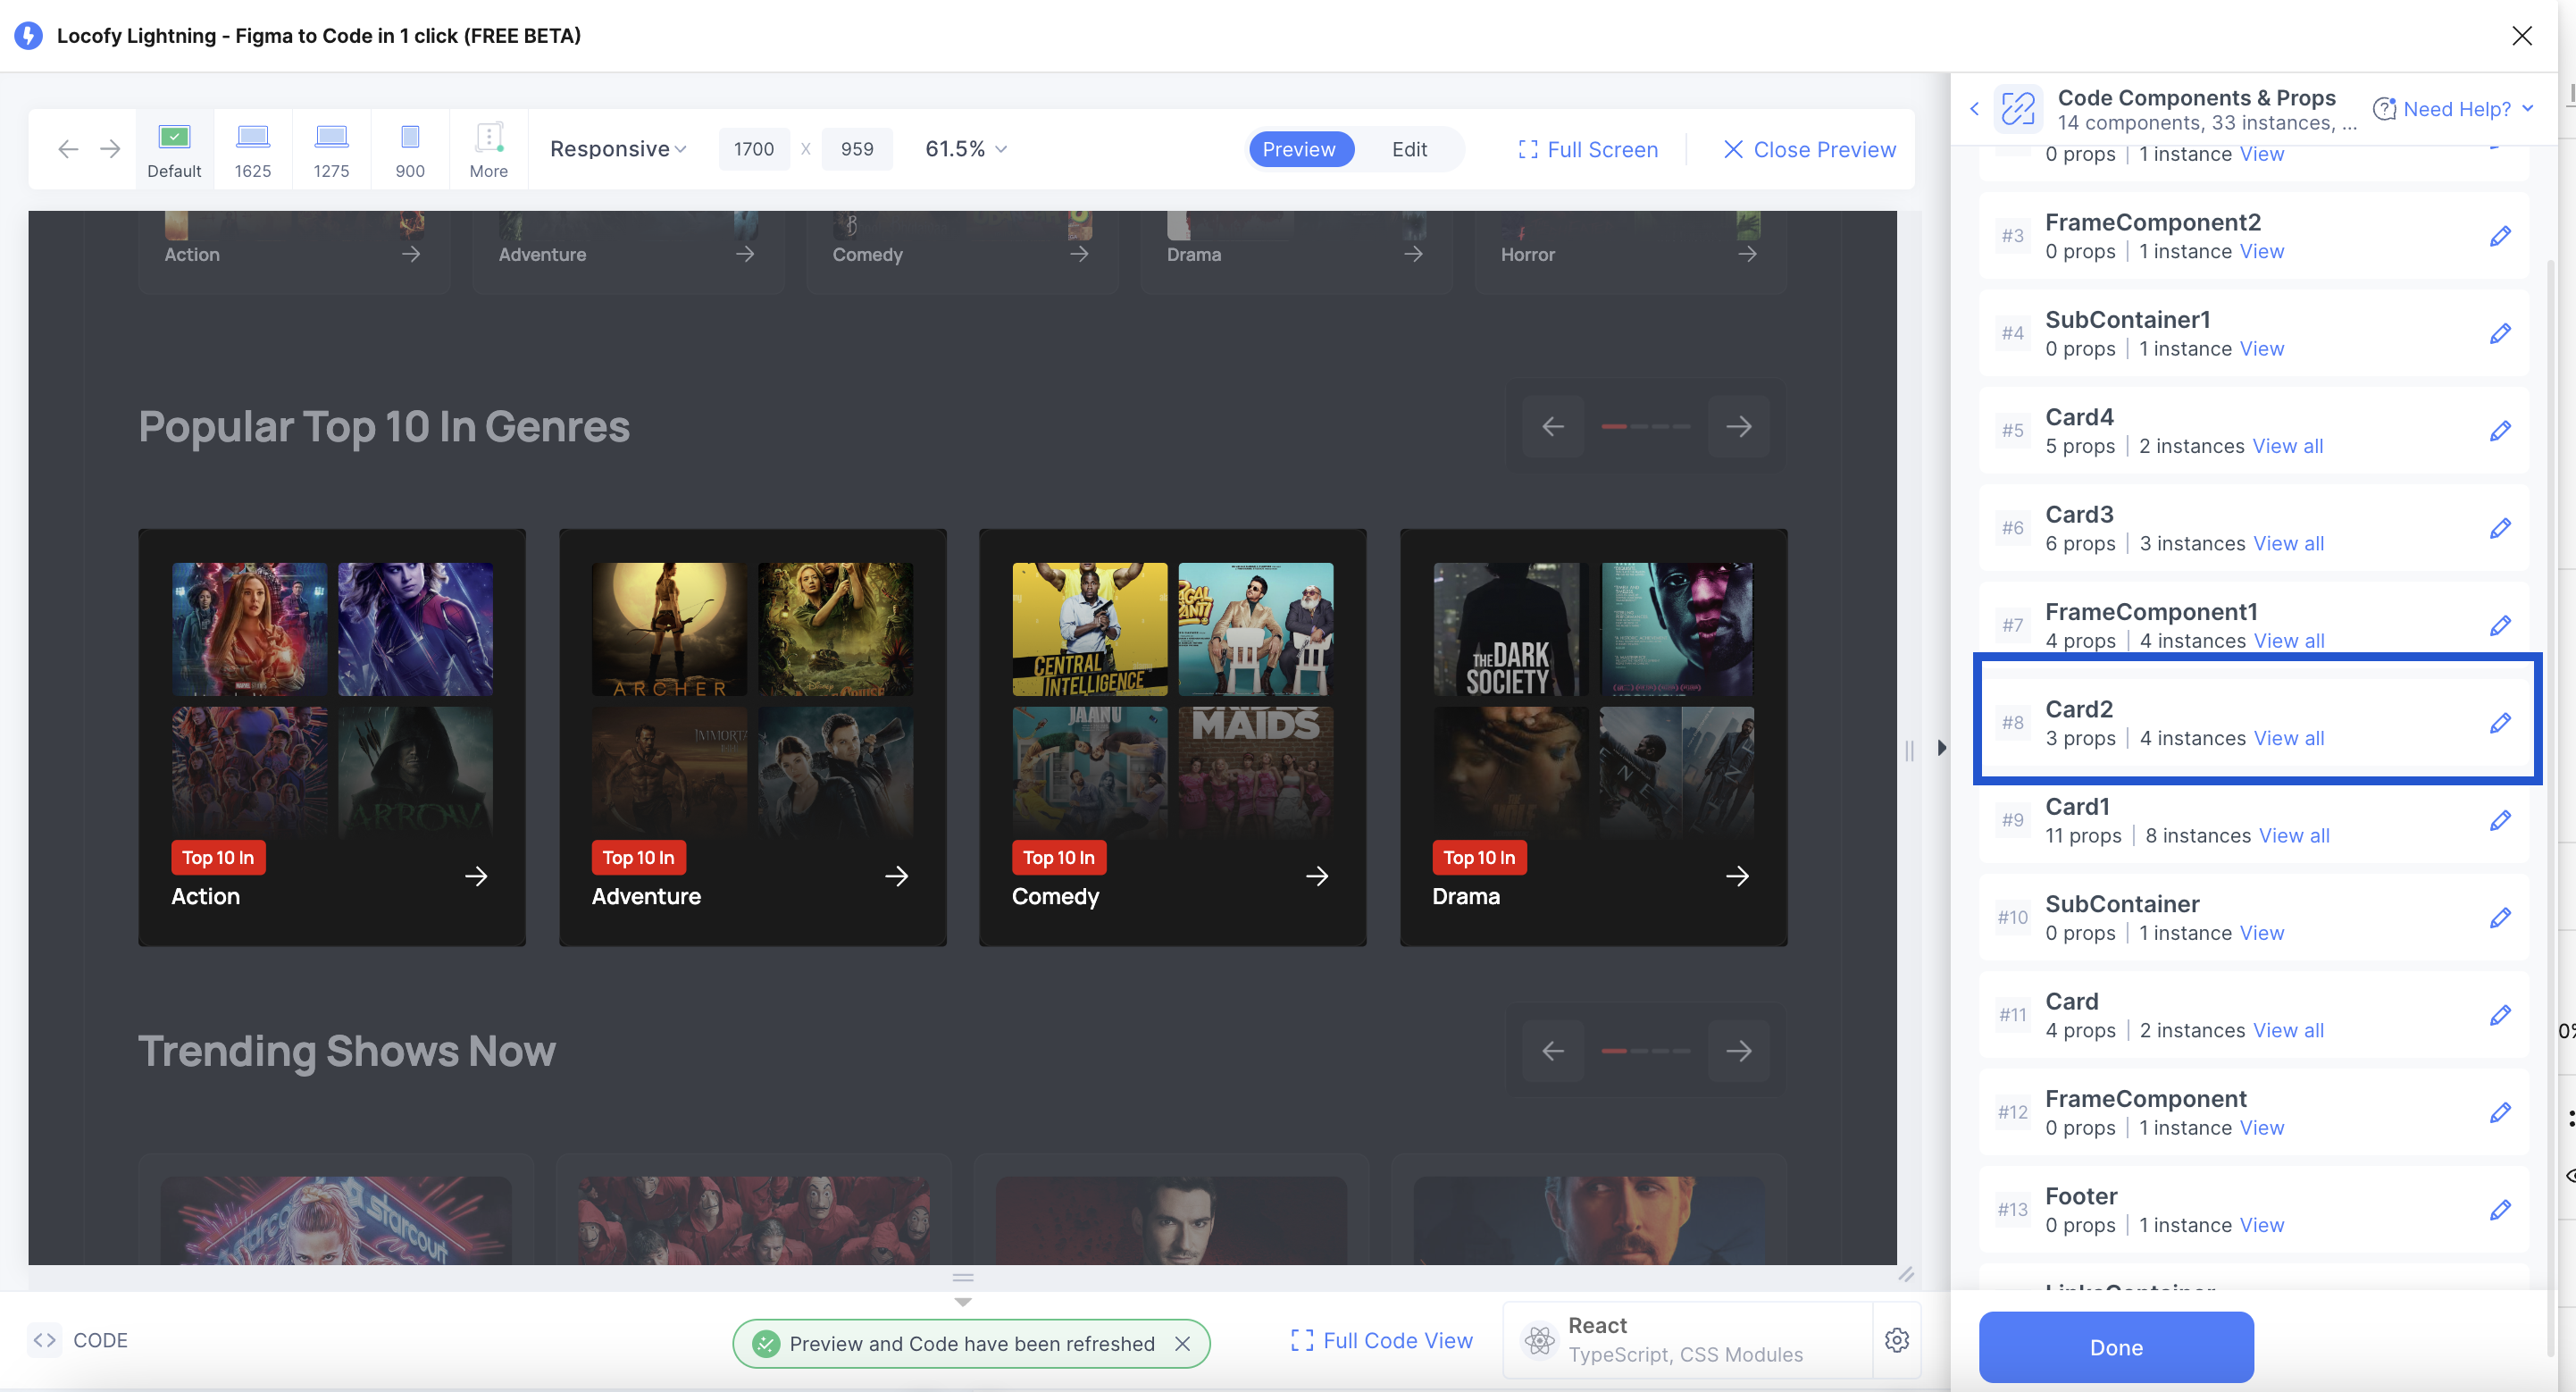
Step 3: Now you can replace this with the original container and then regenrate the code in locofy. This is how you can generate reusable components in locofy.
Tagging Inputs
In this tutorial you will learn to tag inputs and making them responsive
We will be using signup page of the localhost design for this tutorial.
Step 1: Turn on the edit mode and click on the email input. Go to Tagging
Step 2: Click on edit and change the type to email. Do the same for the other inputs as well but make sure you select the type as password.
Step 3: Once all the three inputs are tagged, go to the preview and test it.
Tagging Links/Navigation
In this tutorial you will learn to to make a header fully interactive with links.
We will be using the following section of the localhost design for this tutorial.
Step 1: Click on Home and then go to Tagging
Step 2: Select link from the dropdown
Step 3: Select the page that you want to naviate. (Note that you have to scan all your pages to see the pages dropdown)
Step 4: Now when you go to the preview and click on Home, it will navigate to Home page.
Responsive Cards & Images
In this tutorial you will learn to create a responsive card section with Locofy Lightning.
We will be using the following section of the localhost design for this tutorial.
Step 1: As you can see here, the bottom container is not responsive i.e. it is not taking full width. We can fix this and make it responsive.
Step 2: Select the container, go to Styling and Responsiveness and click on edit.
Step 3: Change the width to fill container and save it.
Now when you check the responsivess of the container, it will take the full width.
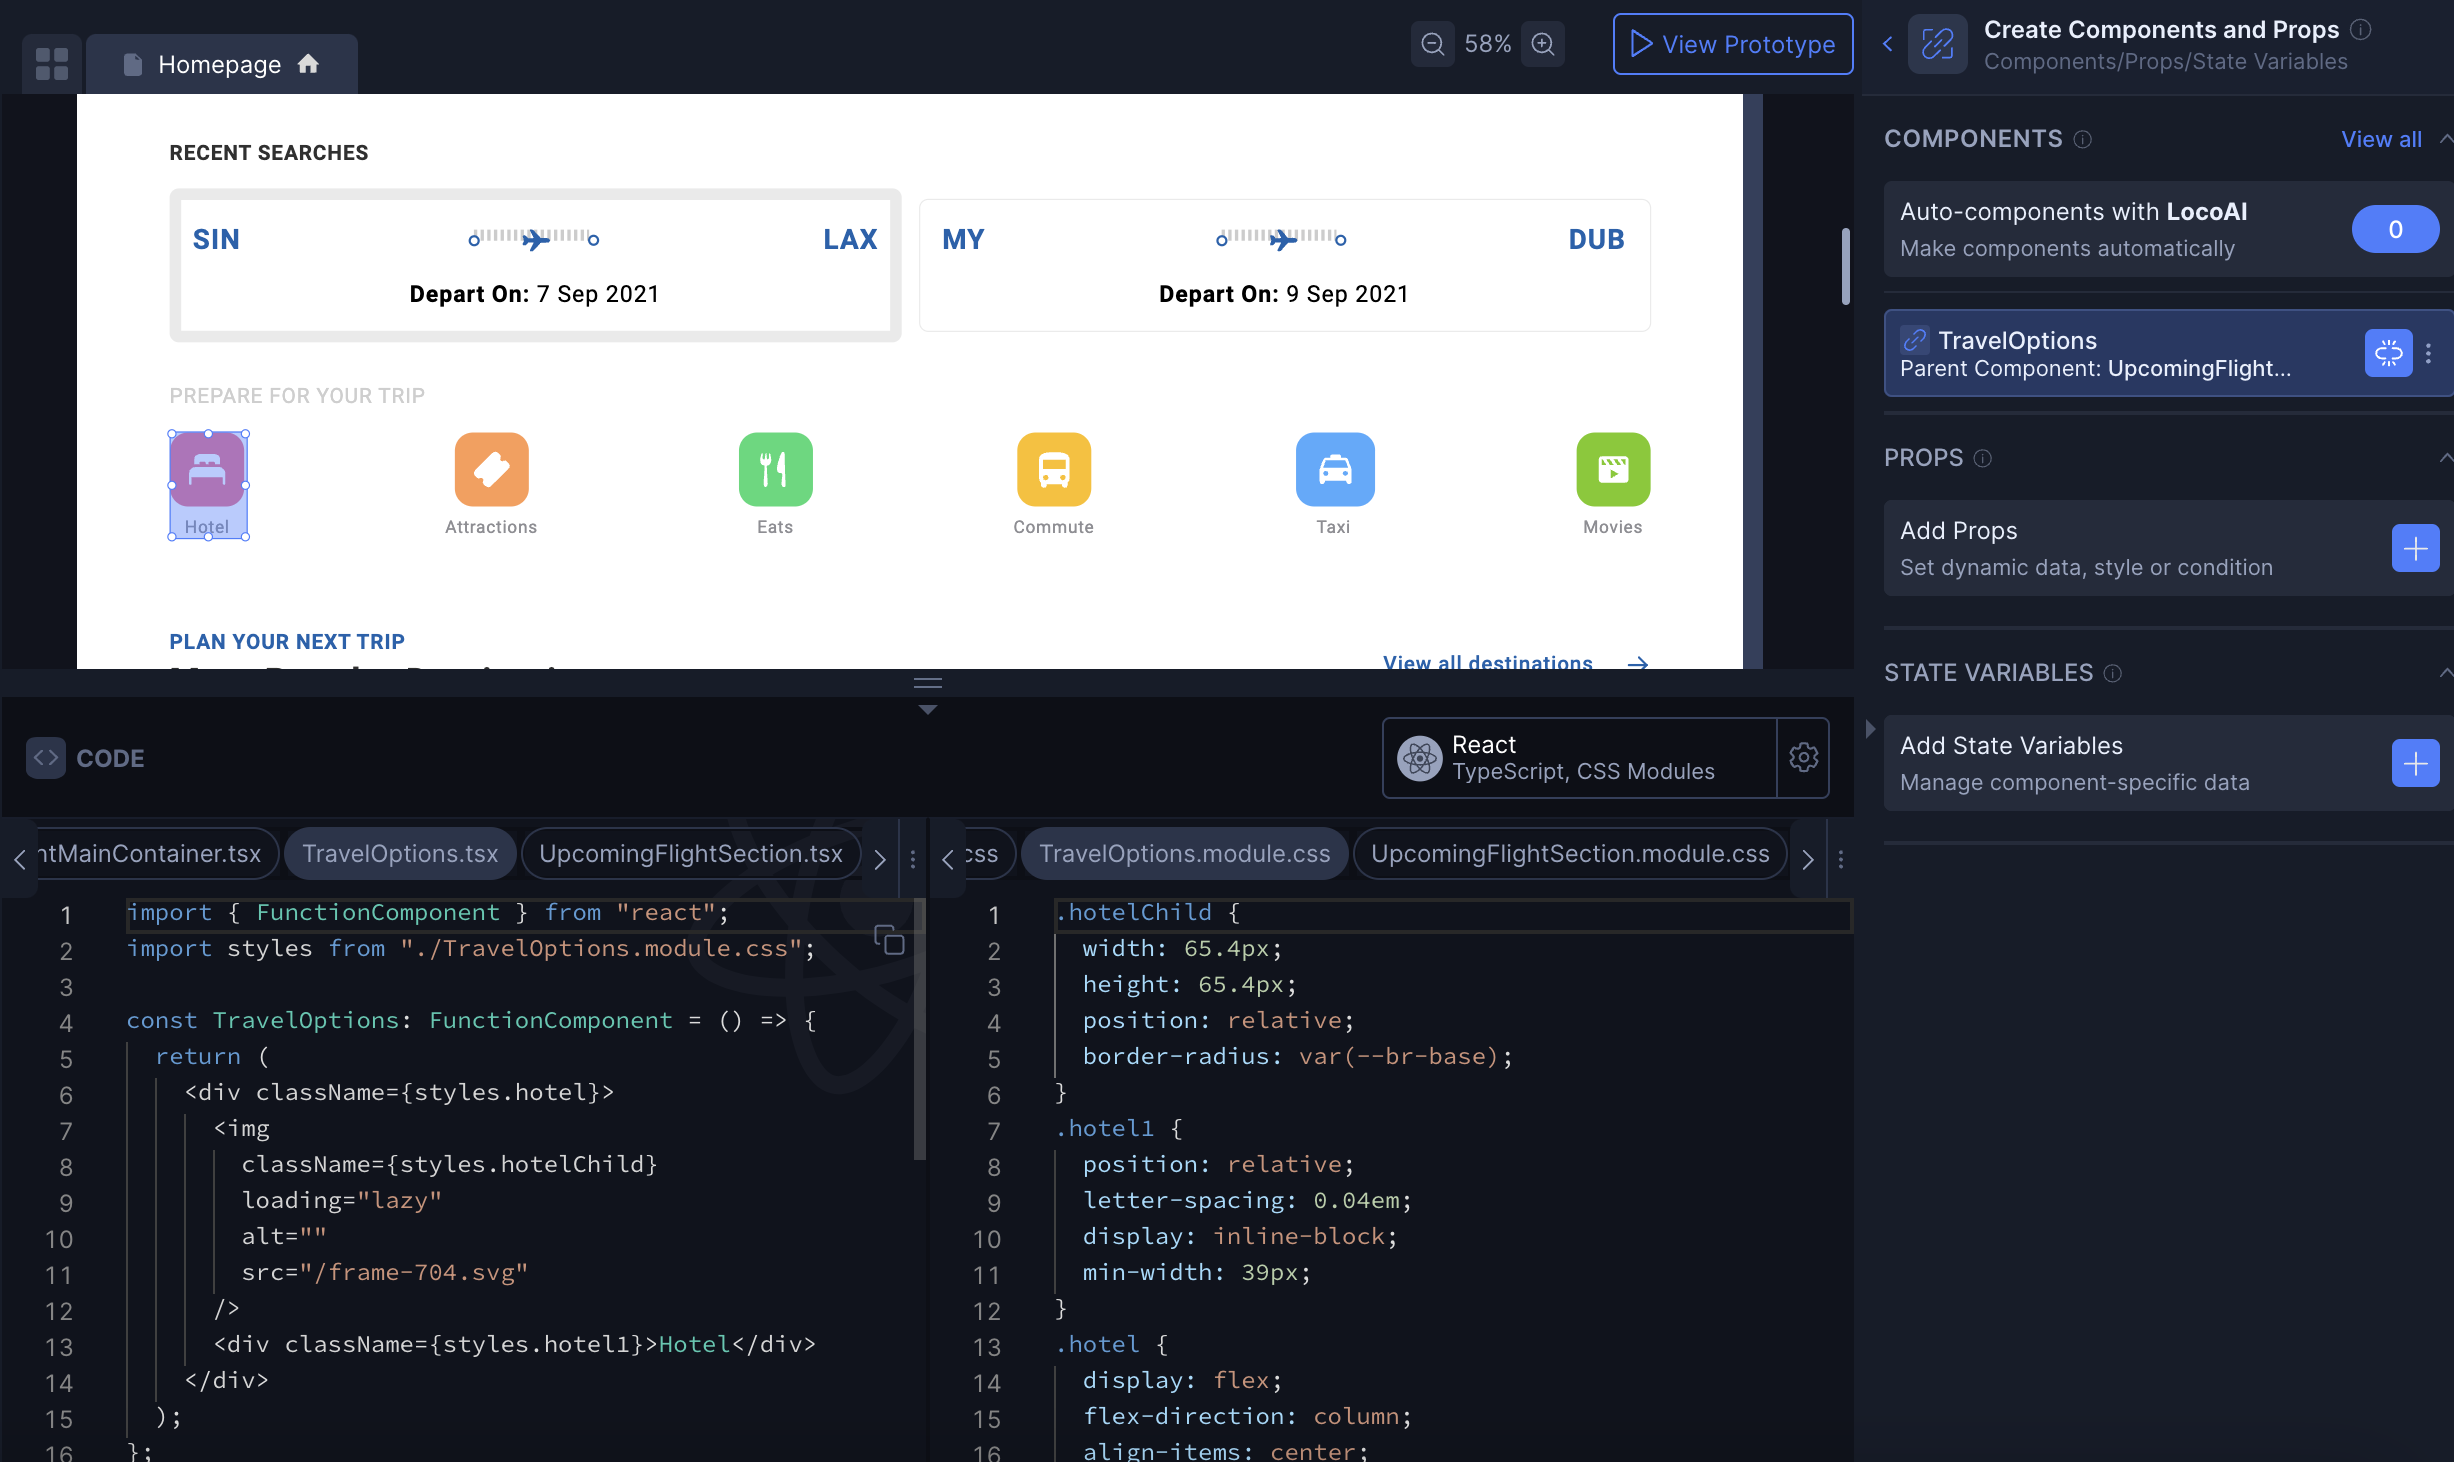
Create or Edit Components
In this tutorial you will learn to manually create components and props.
We will be using the following section of the Fickle flight design.
Step 1: Scan the homepage and go to the builder
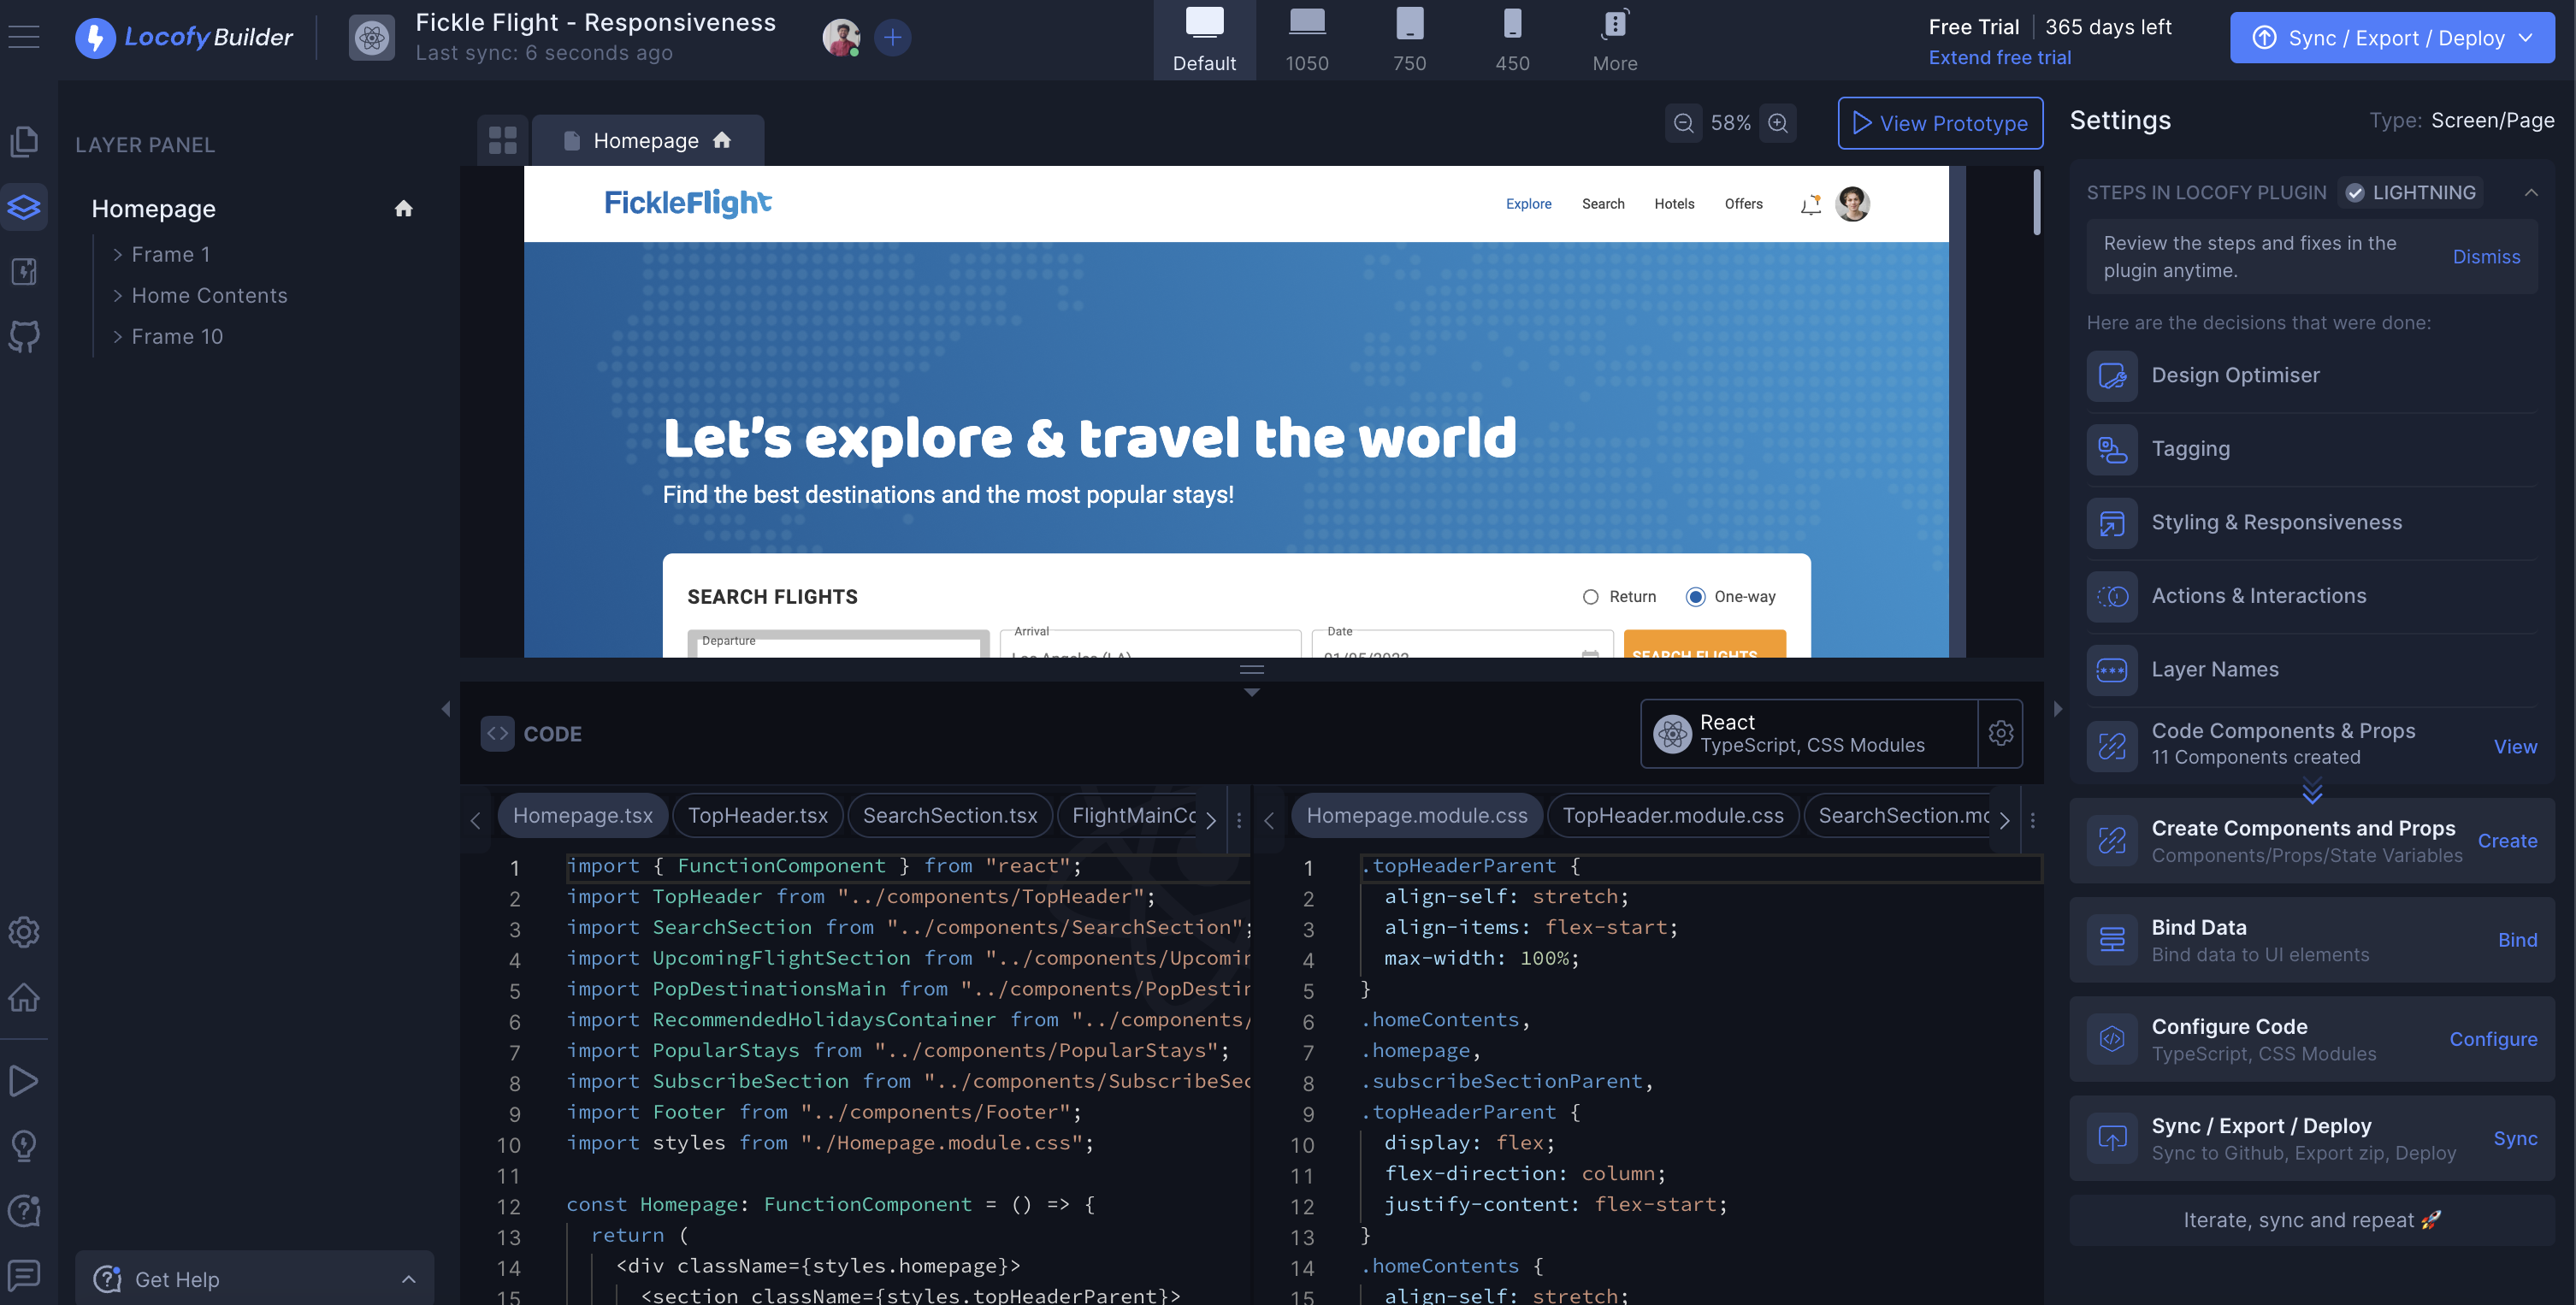
Step 2: Select the travel icon and click on create component
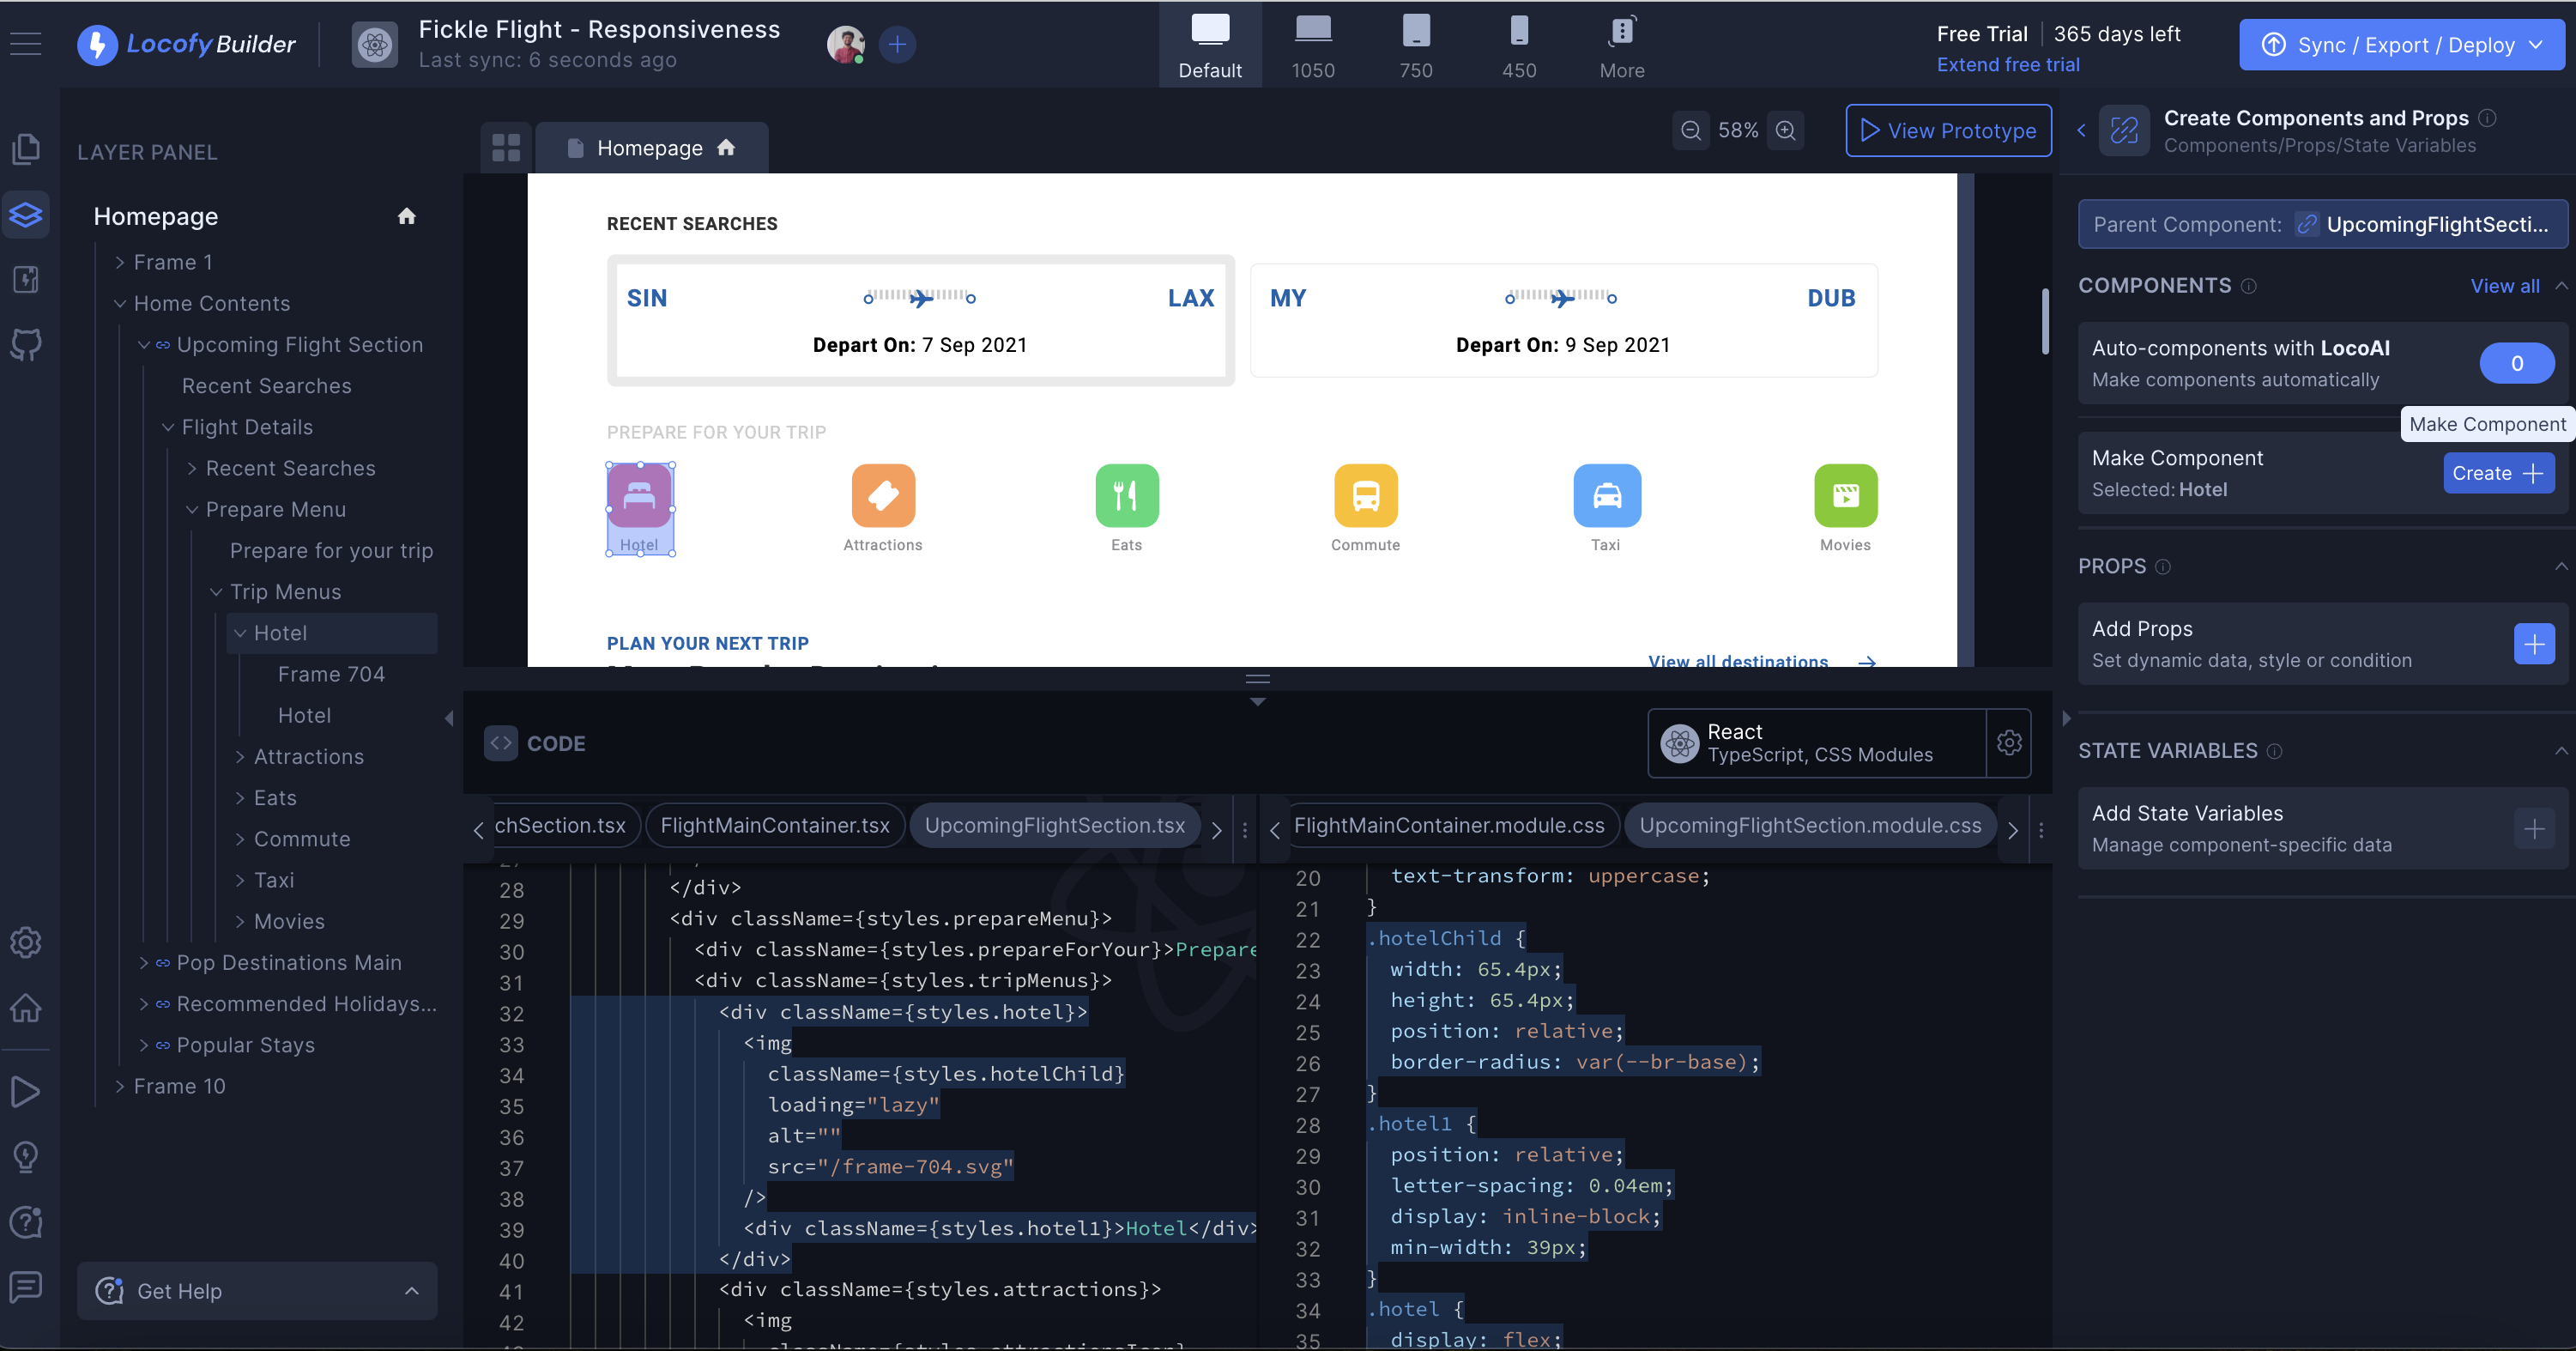
Step 3: You can name the component as per your choice.
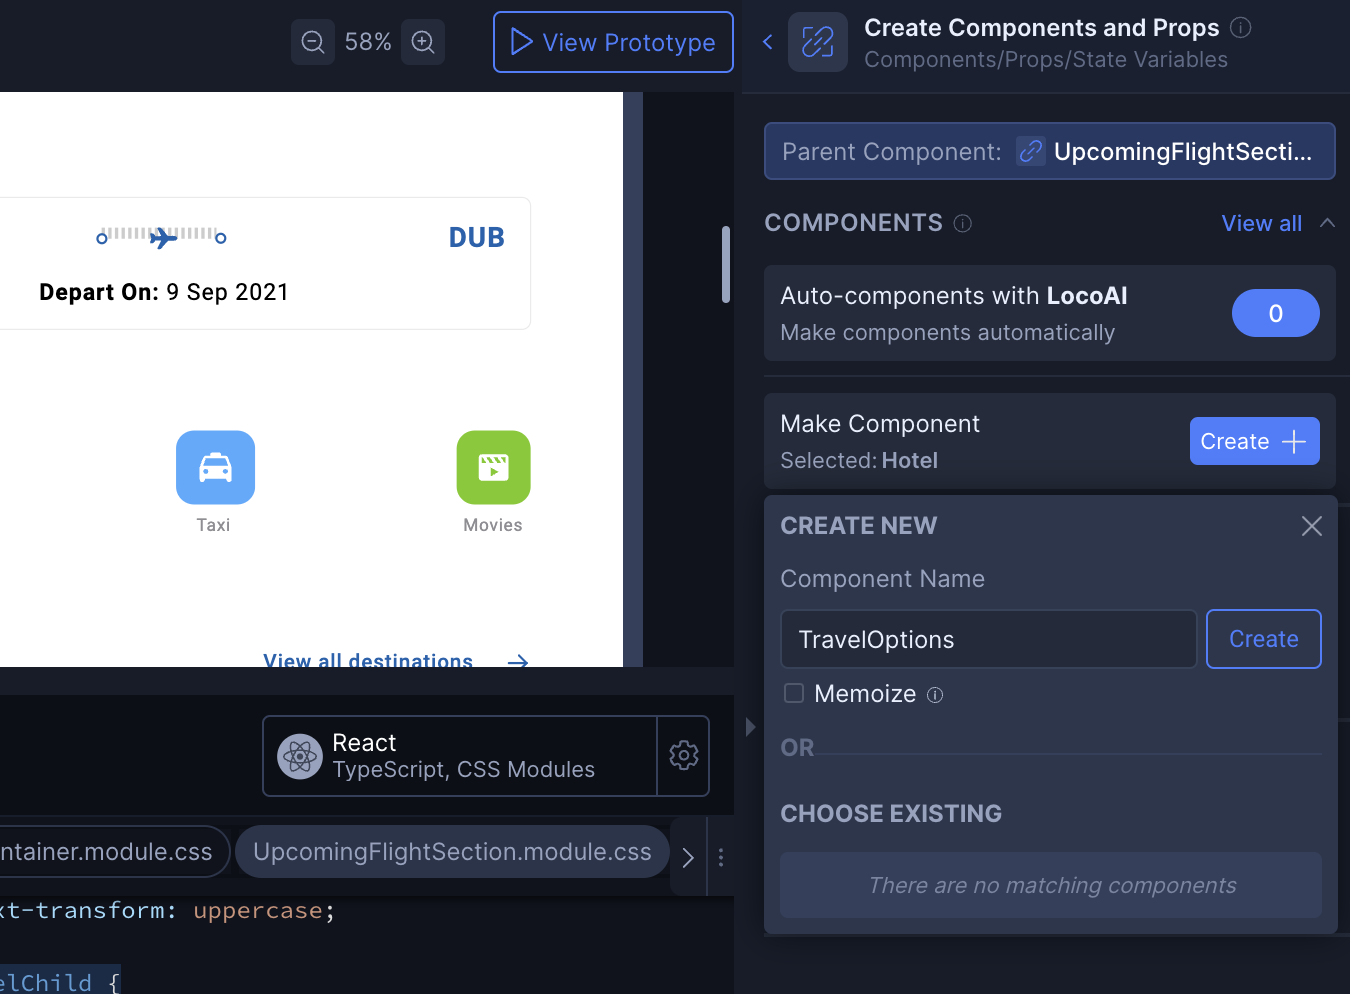
Step 4: Once you click on create, it will create a component. You can check the code of the component at the bottom.
Step 5: You can also reuse the existing components. Now when you click on another icon, and then go to create component you will get an option of Choose existing at the bottom.
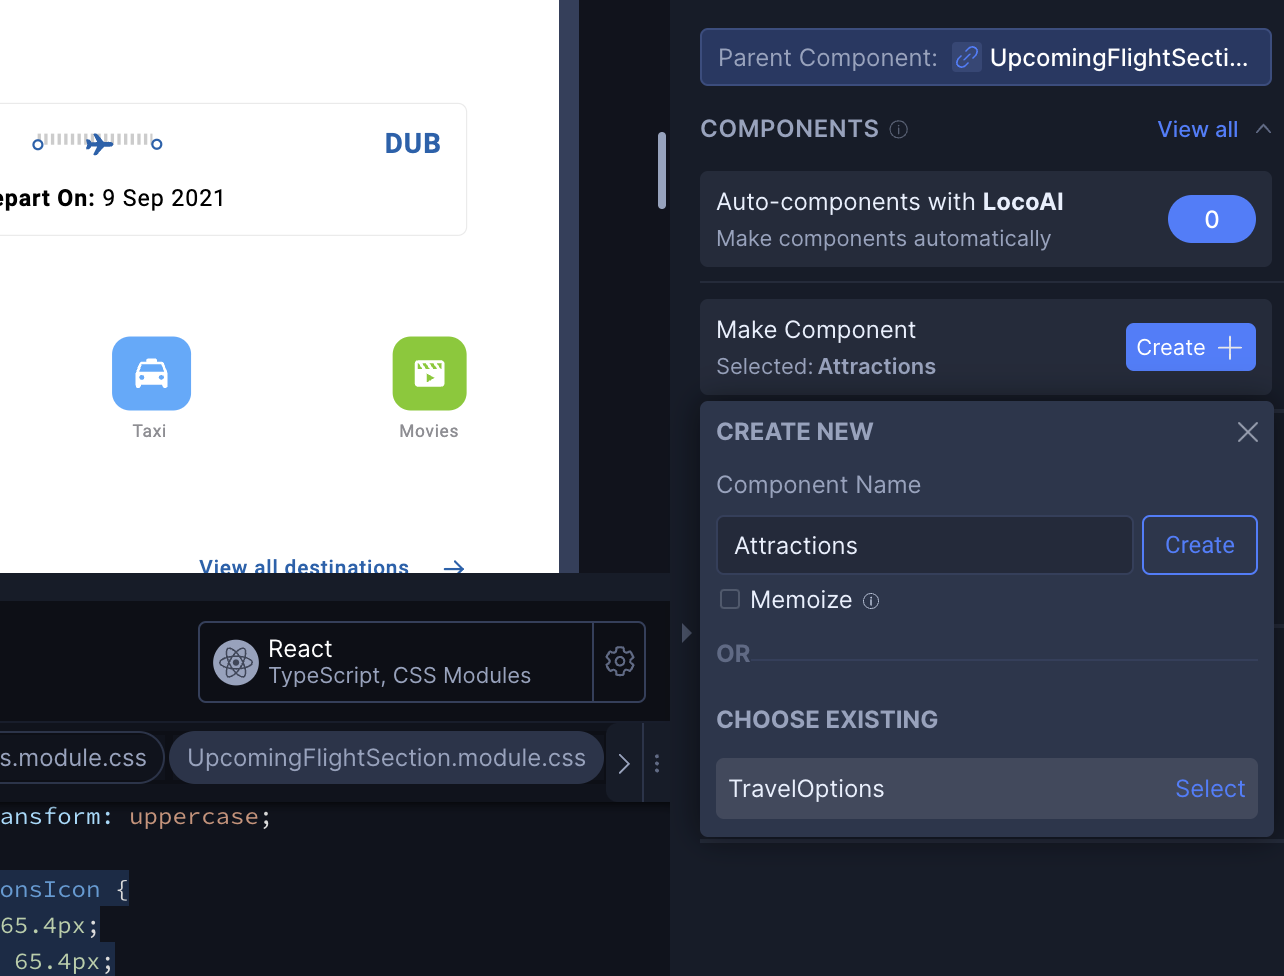
Step 6: To change the prop value, just click on the edit icon of the prop. You can learn more about other type of props (Style props and conditional props from our docs)
Adding Prebuilt Animations
In this tutorial you will learn to add prebuilt animations to your code in the locofy plugin.
We will be using the hero section of the Real estate design for this tutorial.
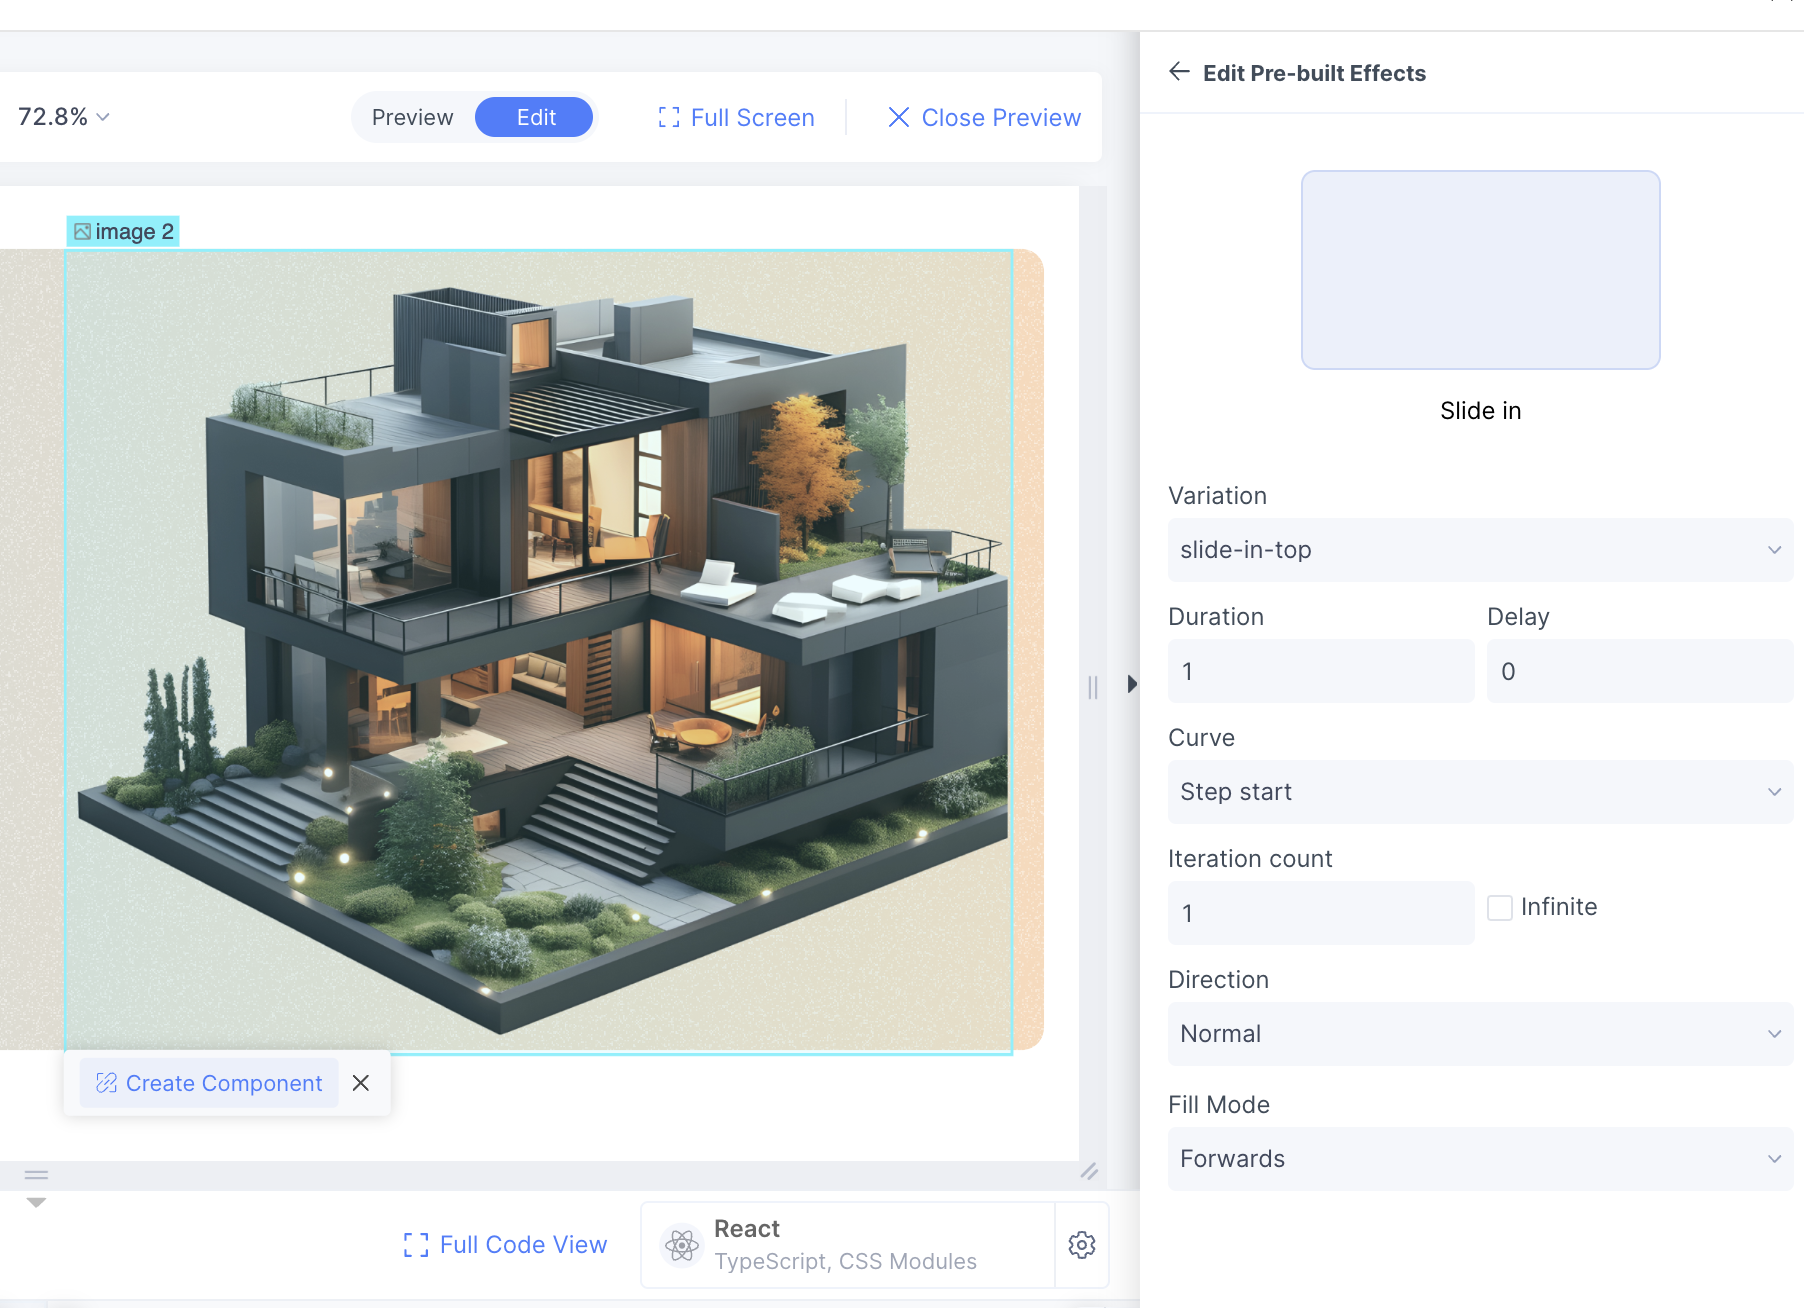
Step 1: Select the image on hero section and then click on Responsiveness
Step 2: Click on the edit and scroll to the bottom
Step 3: Click on Pre-Built Effect and select the animation you want to add. You will be able to see the preview of the same in the preview screen.
Step 4: Select the animation settings as per your requirements and save it.
Adding Lotties to your project
In this tutorial you will learn to use animated vectors from Lottie Files to really bring some character to your apps!
We will be using the Sigin In section of the localhost design for this tutorial.
Step 1: Log in to lottiefiles.com and search for google animation logo. Click on generate link at the bottom and copy the json.
Step 2: Click on the google logo and go to tagging.
Step 3: Select Lottie from the tagging dropdown
Step 4: Paste the json URL section and save it. You can update lottie setting as per your requirements.
Step 5: Now you can see the google logo lottie animations
Adding Google Maps to your website
In this tutorial you will learn to embed google maps in your design.
We will be using the following section of the localhost design for this tutorial.
Step 1: Click the map image and go to tagging
Step 2: Select Google maps from the tagging dropdown
Step 3: Search the required location on google maps. Click on share and copy the embed HTML.
Step 4: Go back to plugin, paste the HTML in the URL section and save it.
Step 5: Now you can see the google maps has been embeded in your website
How to get help
How to get assistance from our team via our Discord community & documentation.
Want additional Content?
Please fill out our Survey